Unit 2: The Externally Set Task
|
|
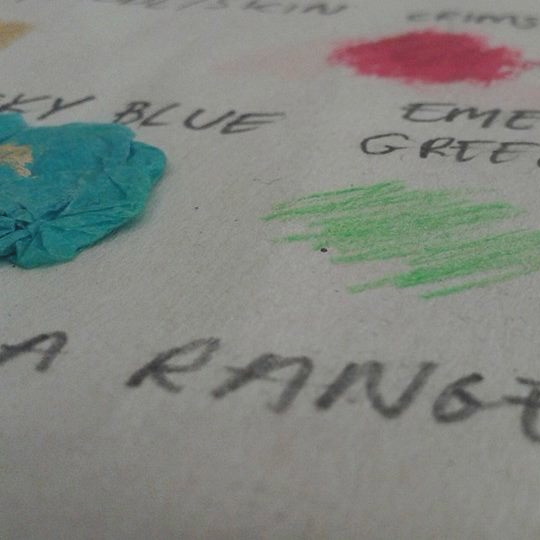
My starting point: Texture
I have chosen the theme 'texture' for my external set task. The photographers work which i have looked at are Bruce Montagne, Paul Scharff, Adrienne Adam, and Kristina Buceatchi.
I chose texture because im interested in the different surfaces and views or seeing them, and experimenting with different materials and patterns.
I have spoken to my teacher and Im confident in the project and im ready to start experimenting and researching other peoples work and using it as inspiration to create my own.
My plan so far:
1) Create a Pinterest page displaying my favourite photos of texture.
2) Create a Popplet which shows my ideas and some photos and information of my favourite photographers that focus on texture.
3) To look for photography books that have a range of photos based on texture.
4) I will now create some photos of my own inspired by my favourite photographers that focus on texture.
Research
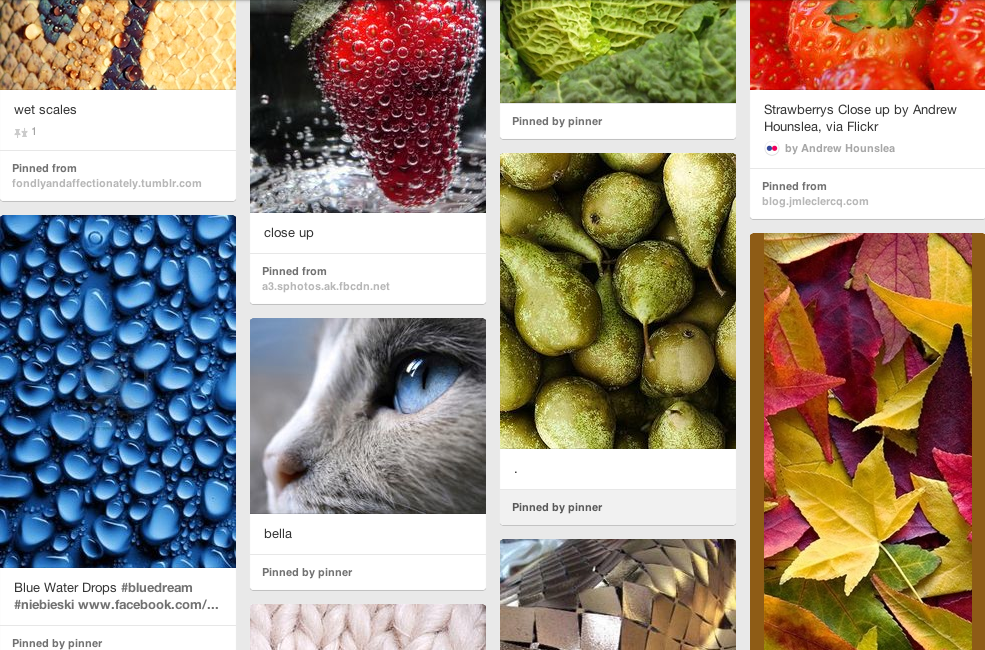
First step of researchTo start of my research I decided to make a pinterest board for my ideas and inspiration on the theme texture; A pinterest board is one way of showing my ideas, It's just a website which allows you to repost photos that have been added to the website, or you can even add photos of your own. This can help me to create ideas of my own. To the right is a sample of what the board roughly looks like.
|
|
|
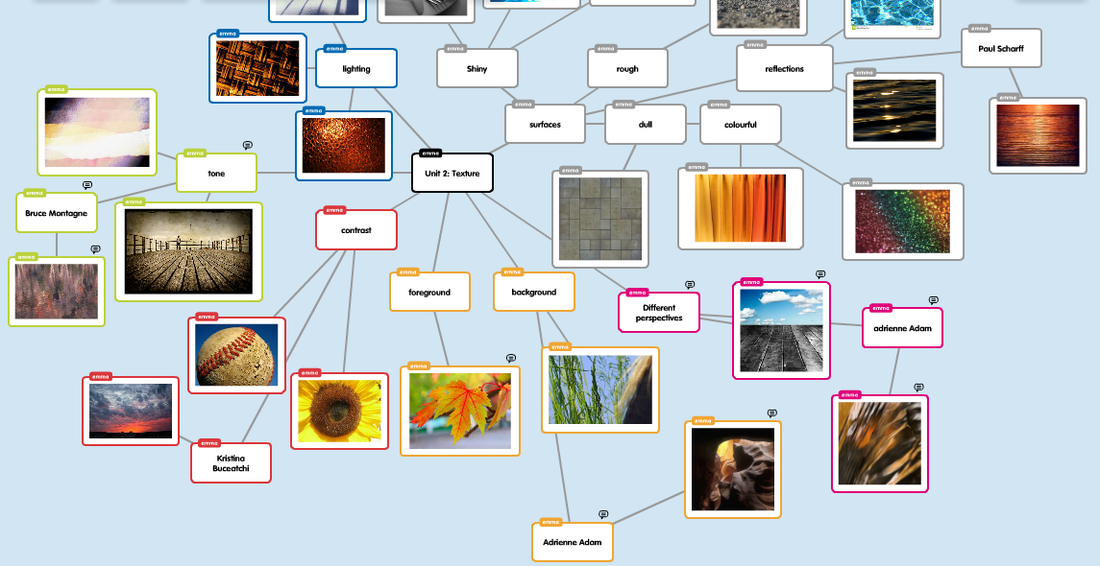
My poppletAcross is my popplet. It is basically a website which takes all of your ideas and puts them all into one mind map, it also allows you to add photos for examples of the ideas. However, in this particular mind map it lists all of the possible ideas i could consider in this theme - texture. For example, lighting, angles, perspectives etc. So at the end it will result in photos that vary in light, tone and colour etc.
|
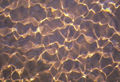
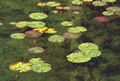
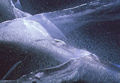
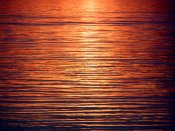
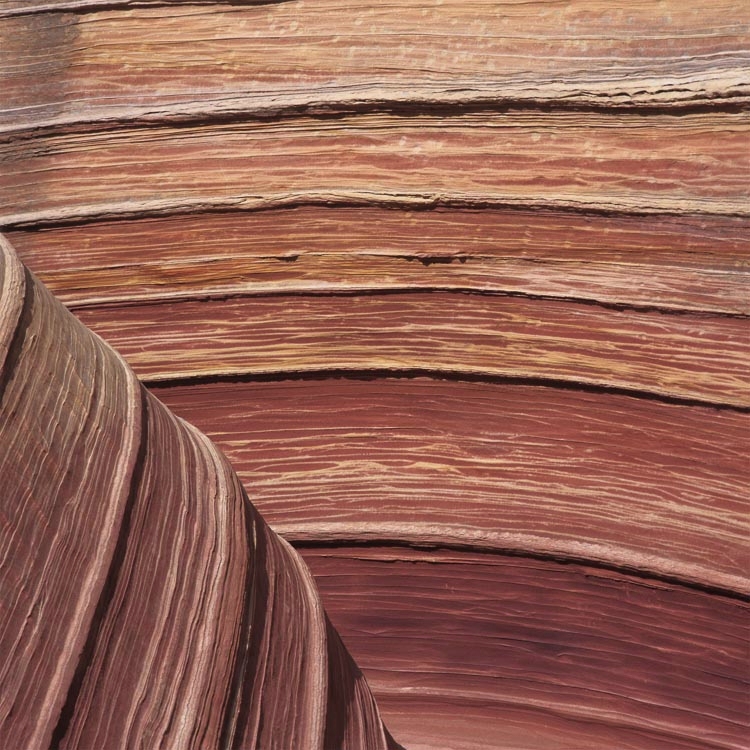
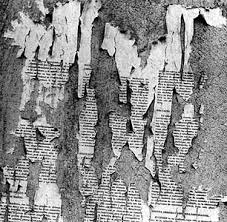
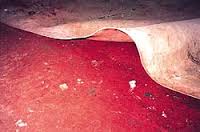
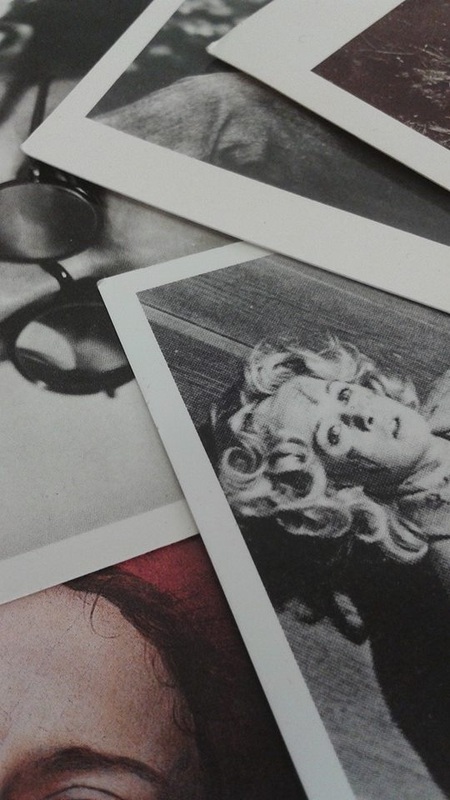
Bruce MontagneBruce Montagne is a wildlife photographer who also focuses on texture, he exhibits his photos at Canada and North America. His work has received awards in Nature's Best and National Parks magazines as well as the BBC Wildlife Photographer of the Year Competition. Across is some examples of his work.
|
|
|
|
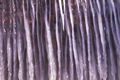
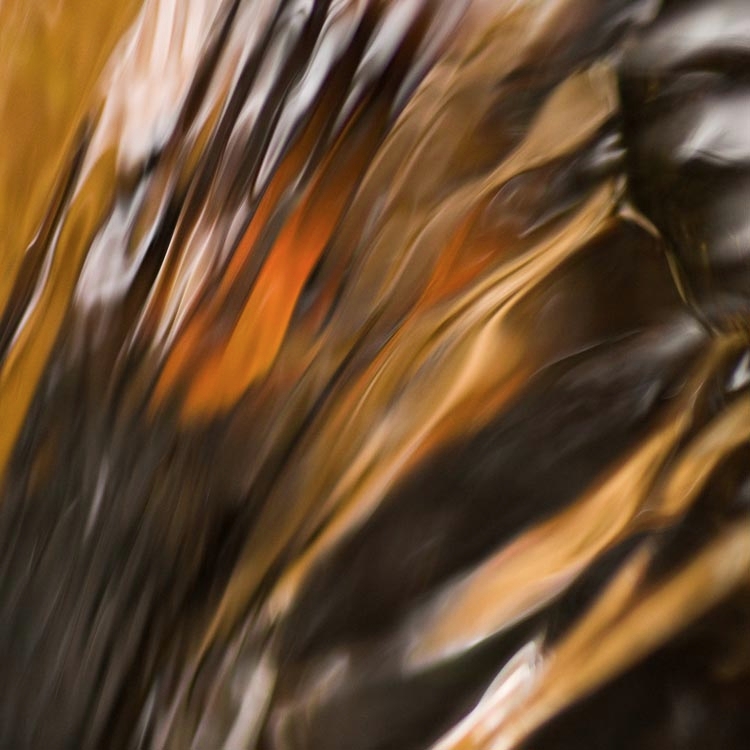
Paul ScharffPaul Scharff photographs wildlife and landscapes but he does also focus and experiment with texture. Paul's background is not entirely in photography, it is mainly in advertising, where he had about 25 years of experience at an advertising agency. Across are some examples of his work.
|
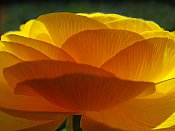
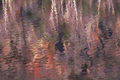
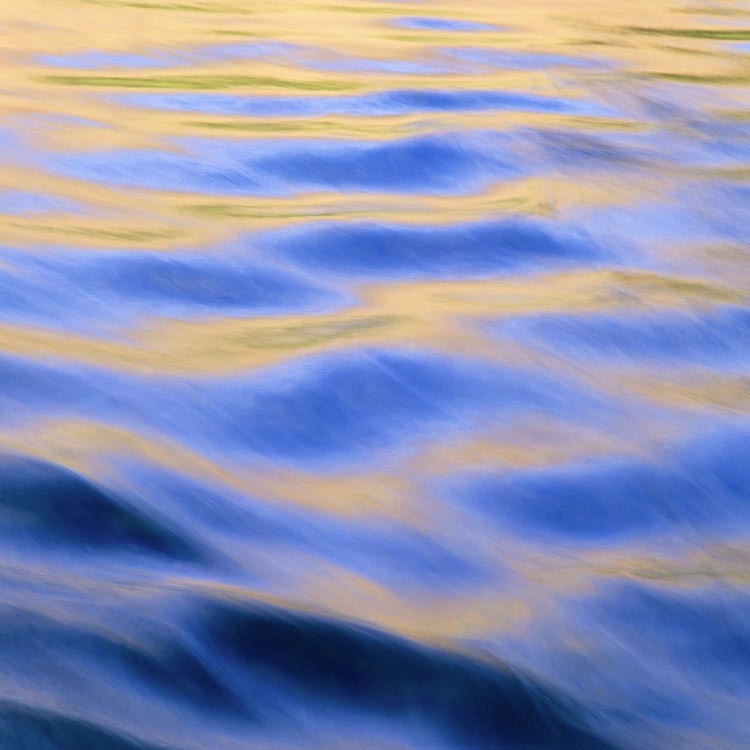
Adrienne AdamAdrienne Adam creates intimate landscapes which shows the unique patterns and textures found in nature and specific parts of landscape, I.e sea, plants etc. Her images are exposed using light on the surface of a tree, of the water, of our lives which catches our eyes. Across are some examples of her work.
|
|
|
|
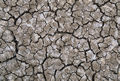
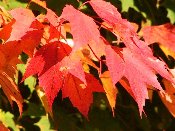
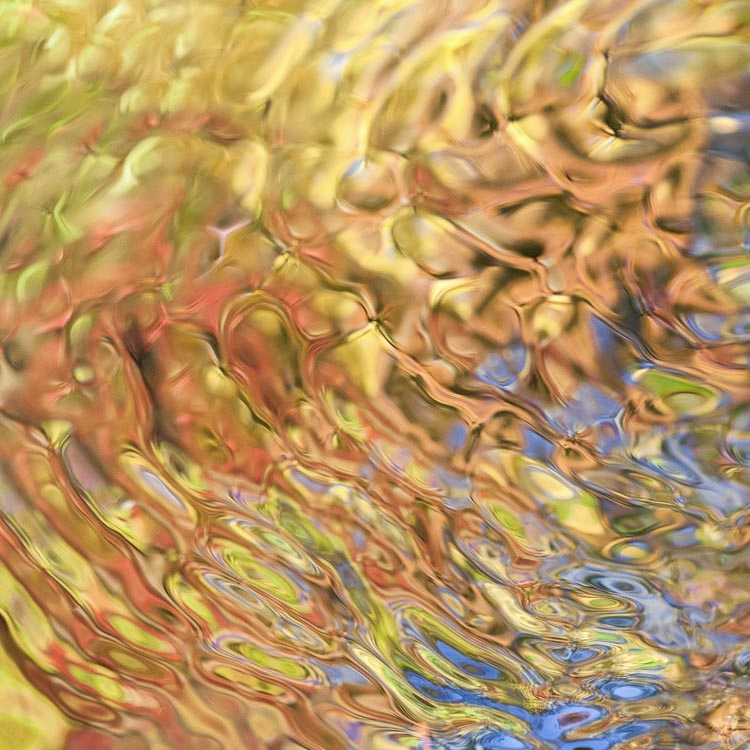
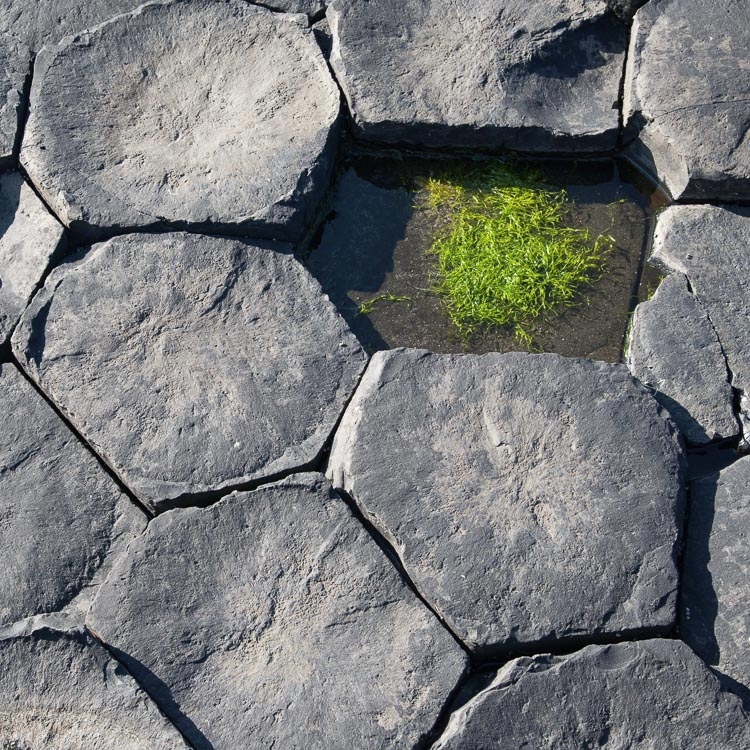
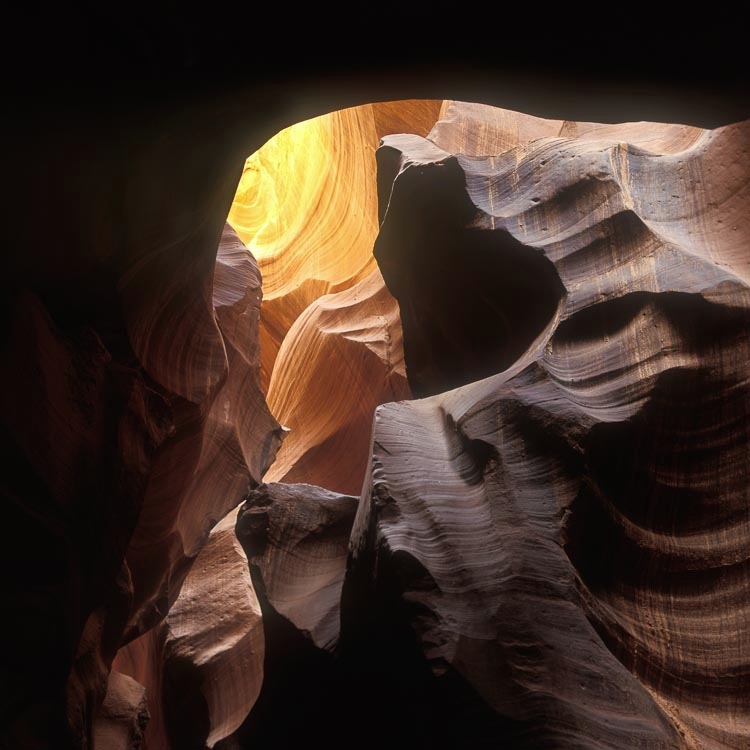
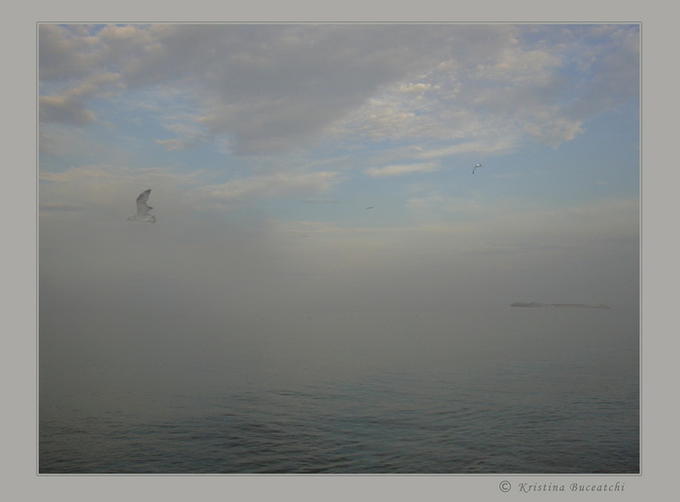
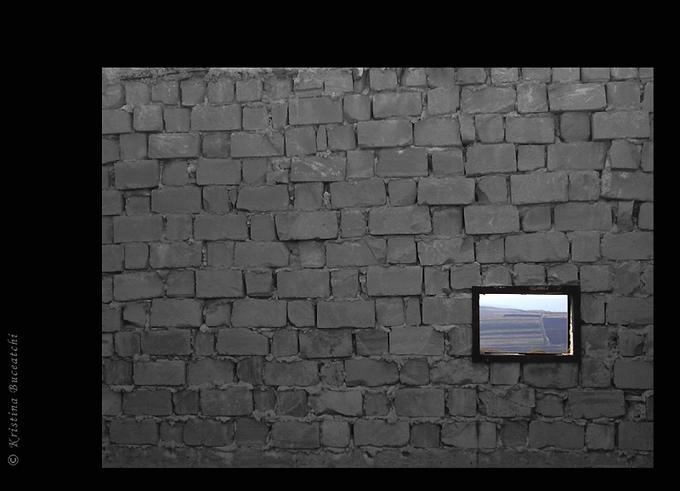
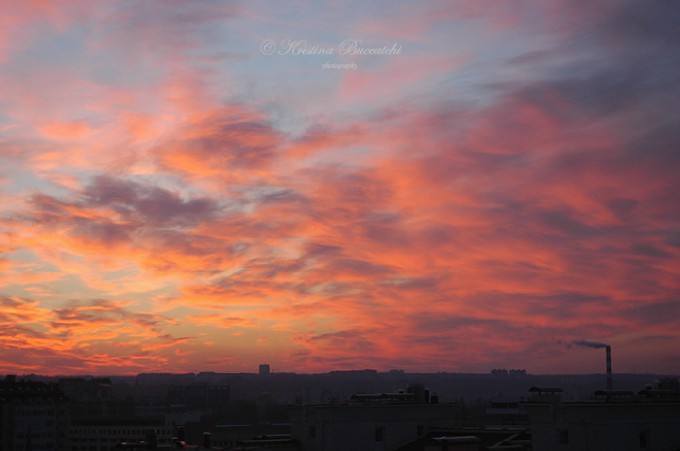
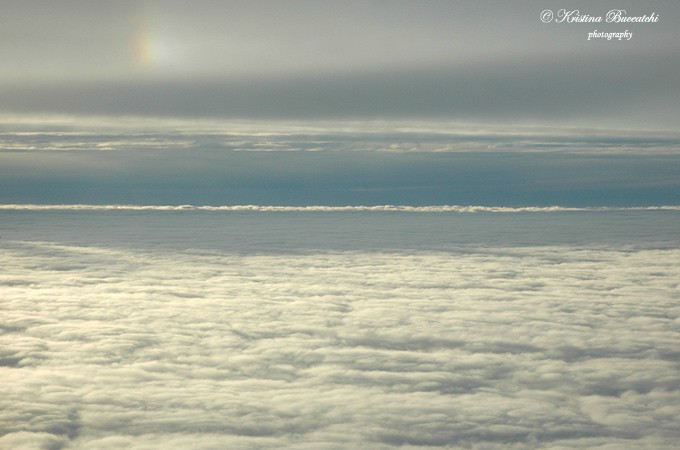
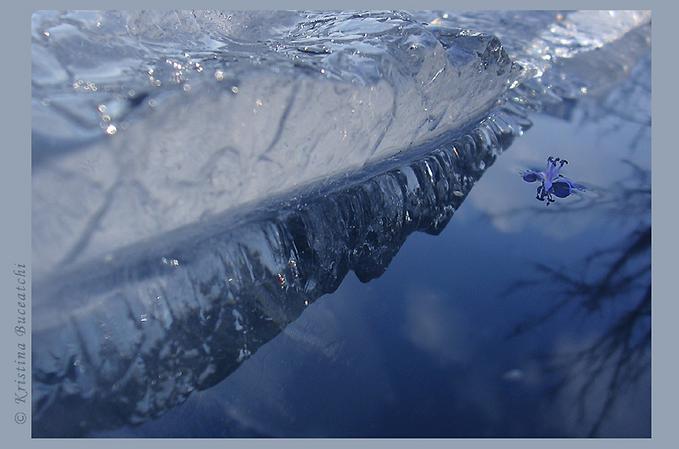
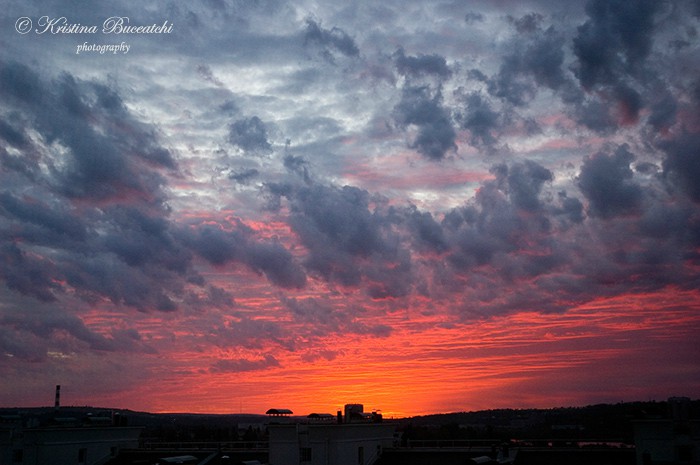
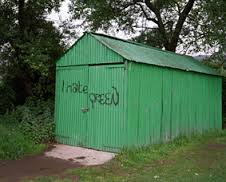
Kristina BuceatchiKristina Buceatchi focuses on many themes varying from animals and landscapes to weddings and interior design. In some of her photos, there is a wide use of texture in each photo. Across are some examples of this.
|
Response #1


|
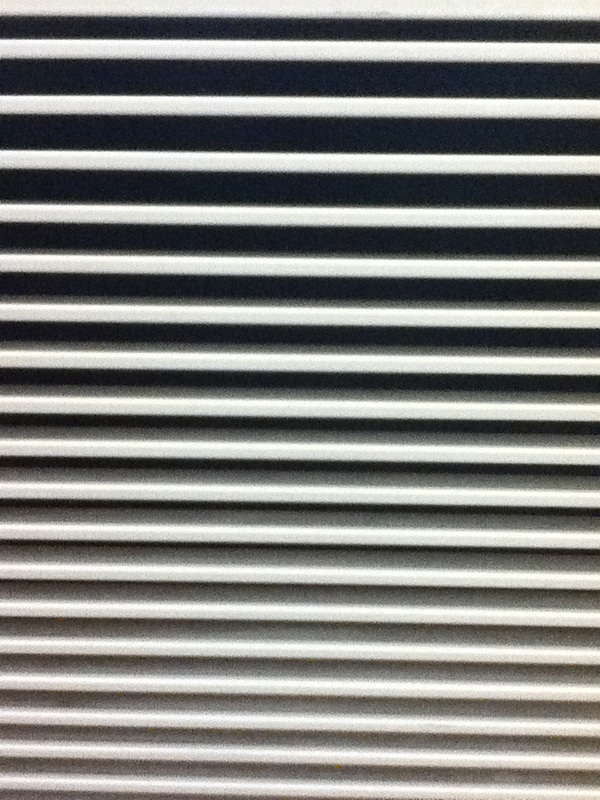
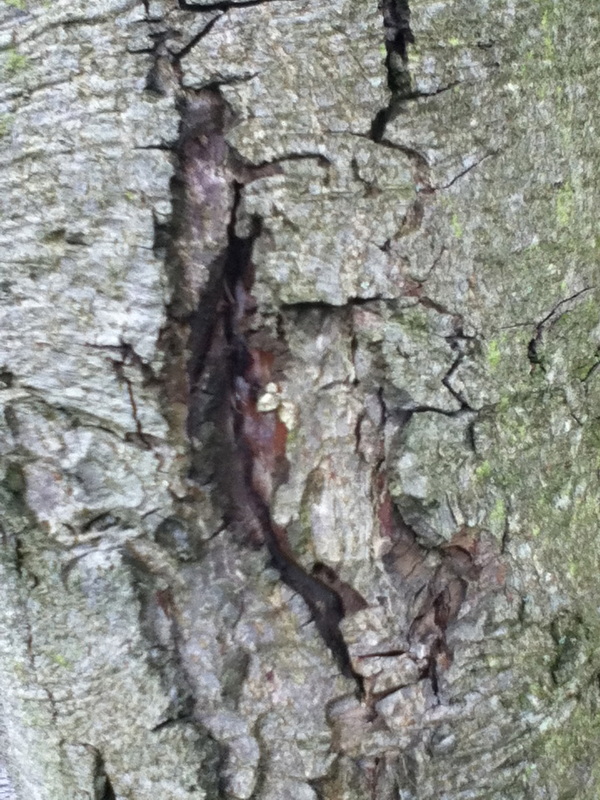
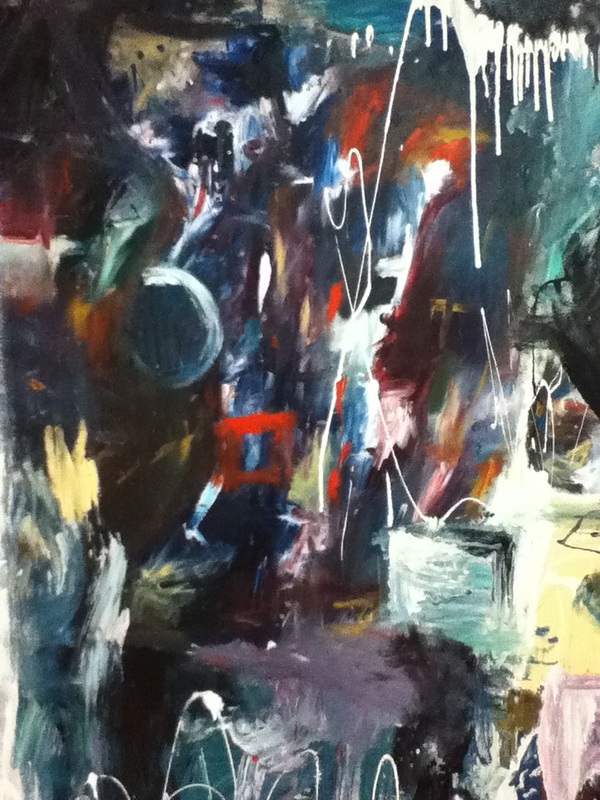
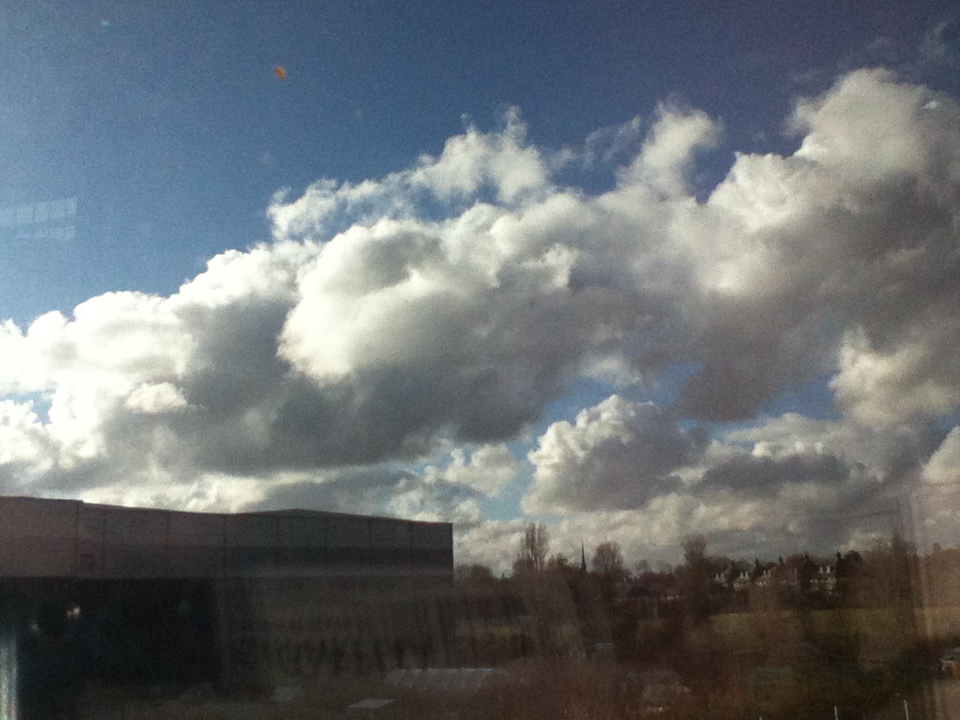
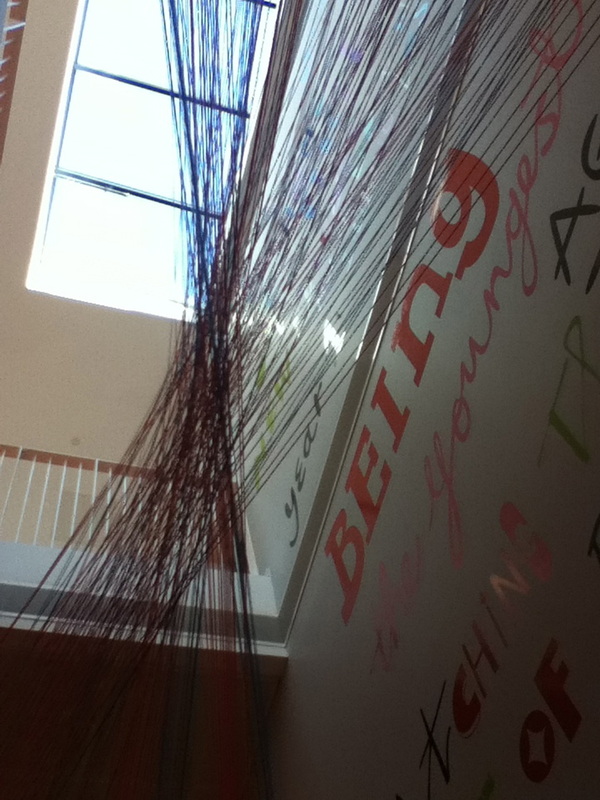
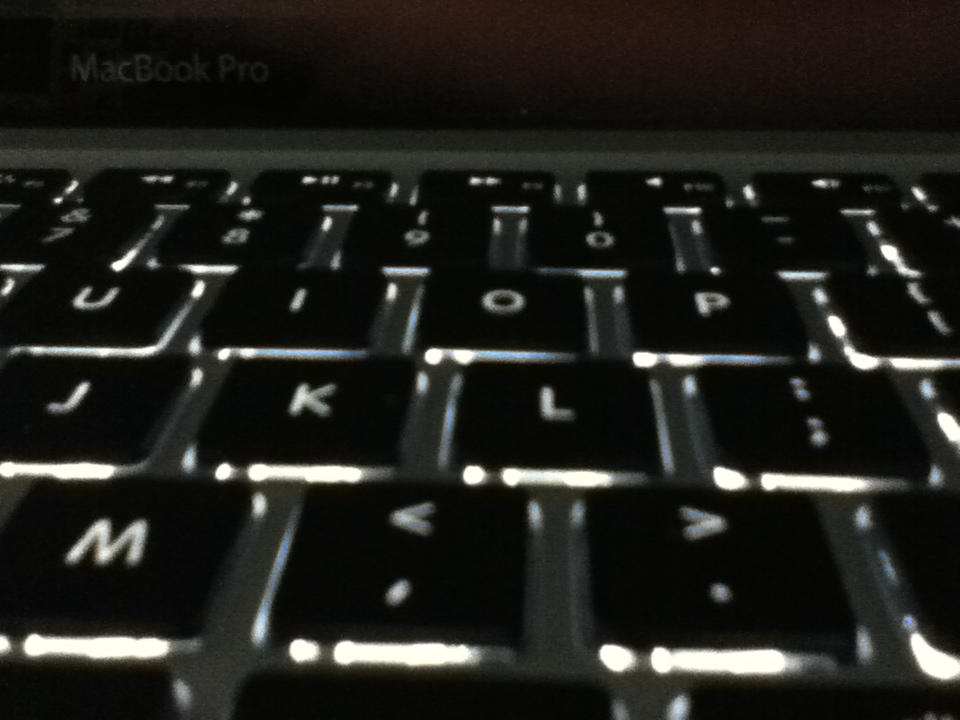
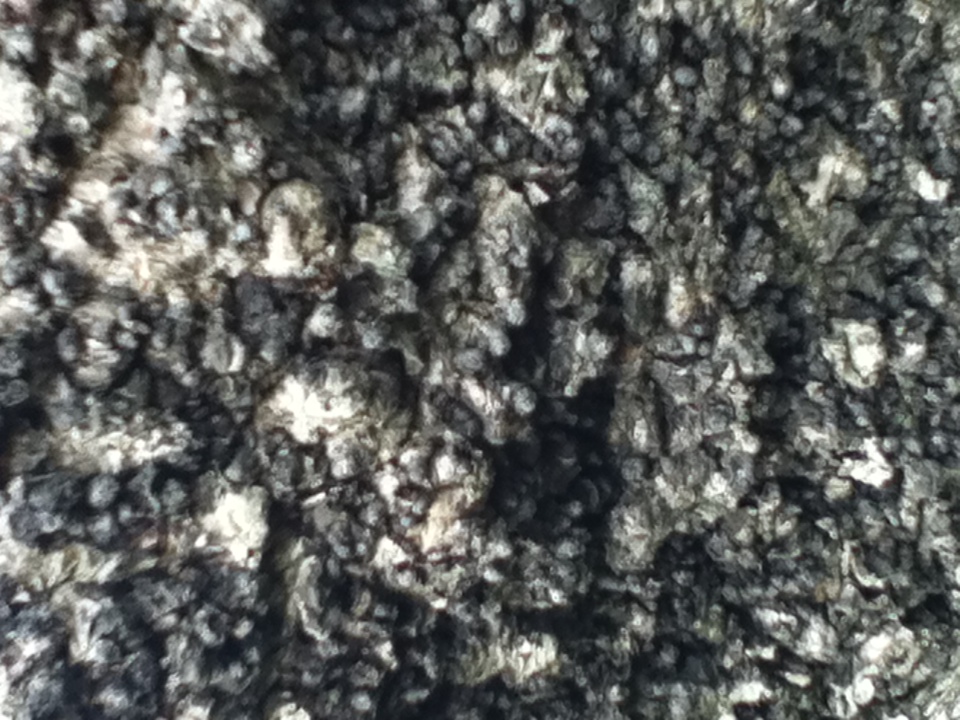
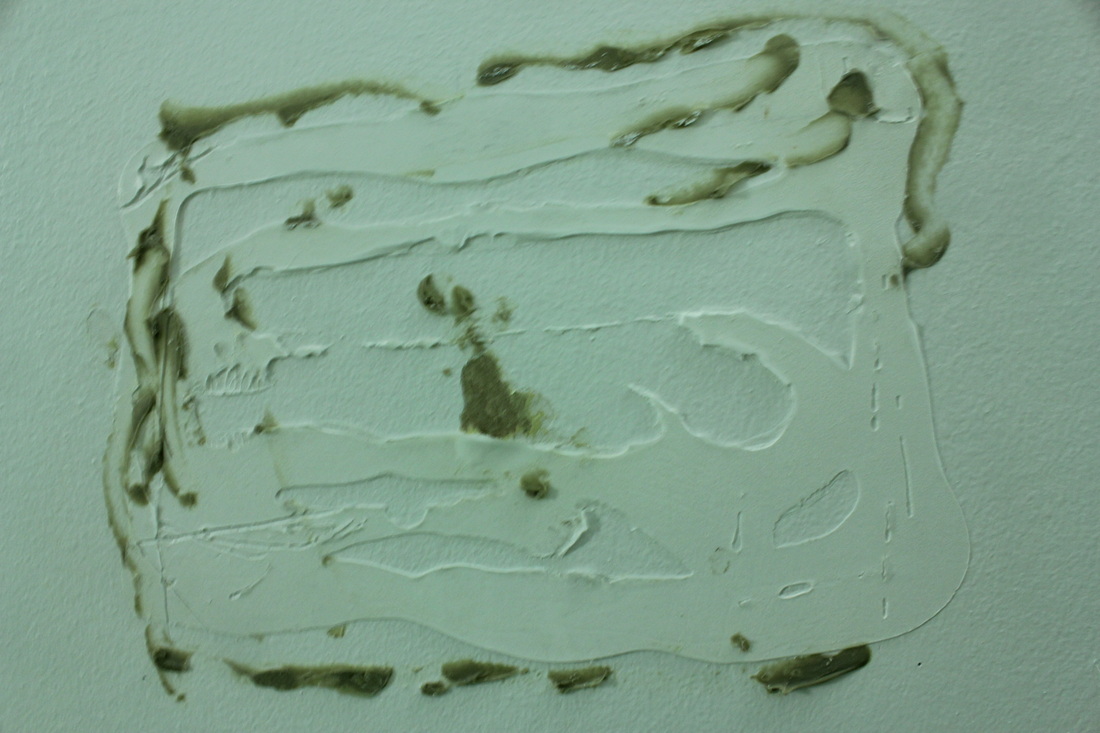
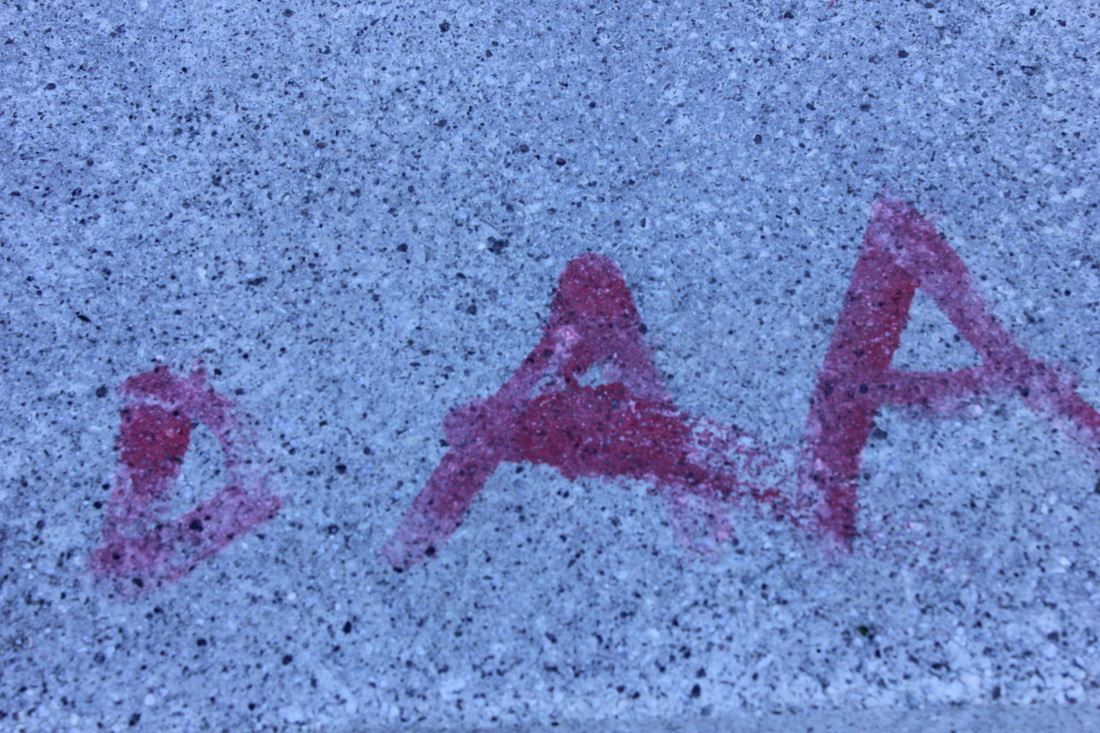
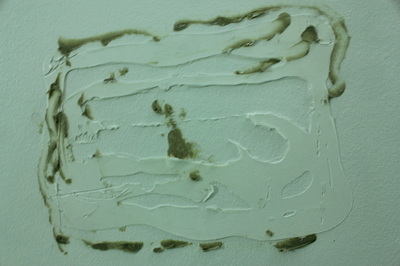
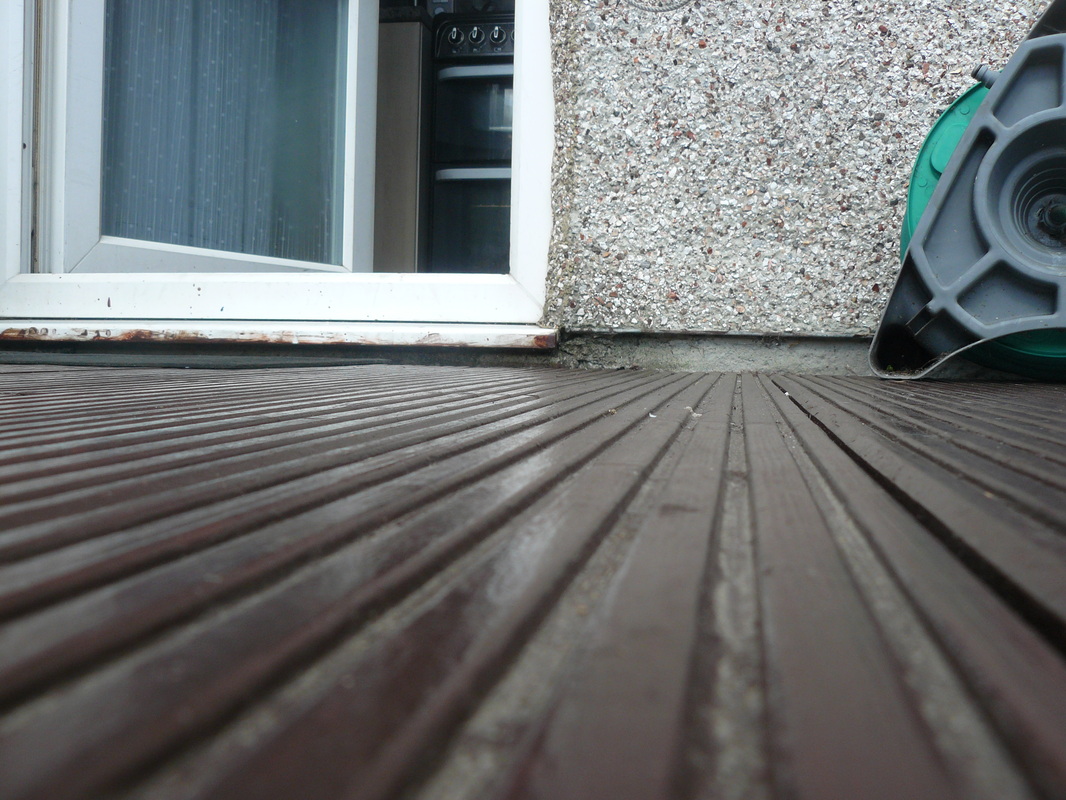
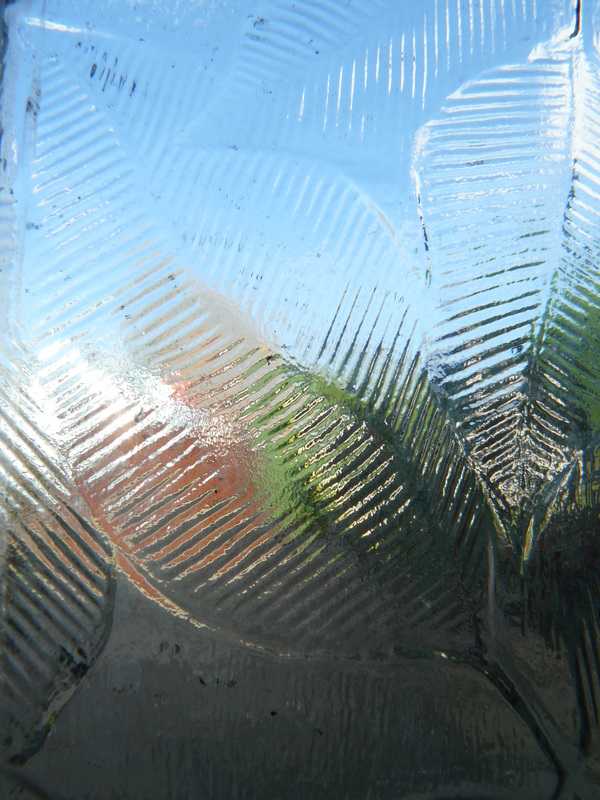
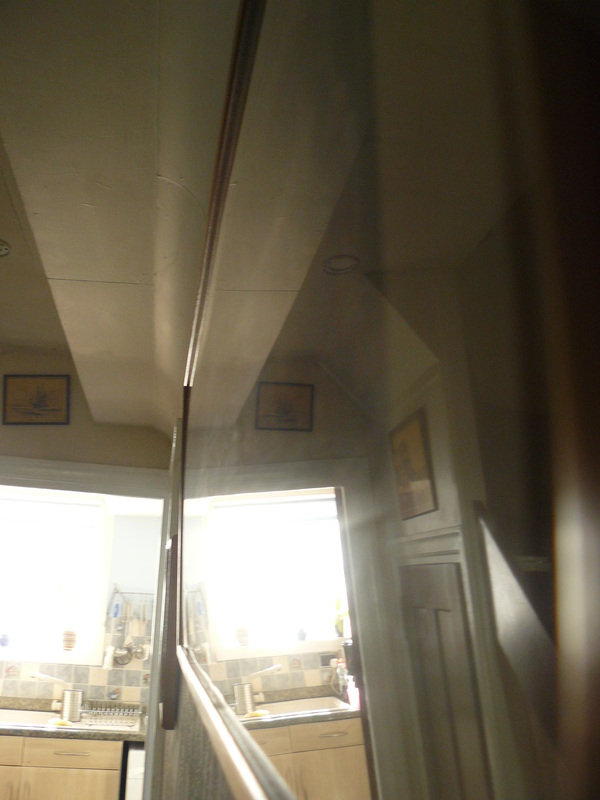
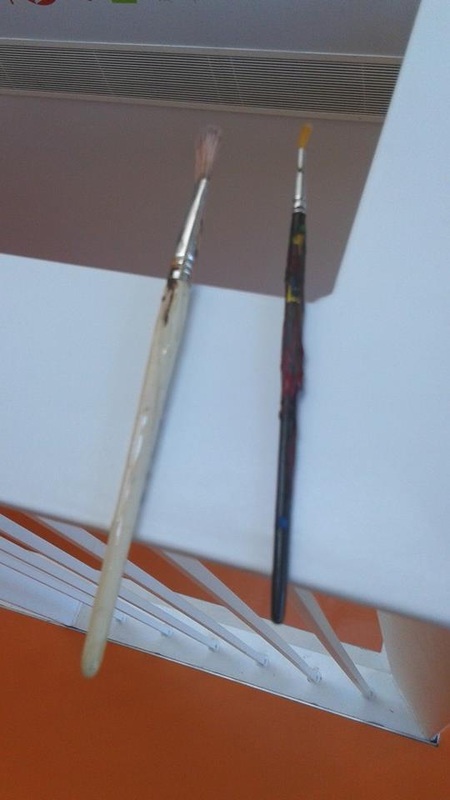
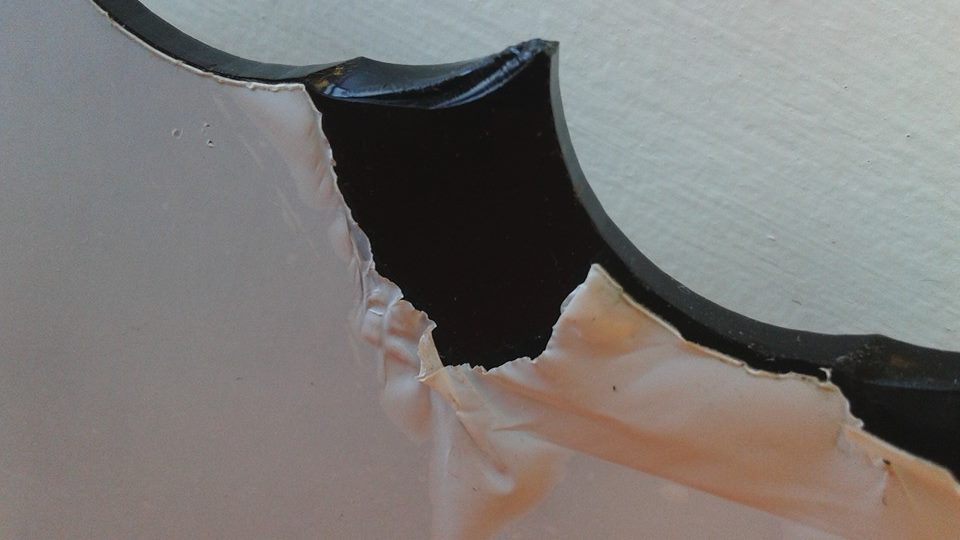
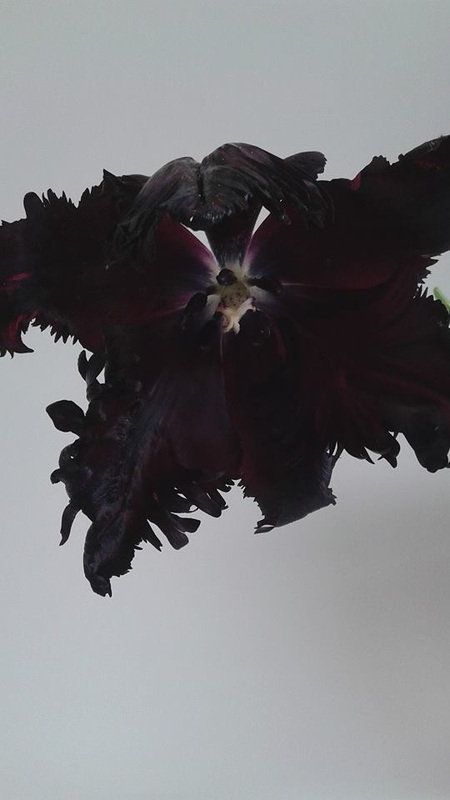
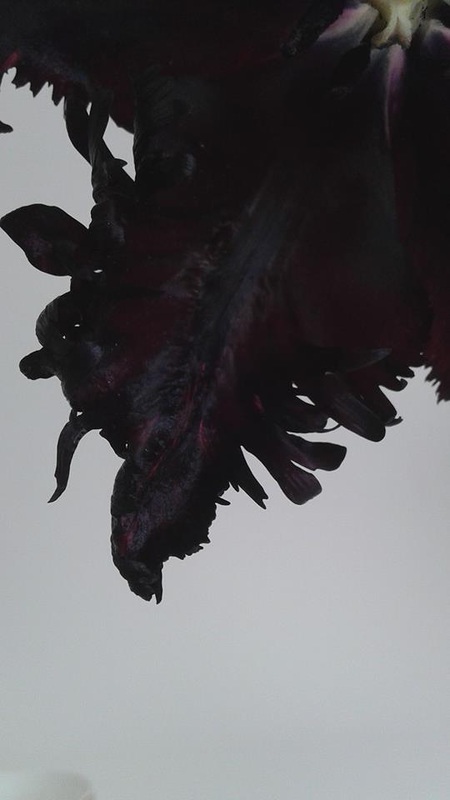
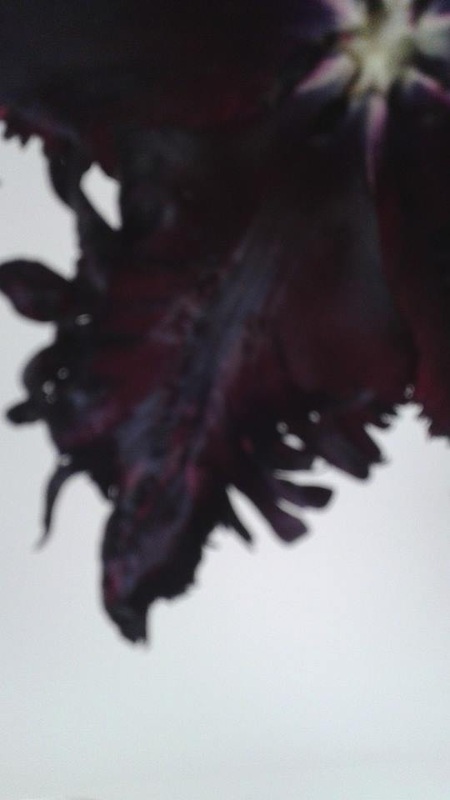
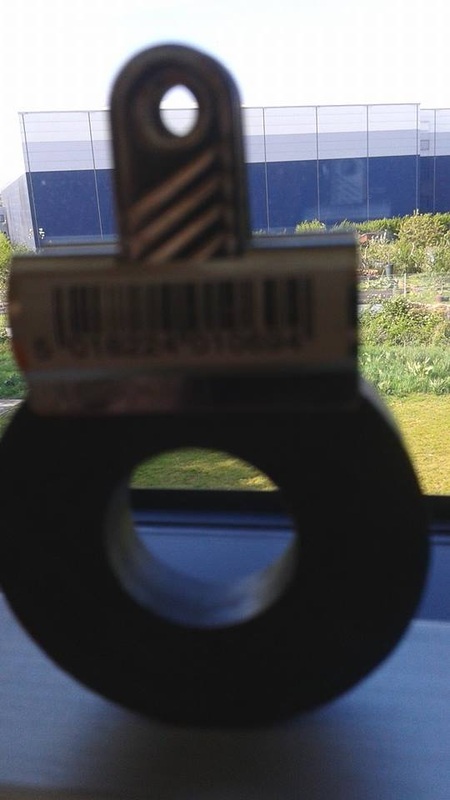
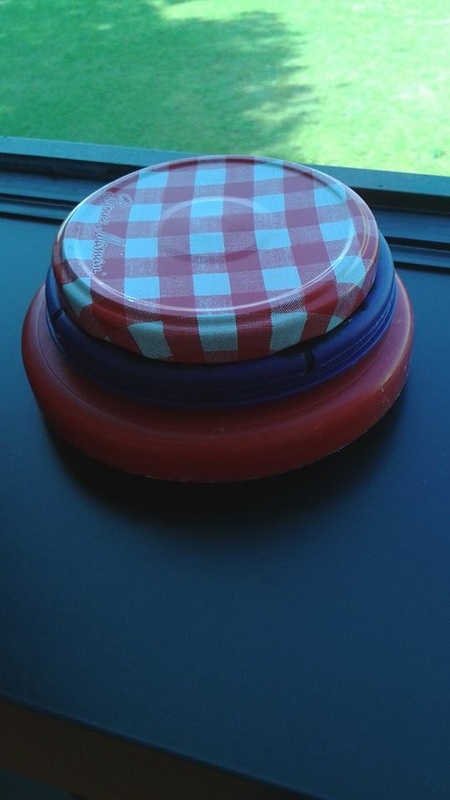
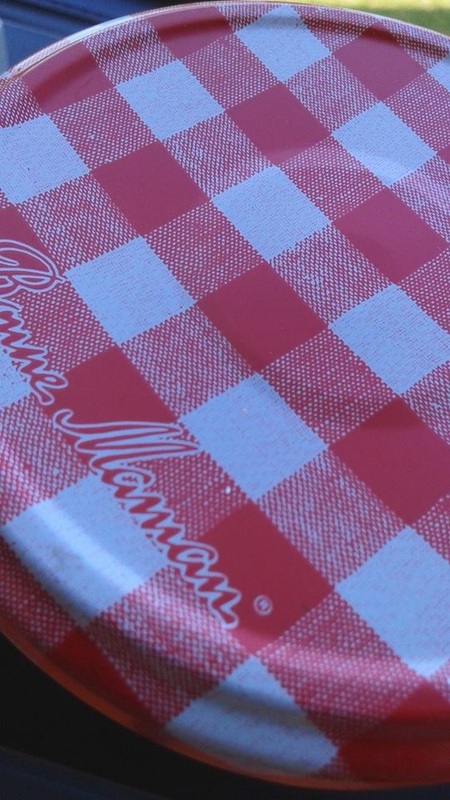
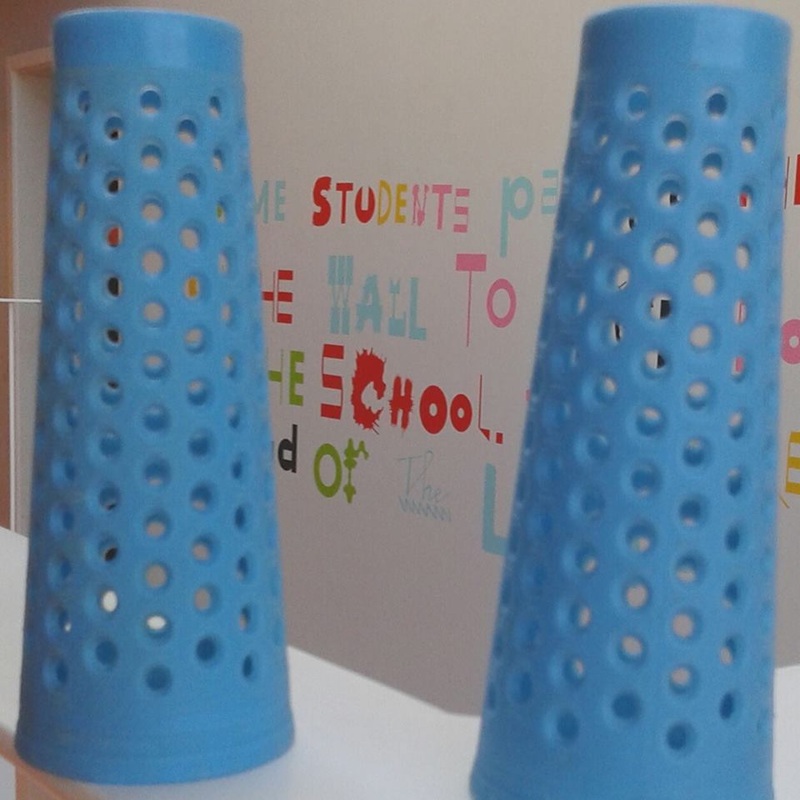
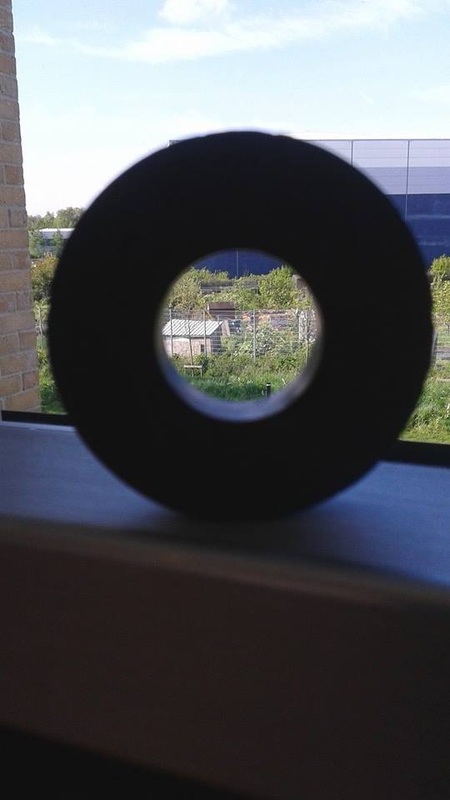
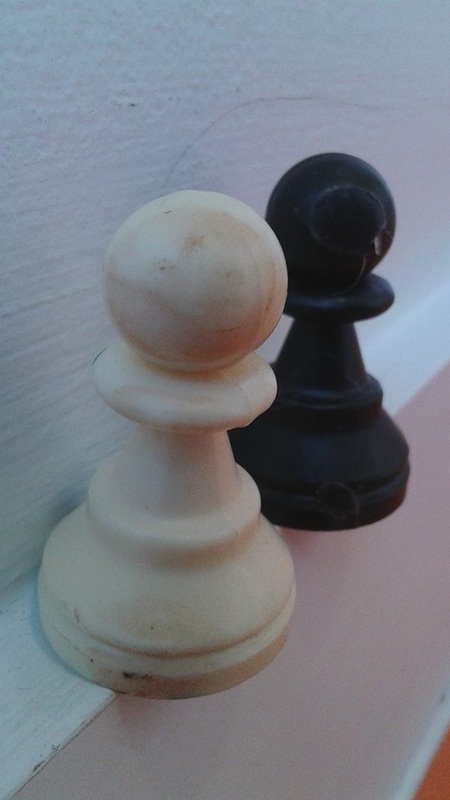
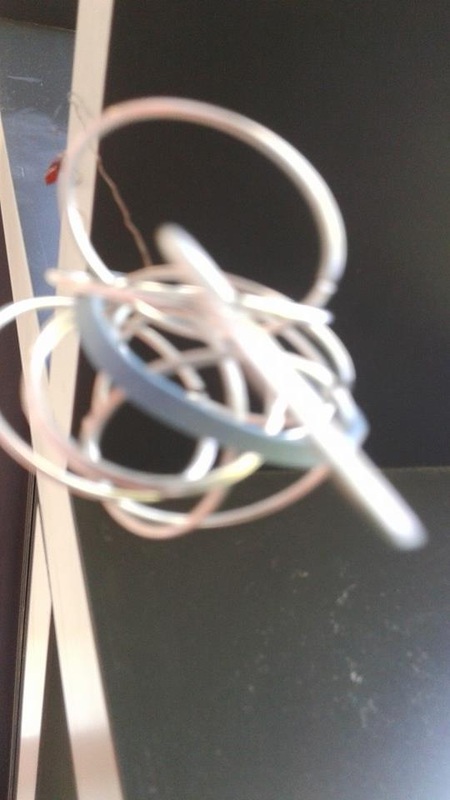
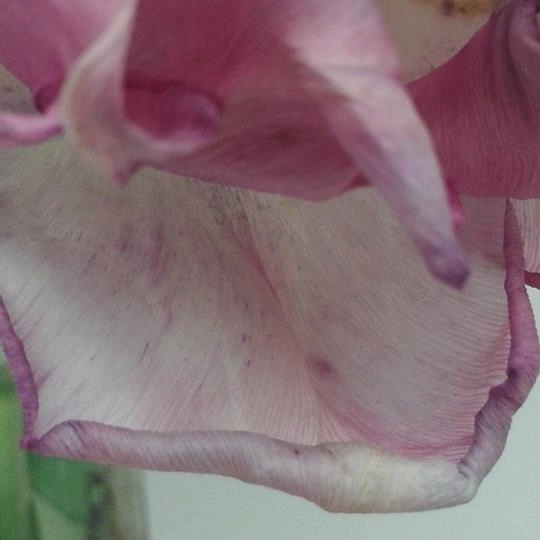
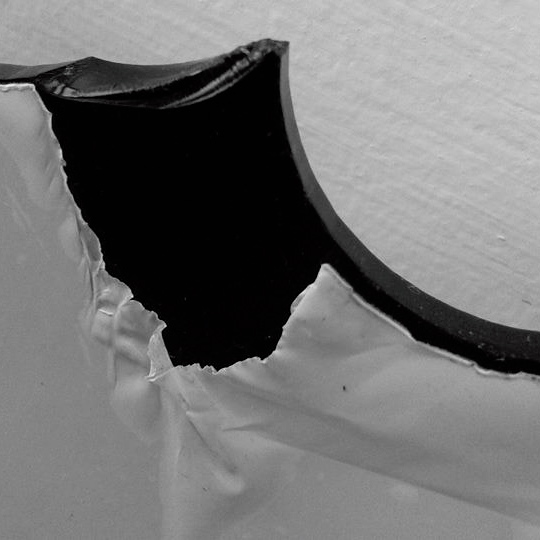
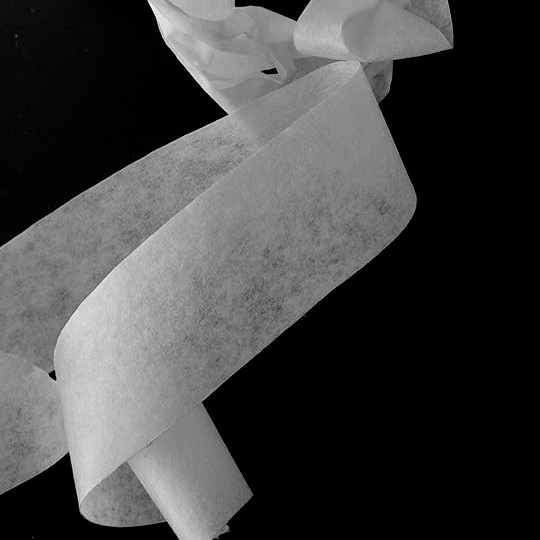
WWWThese two images that I took in my first photo shoot in unit 2 are my favourite, this is because they both really show the textures involved. For example, the first one is a painting on a large canvas, it shows the different paint strokes used and all of the different ways they have decorated this canvas, at the top they have allowed the paint to dripdown it and other points they have just overlapped different patterns therefore showing us different layers. Whereas, on the second one it is very simple, but it shows the smoothness of the wall then a torn part on the artwork hanging off of the wall creating a sort of 3D effect.
|

|
|
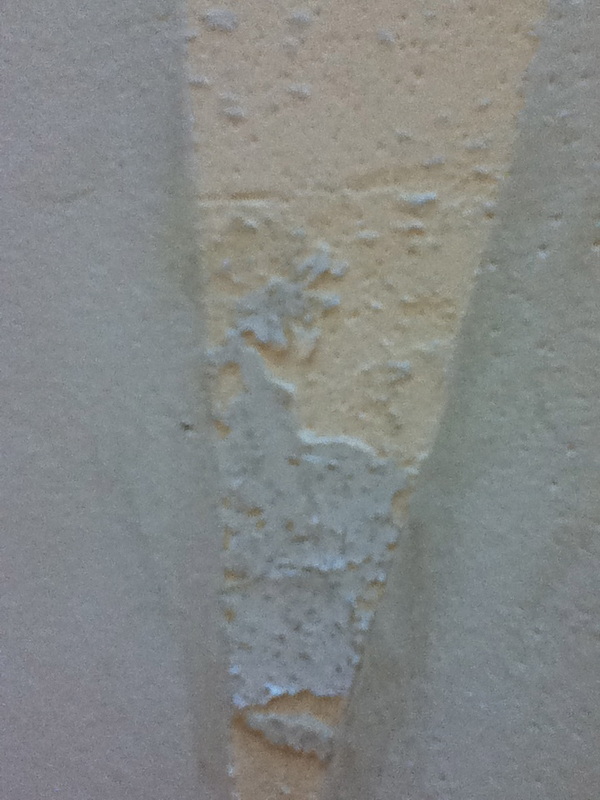
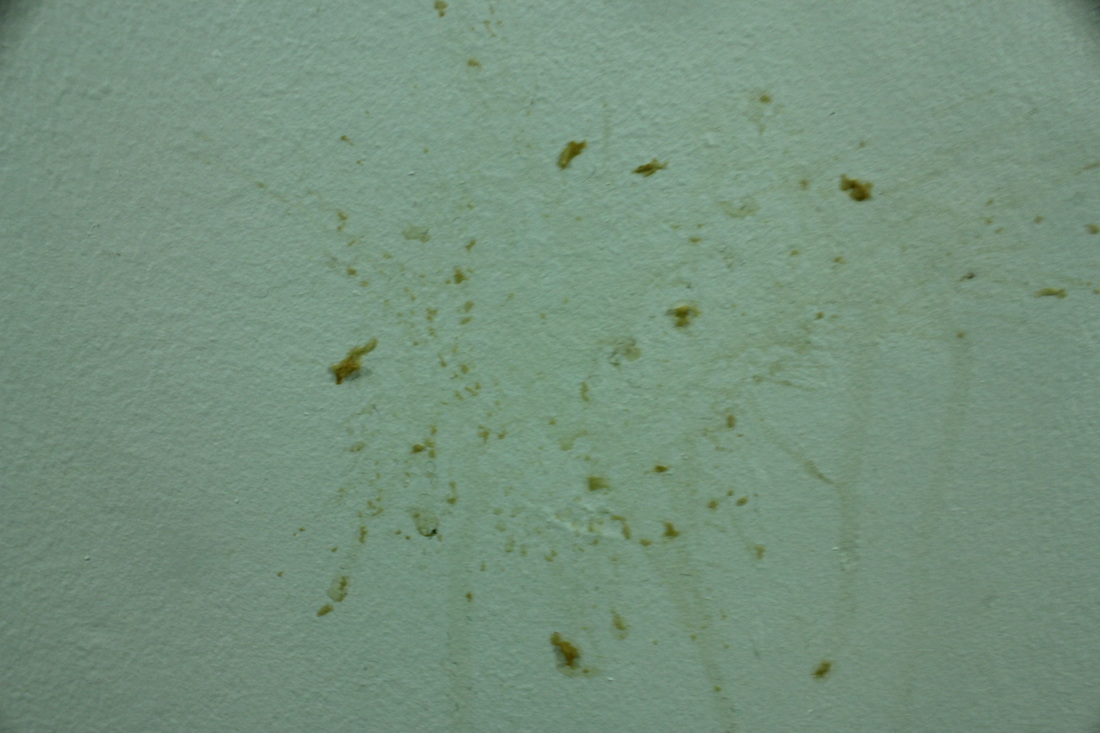
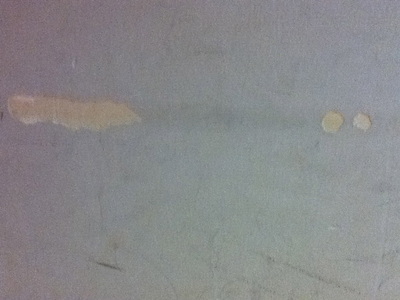
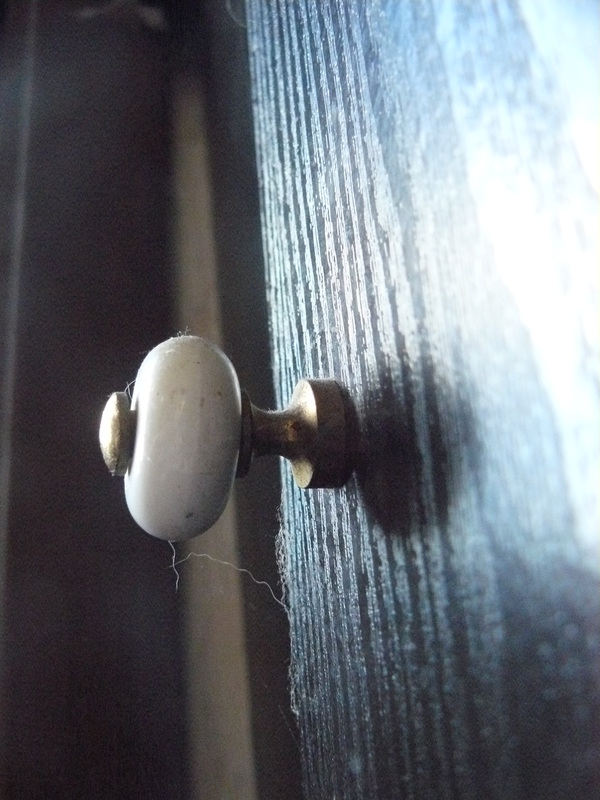
EBII believe that this photo that I took in my first photo shoot of unit 2 was not that good, I think this is because there is too much detail in the photo with the texture that I was trying to take a picture of. I believe that to make this image better i should have got closer to the texture and focused it a bit more. I would also have angled the camera properly so wouldn't get my shadow in the photo as it ruins the photo slightly.
|
Response #2


|
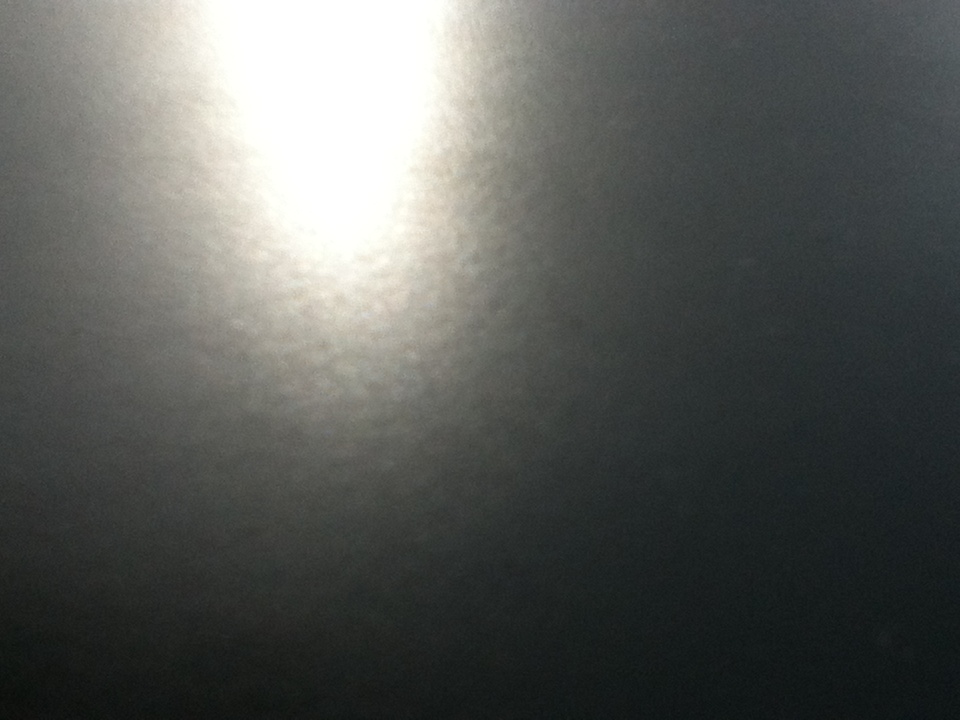
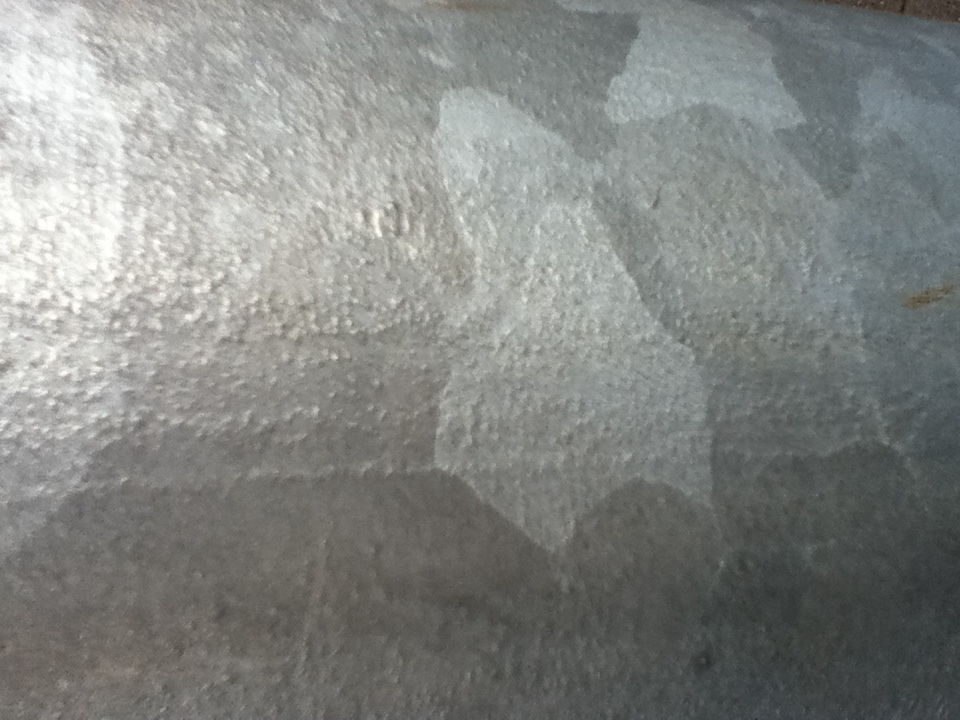
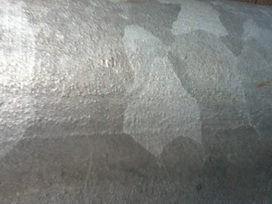
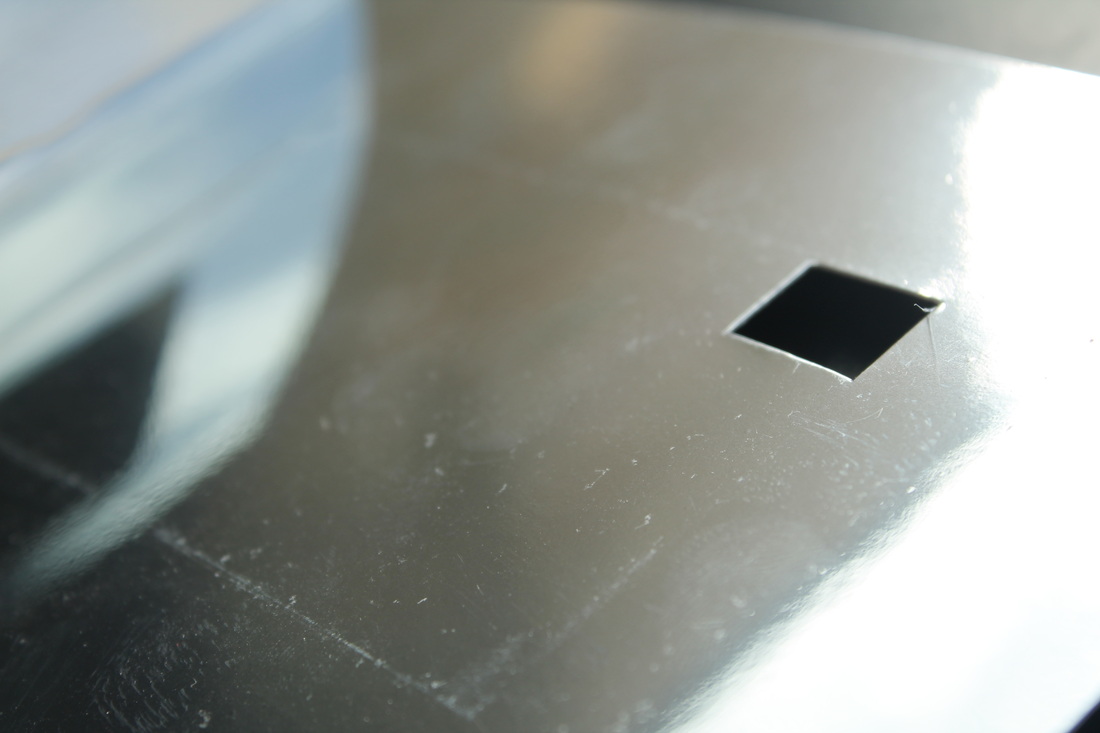
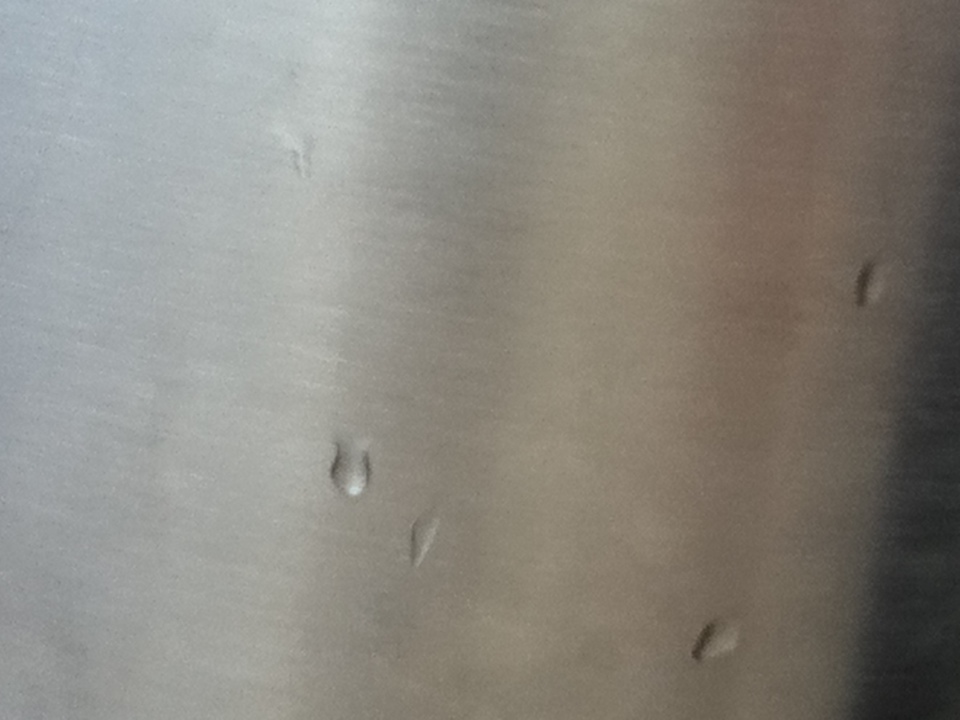
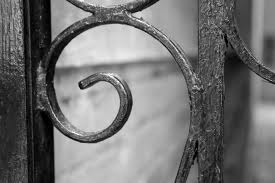
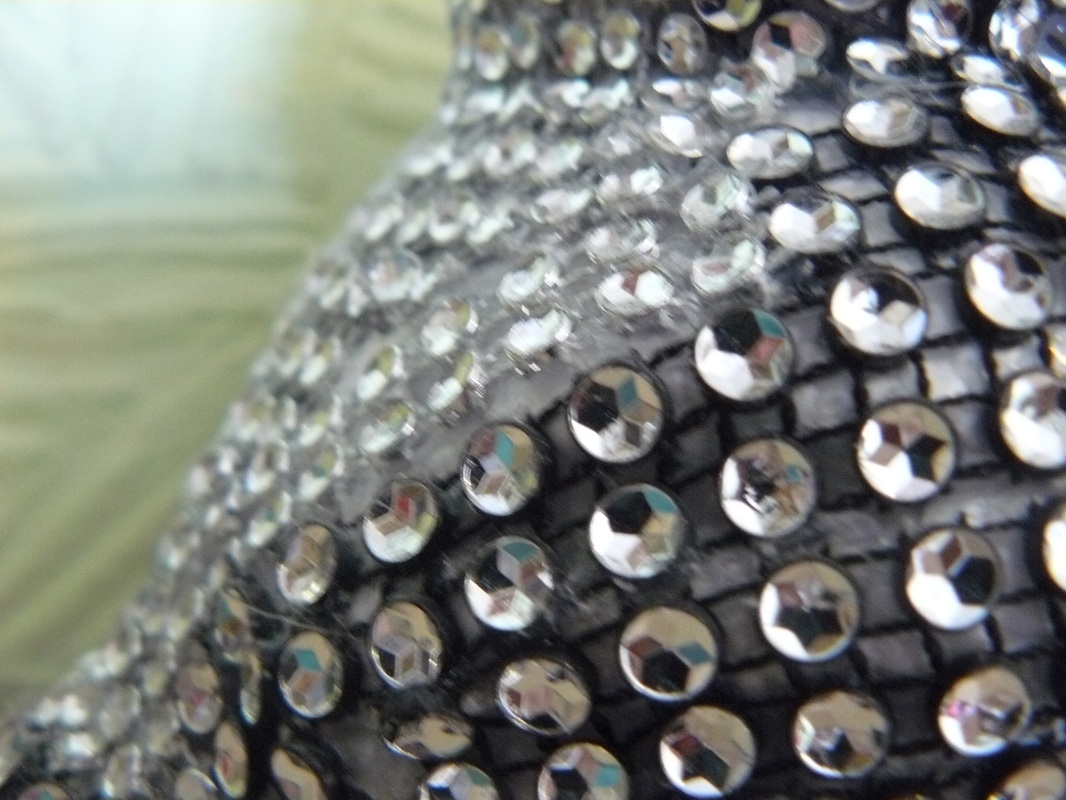
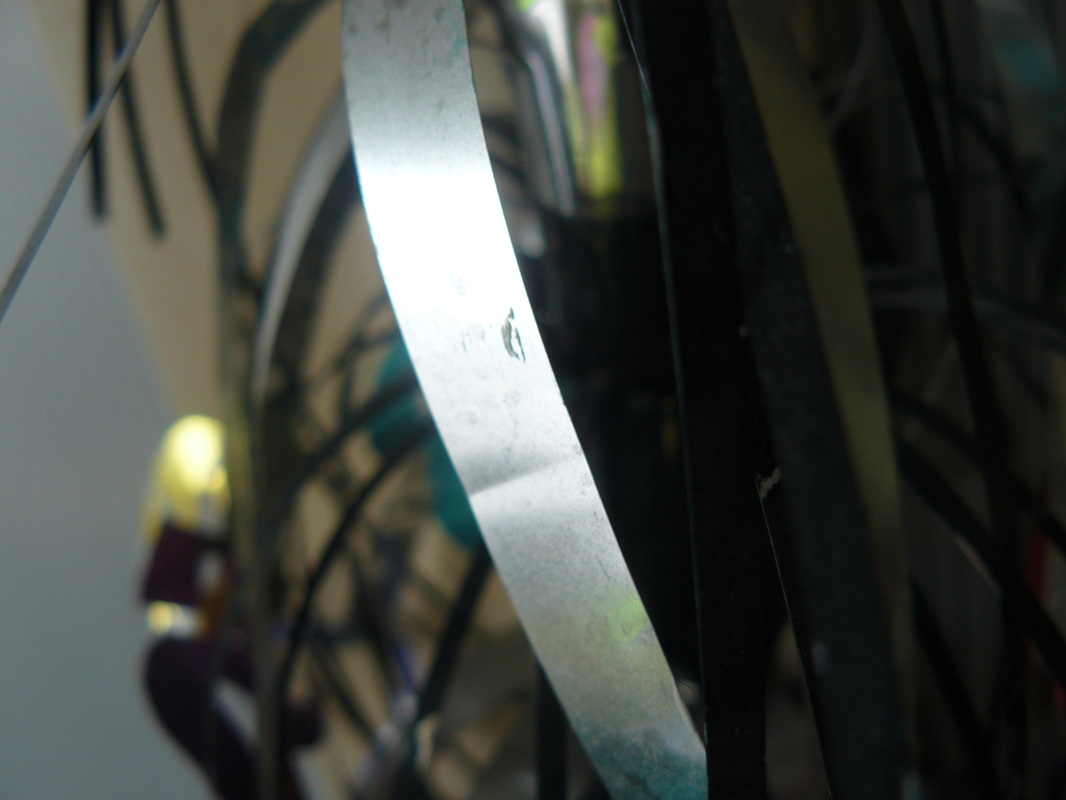
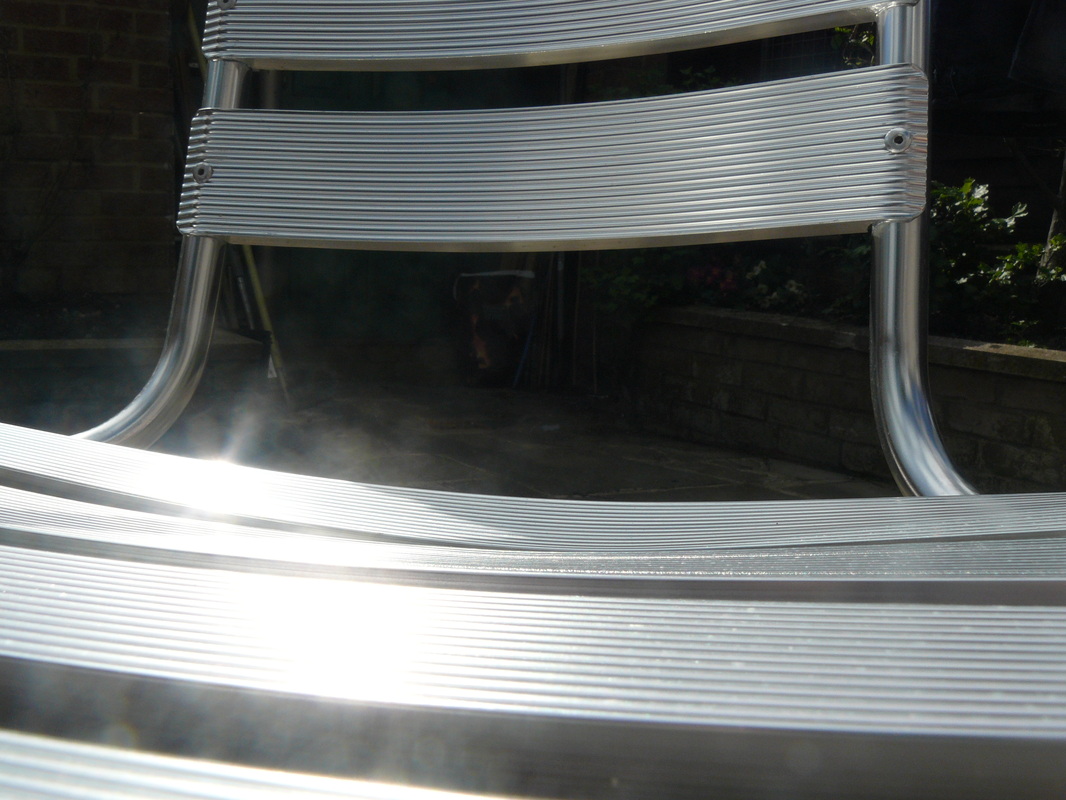
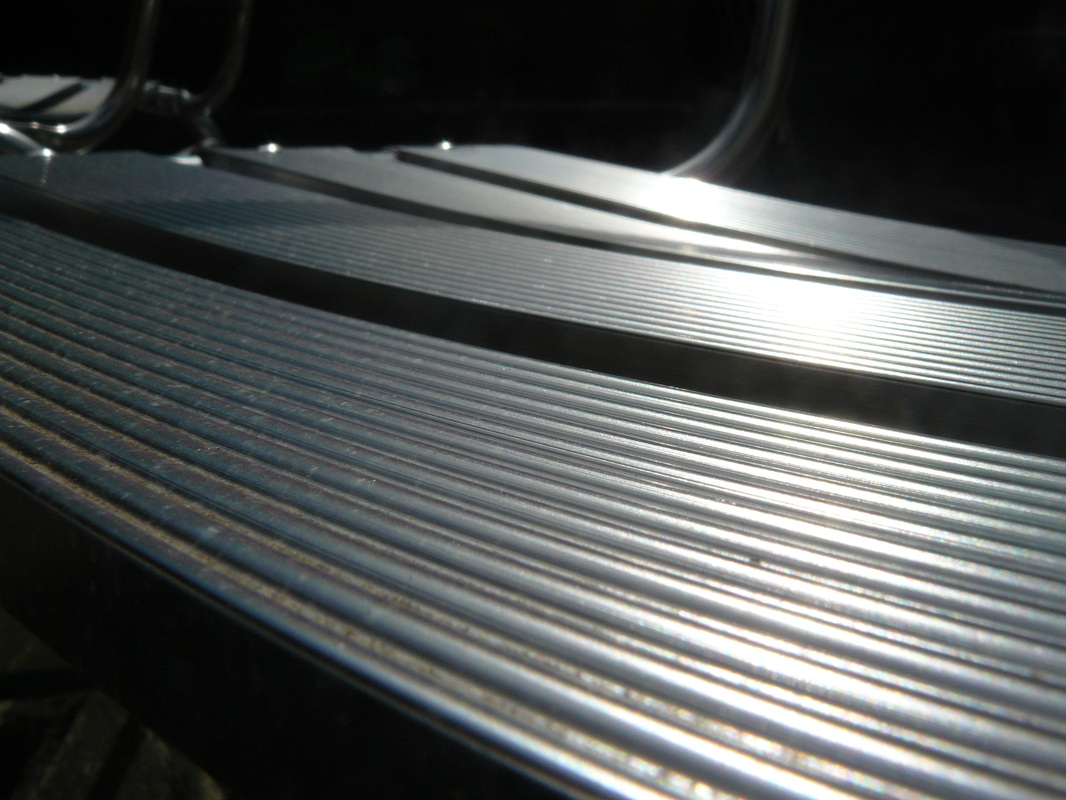
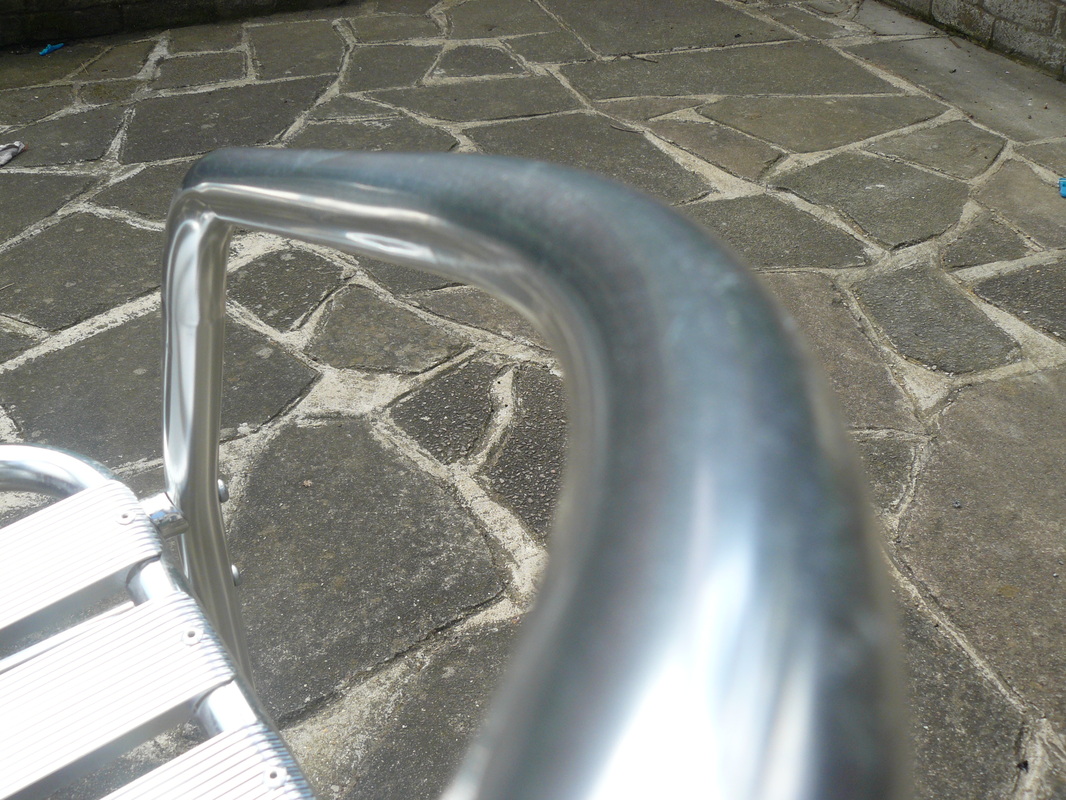
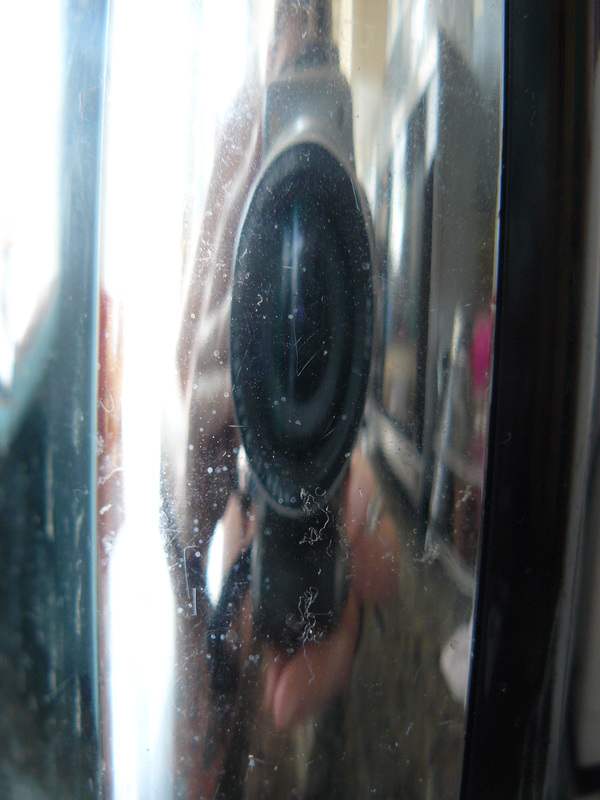
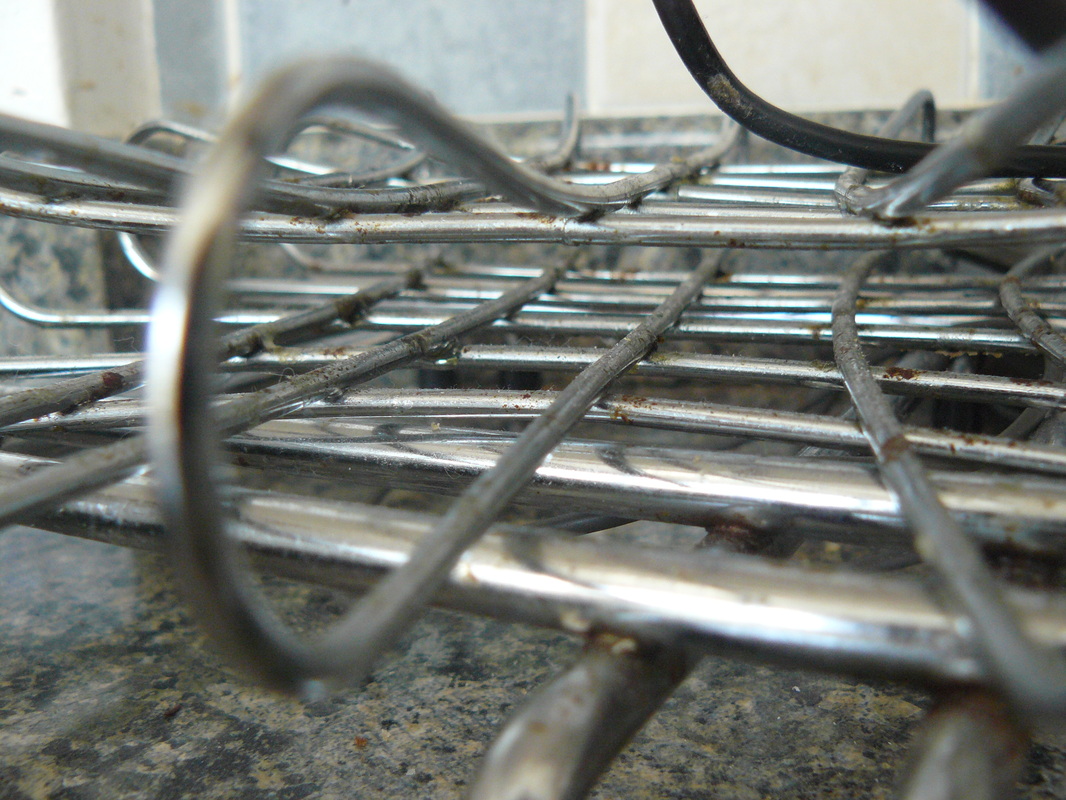
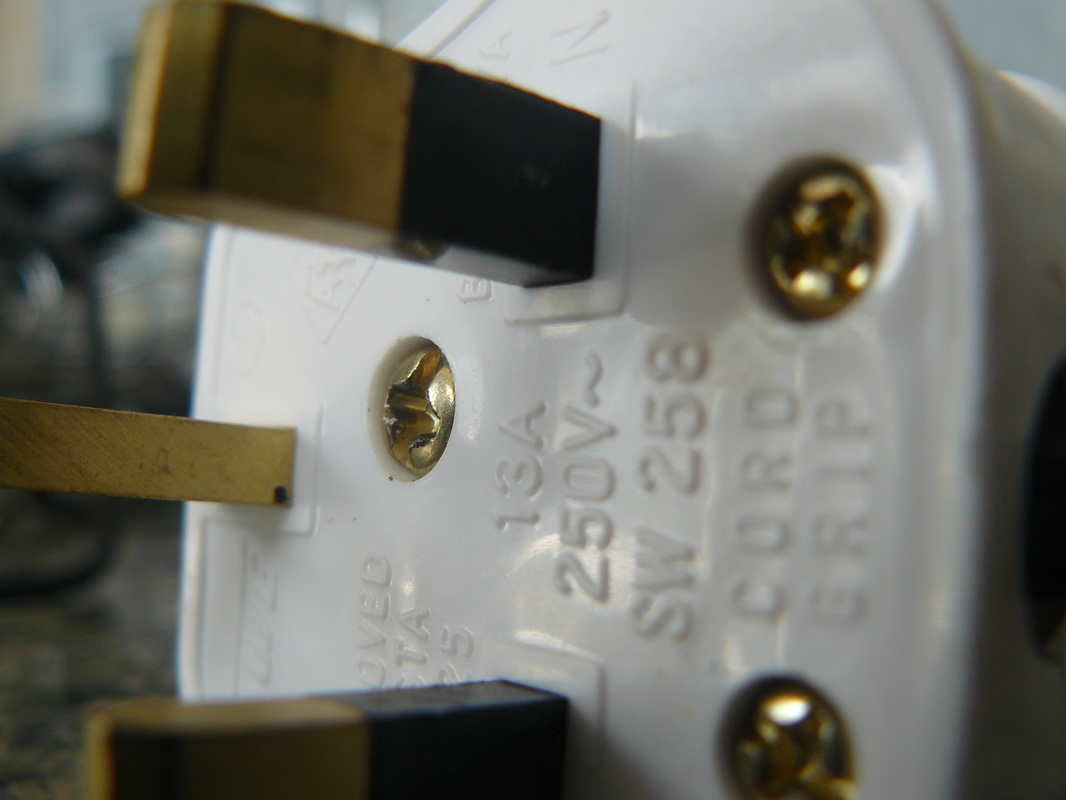
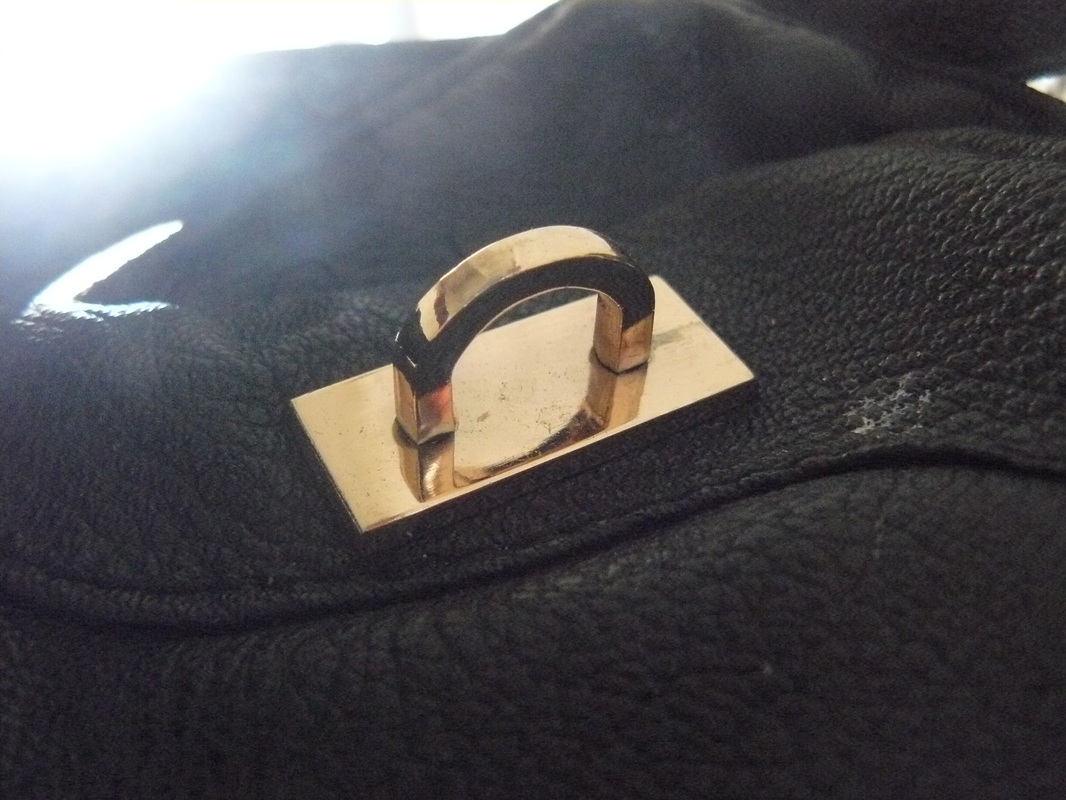
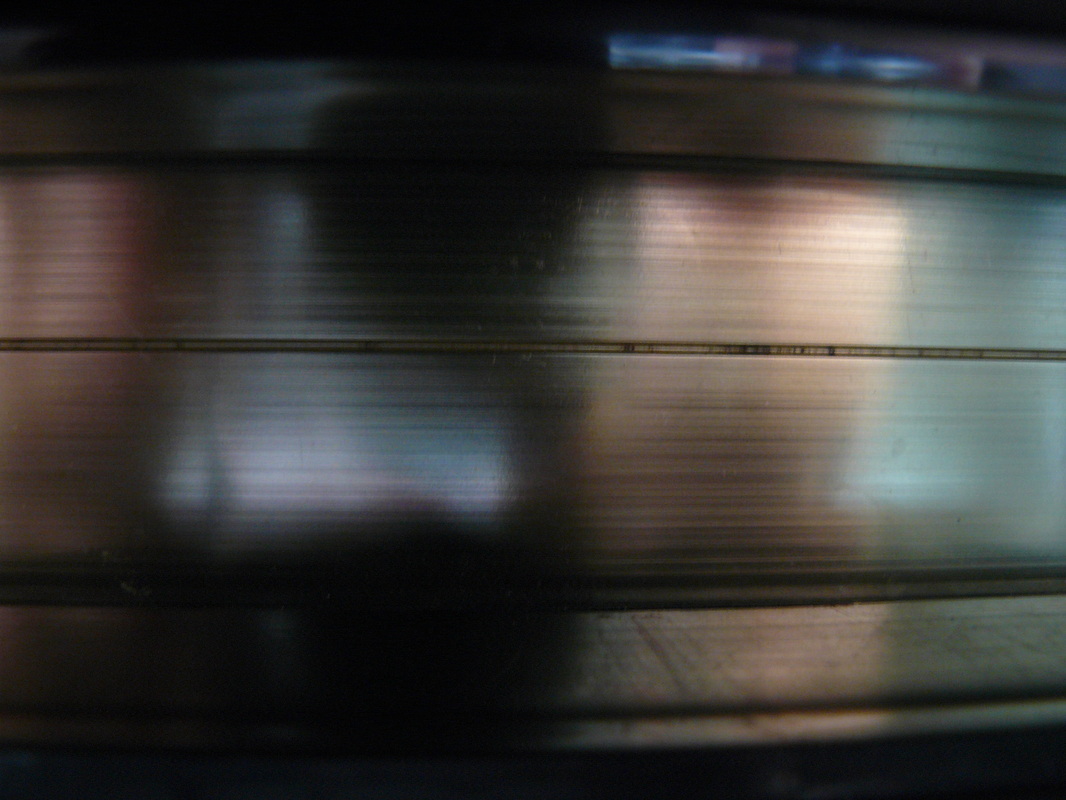
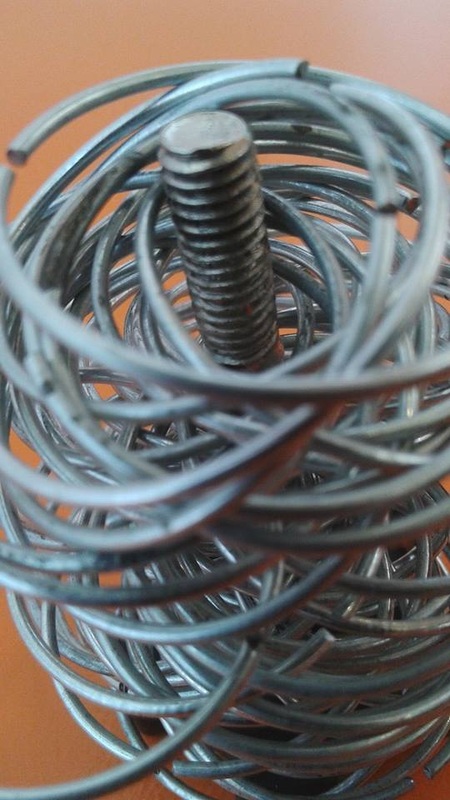
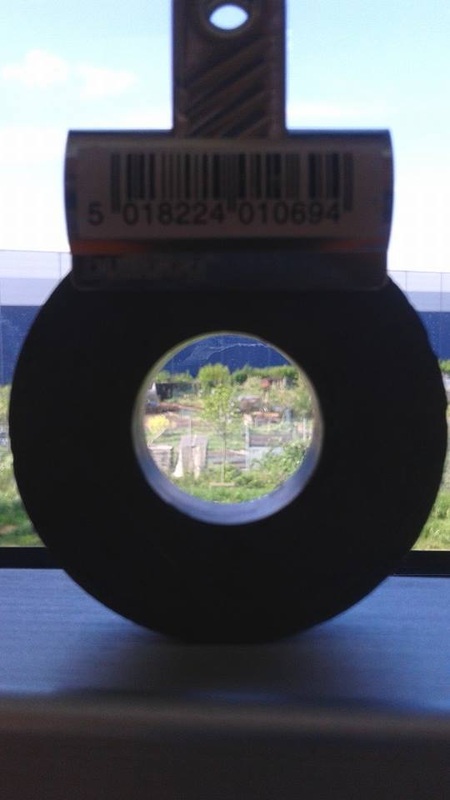
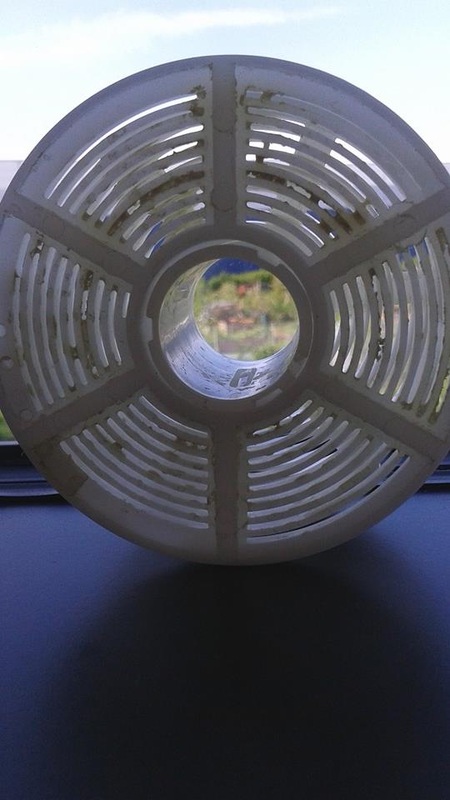
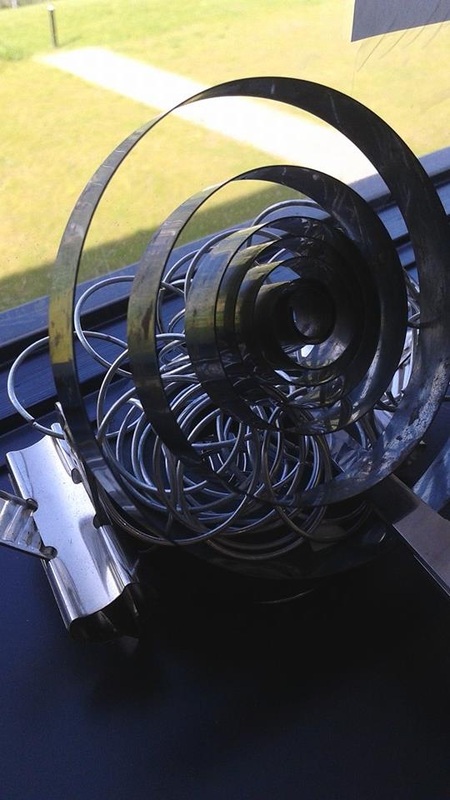
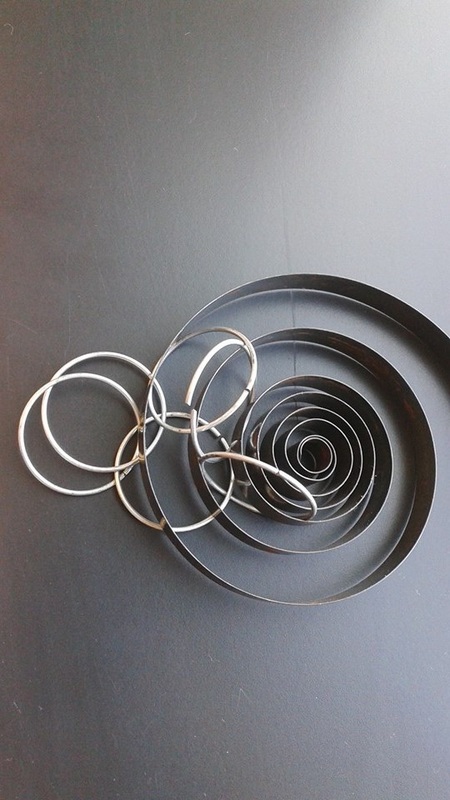
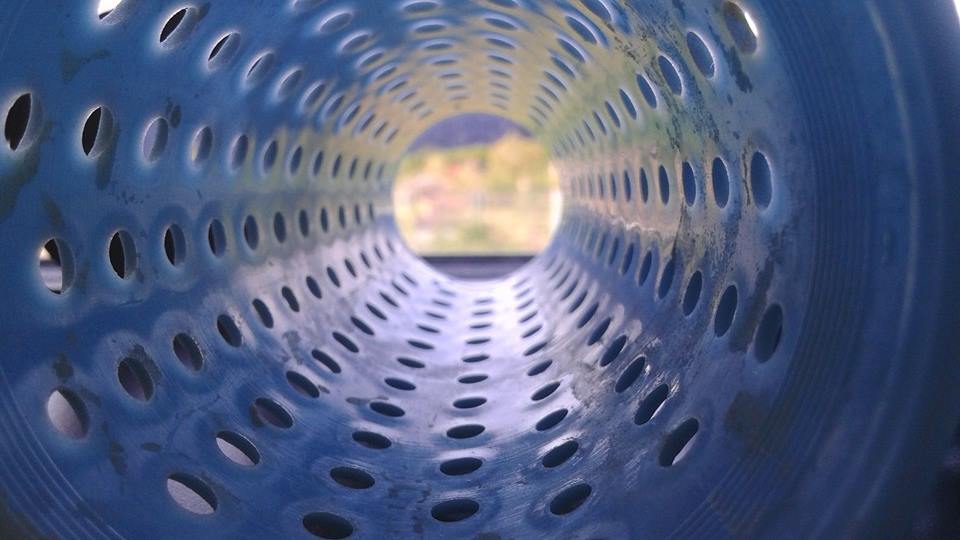
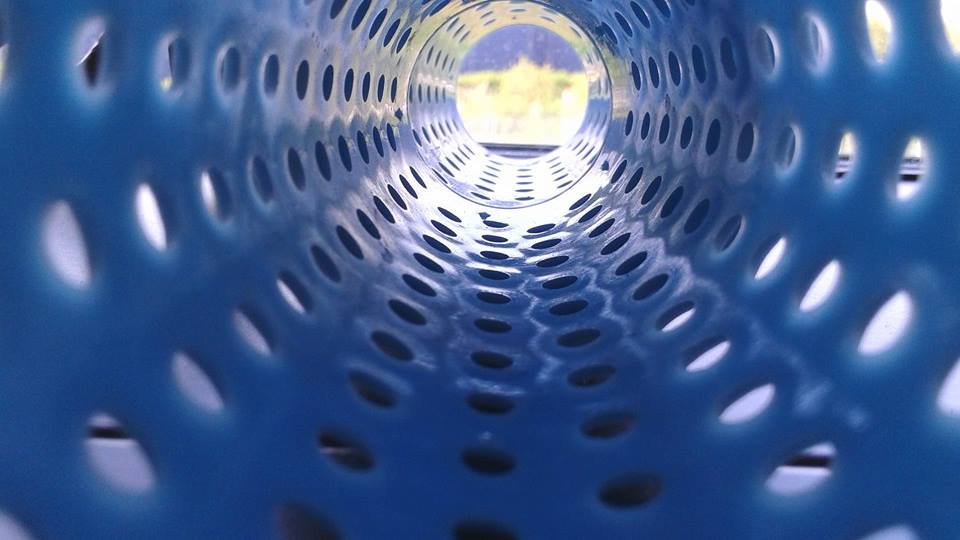
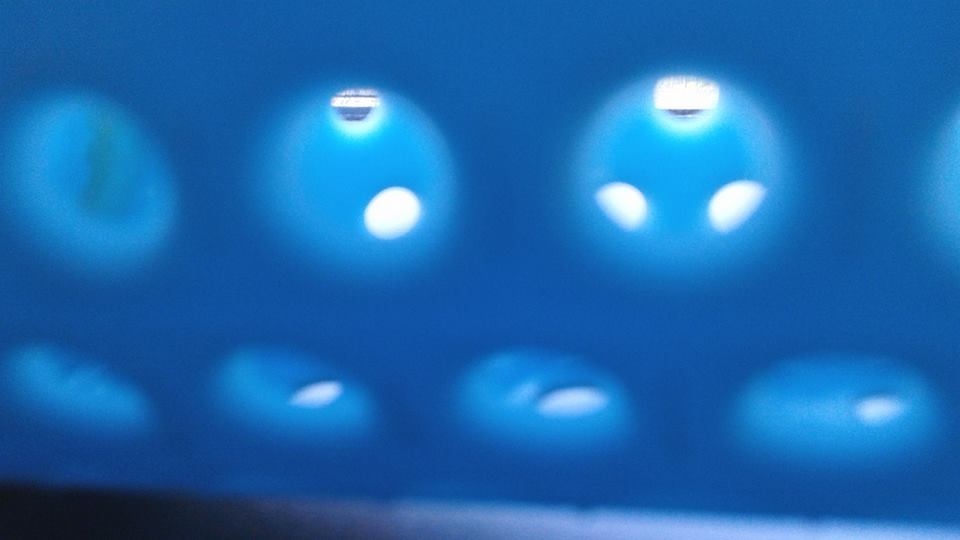
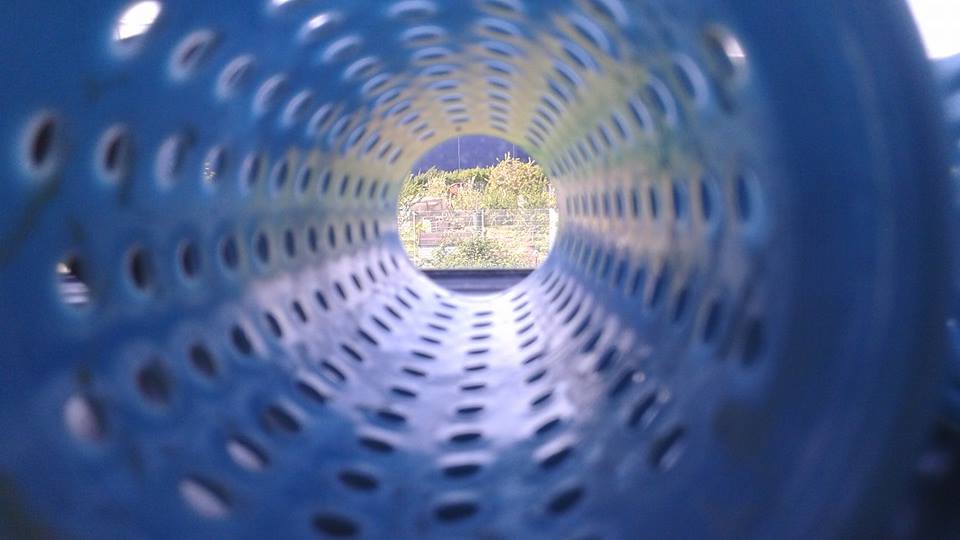
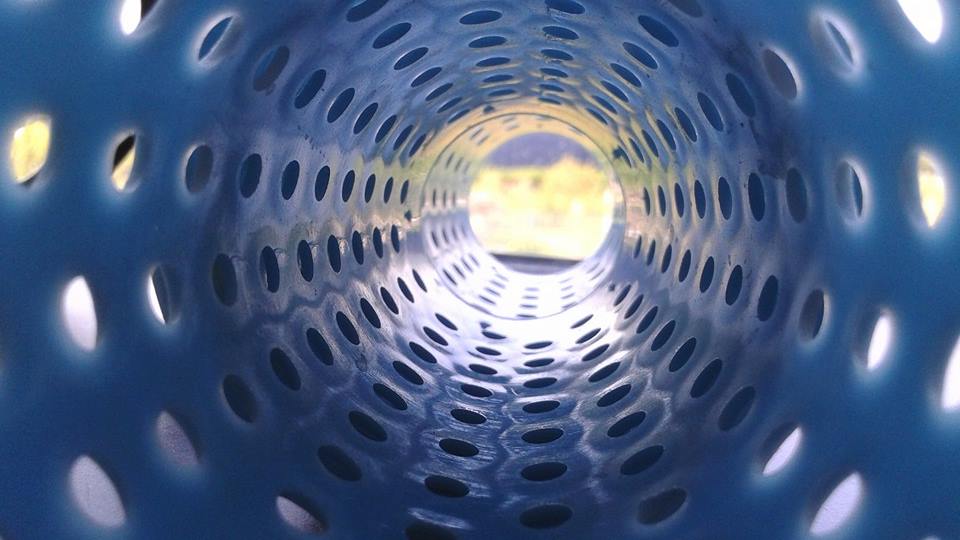
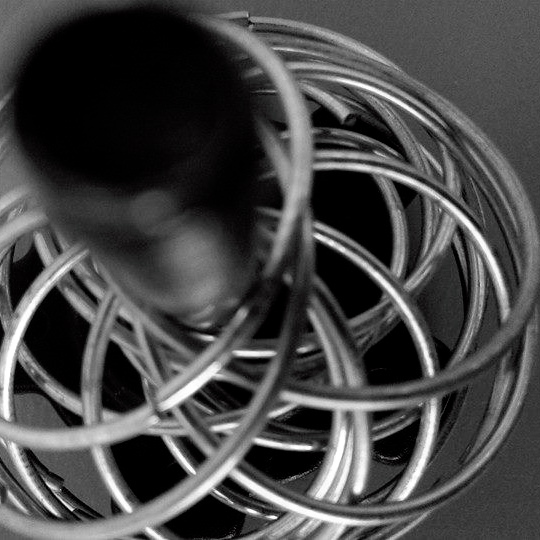
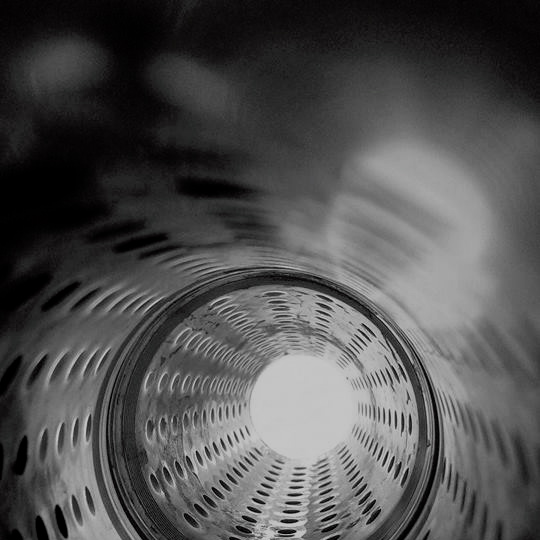
WWWOut of all the photos that I took in set 2 these two are my favourites. The first one shows something metal reflecting light which then shows the smoothness of the surface.
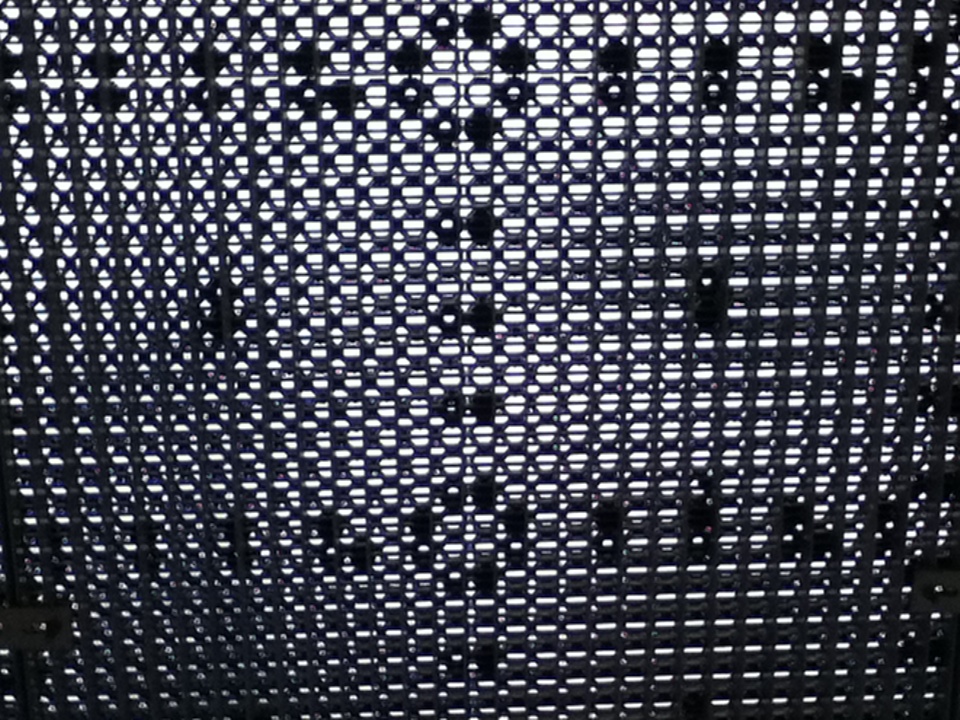
The second one Shows another metal object but with different shades of silver/grey where the layers of this object has have peeled off at certain areas creating interesting patterns. |
|
|
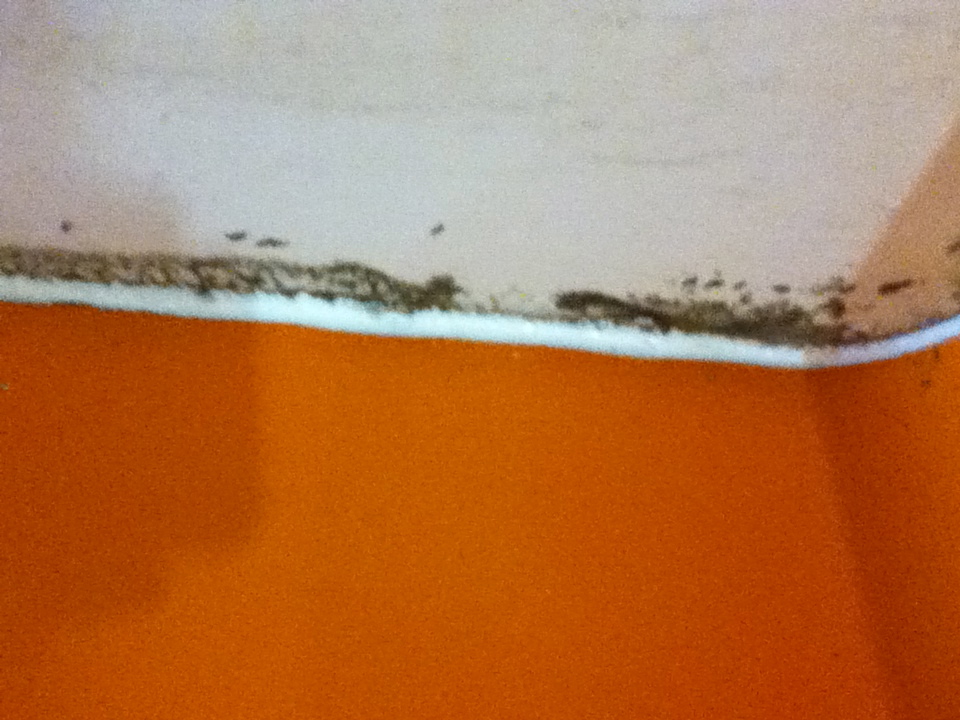
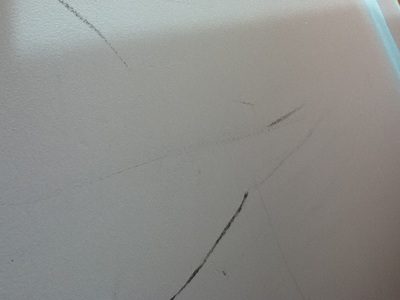
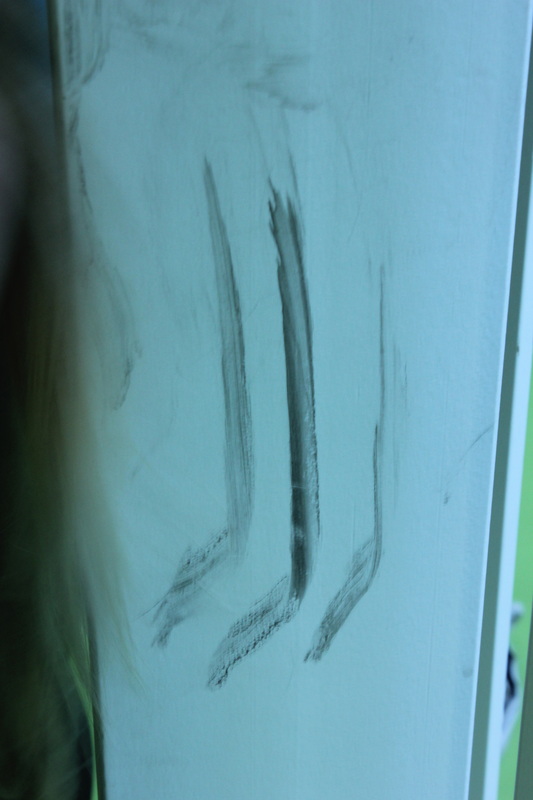
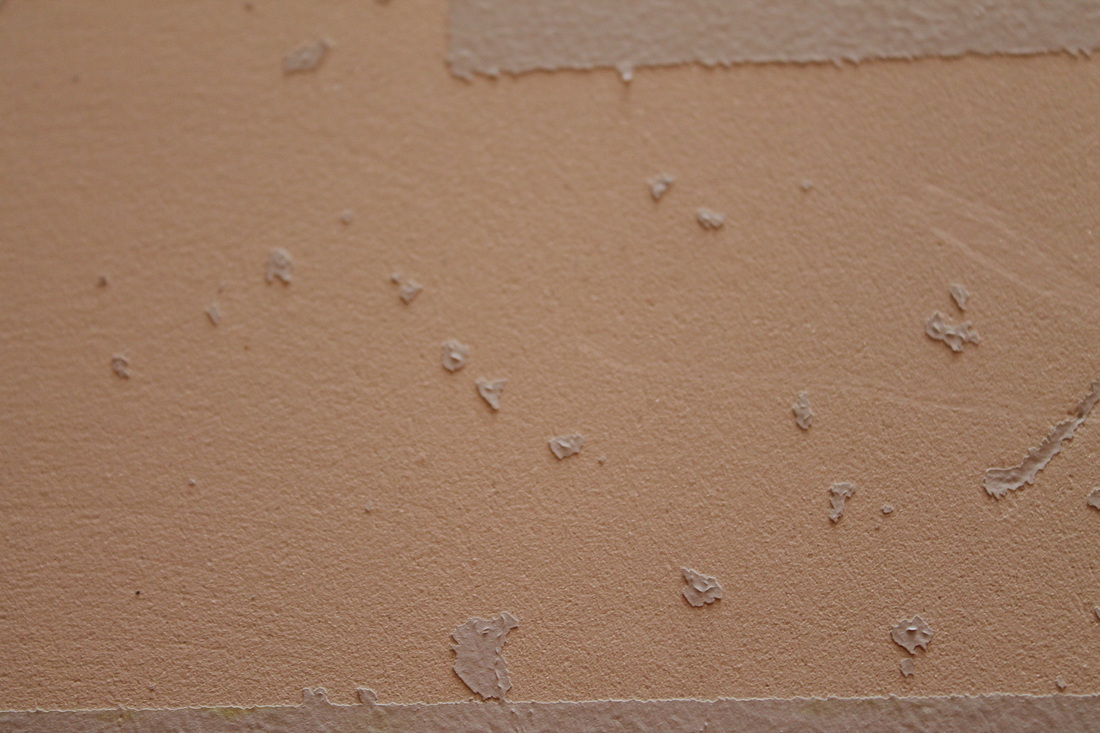
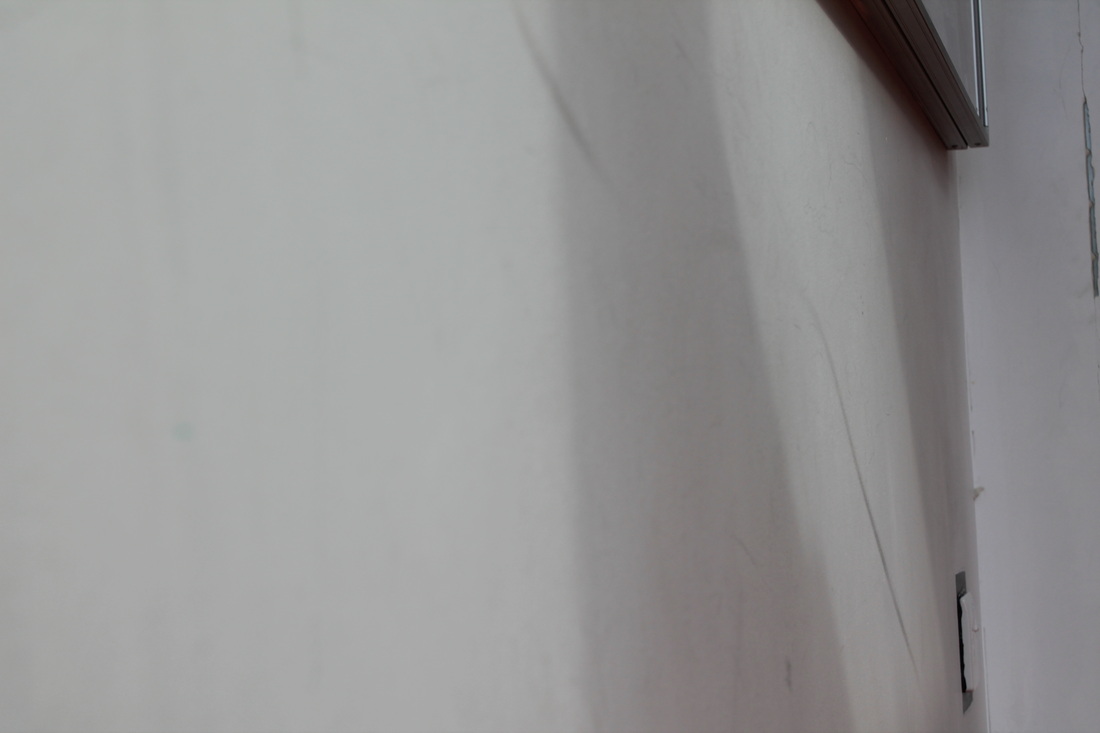
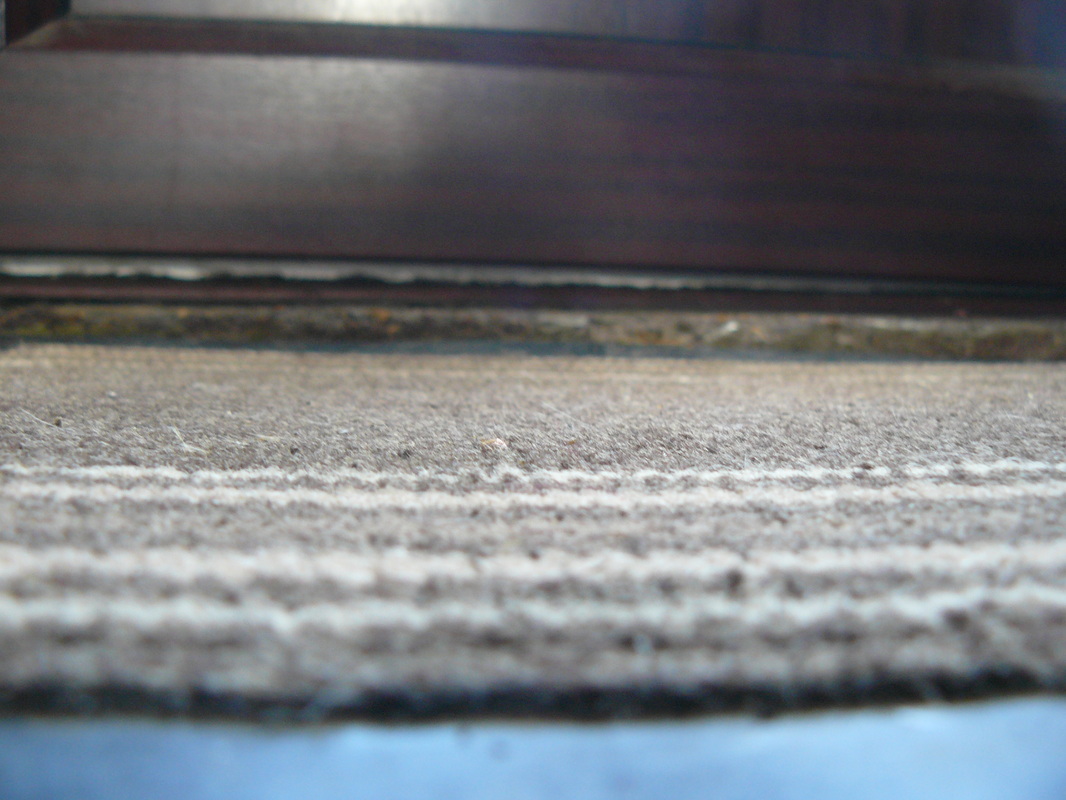
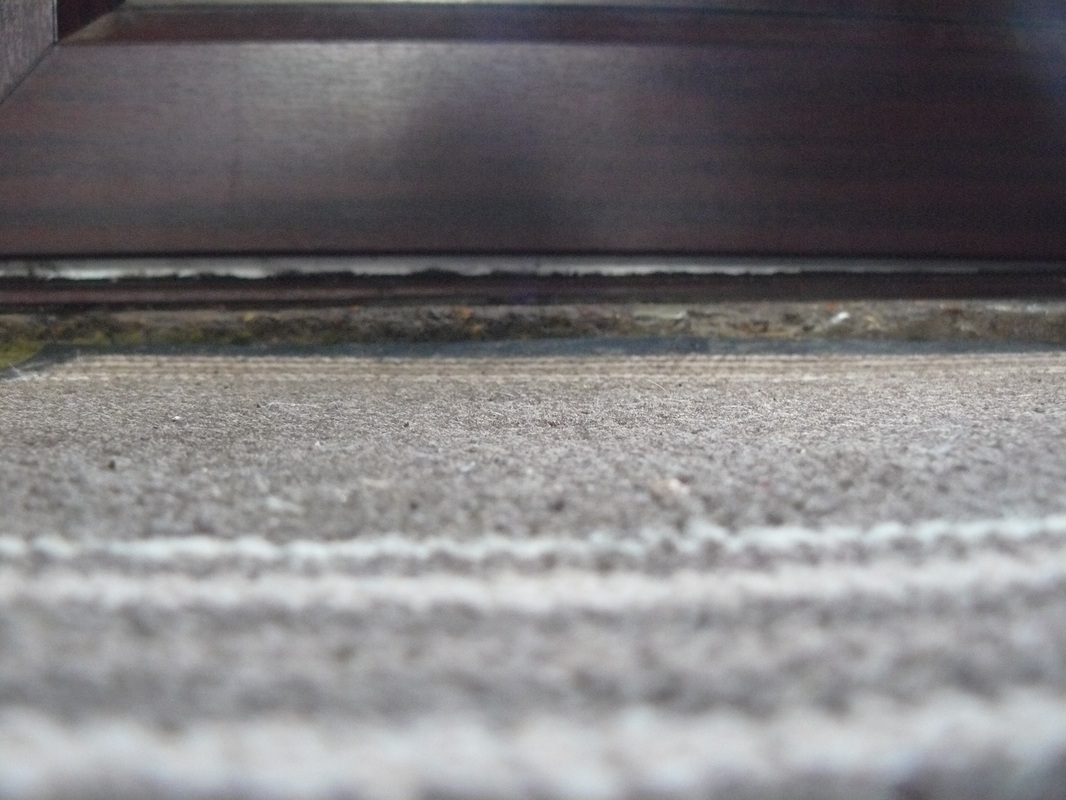
EBIOut of all the photos which I took in set 2 I dont think this one went well as it doesn't exactly show a lot of texture and it hardly has any actual texture in it except the few scratches on the wall which doesn't look very effective or at all interesting as the other photos that i took.
|
Response#3


|

|

|
WWW
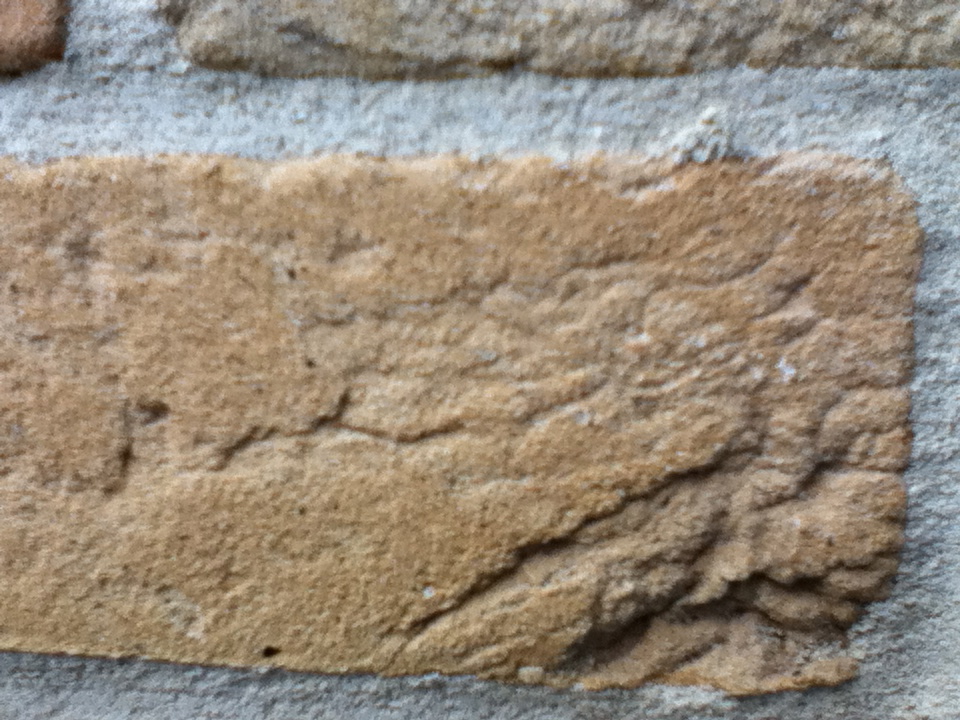
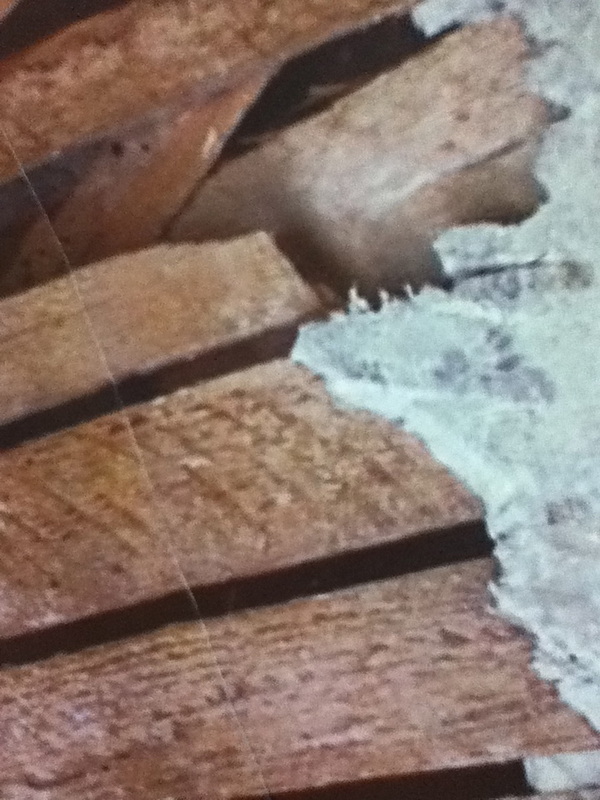
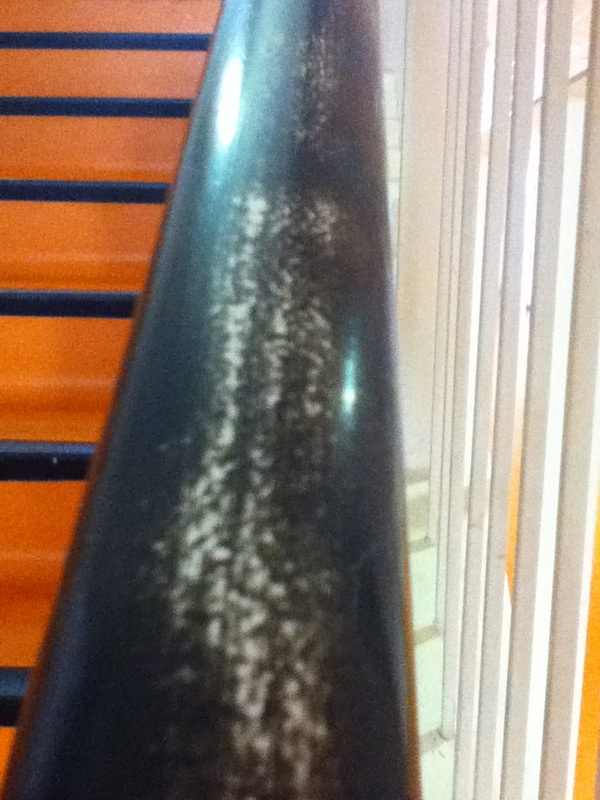
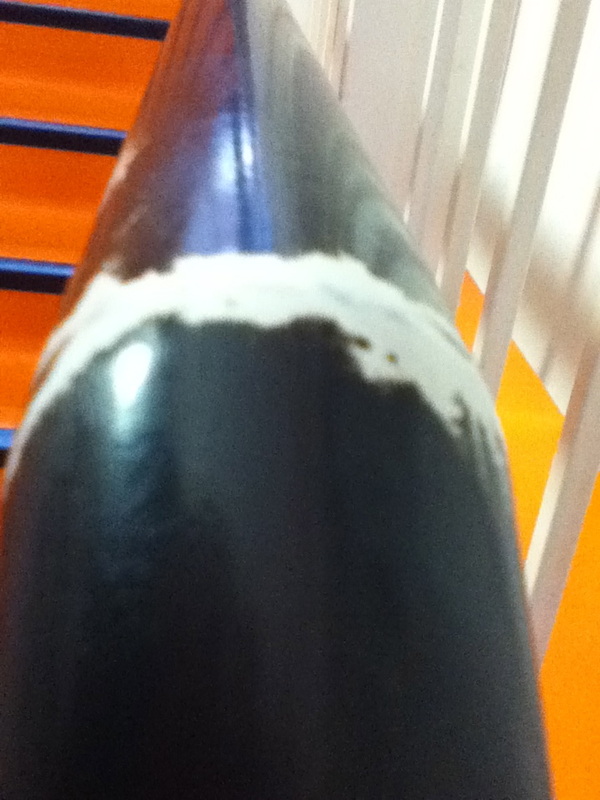
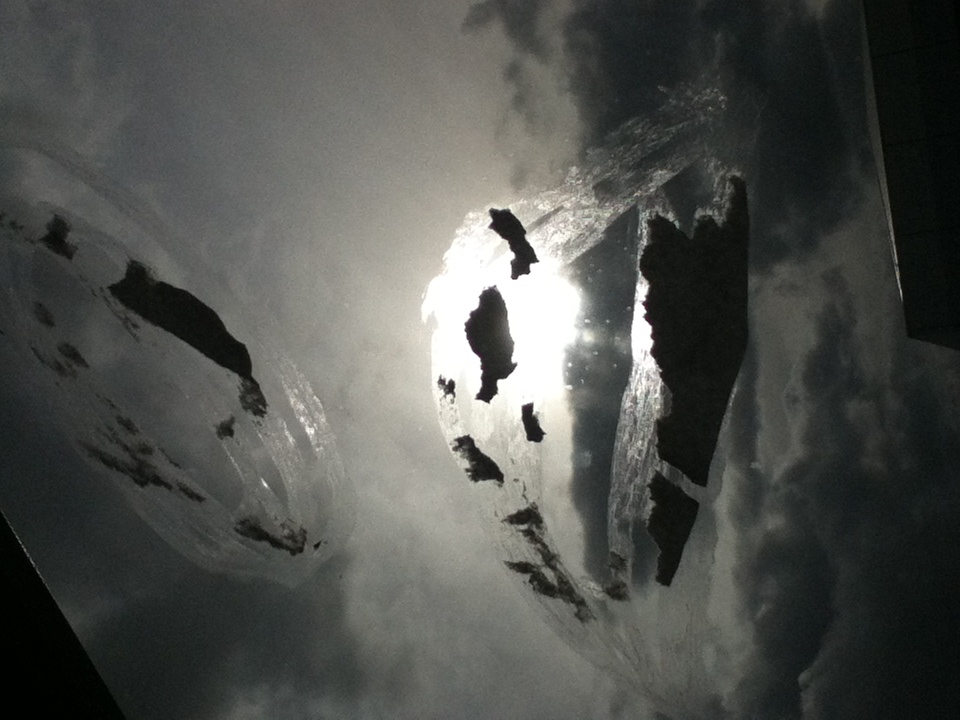
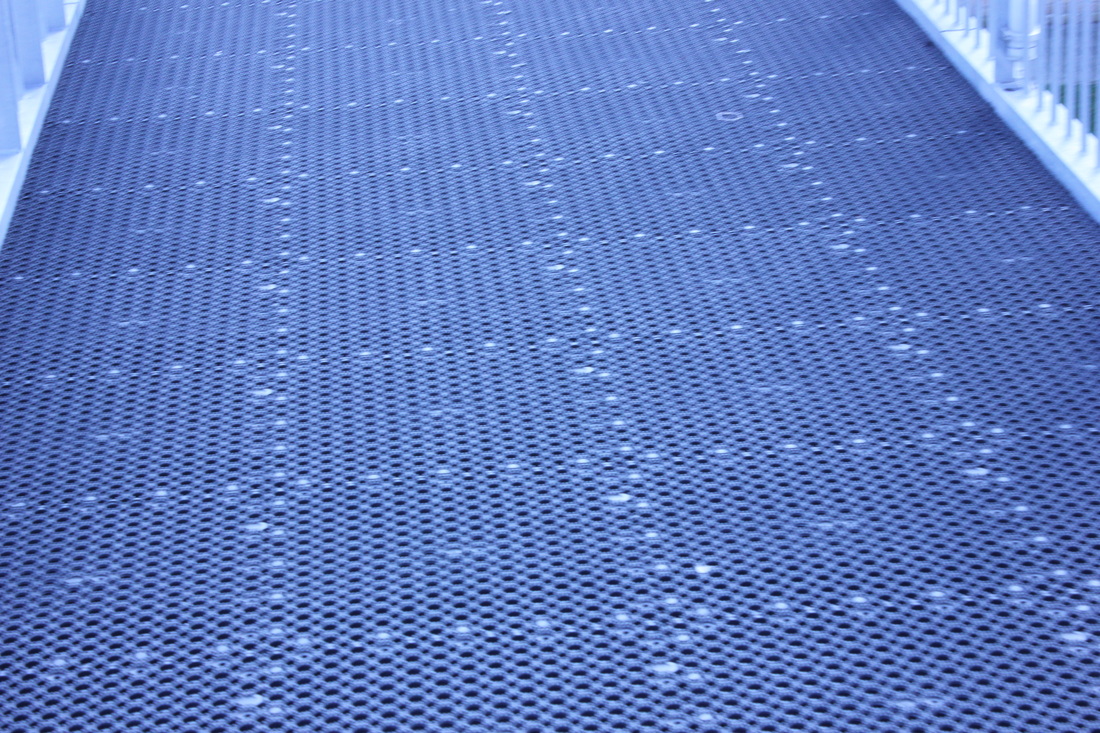
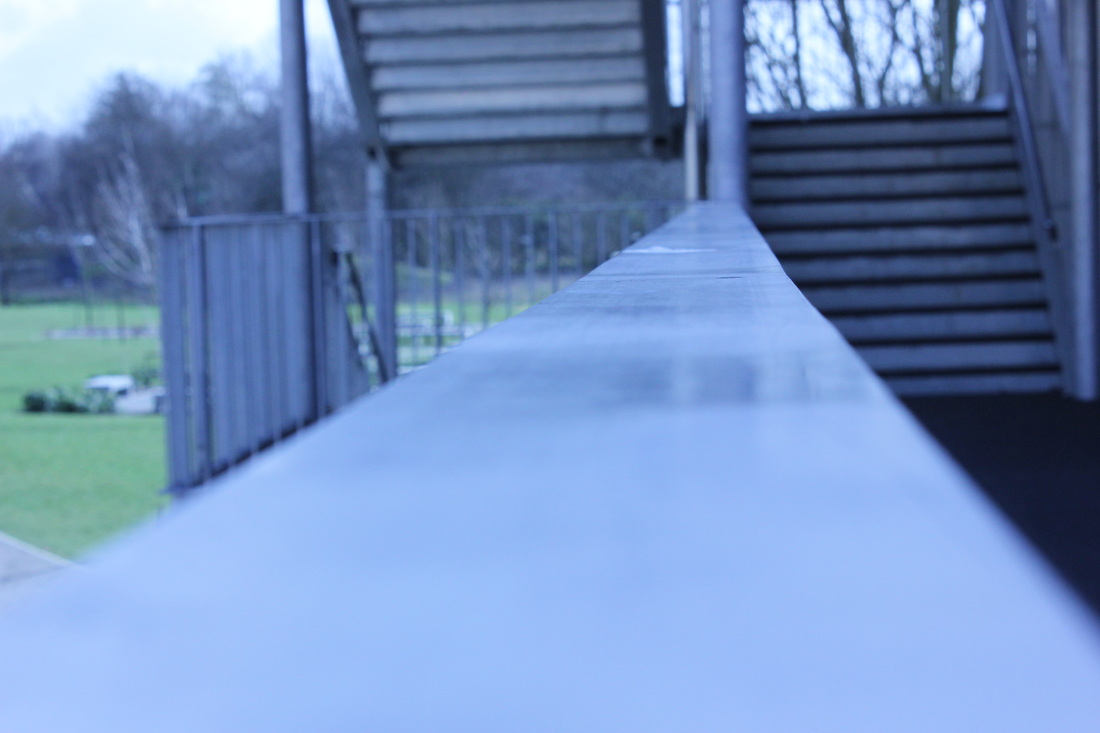
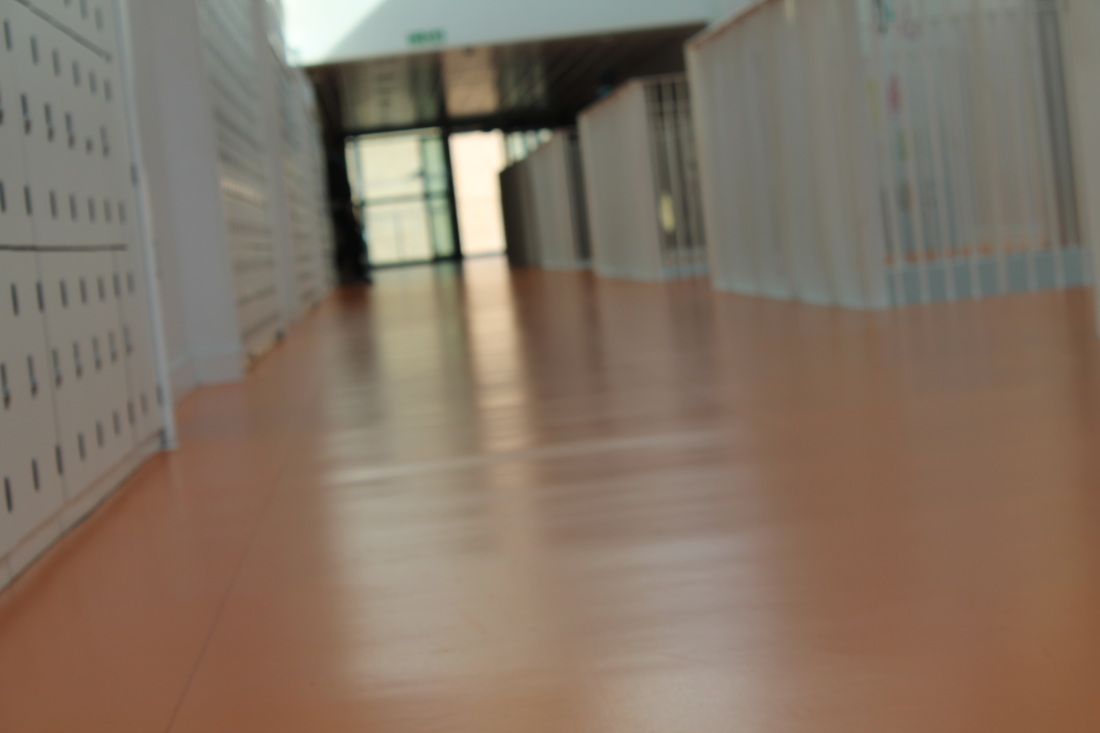
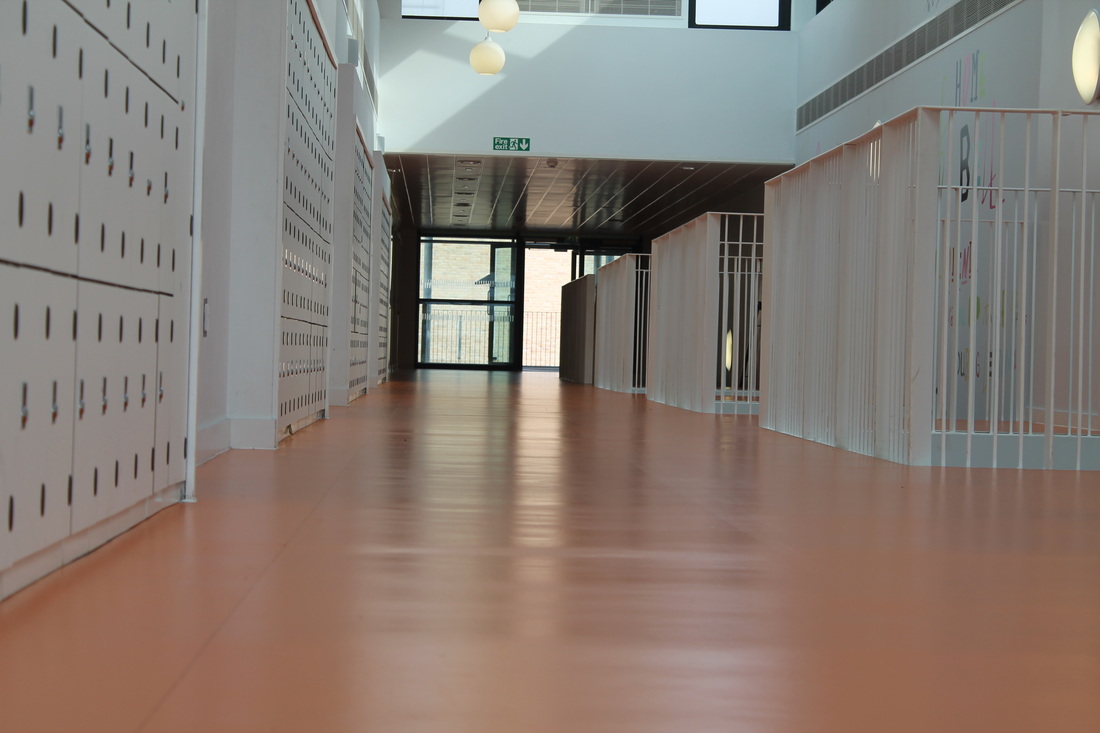
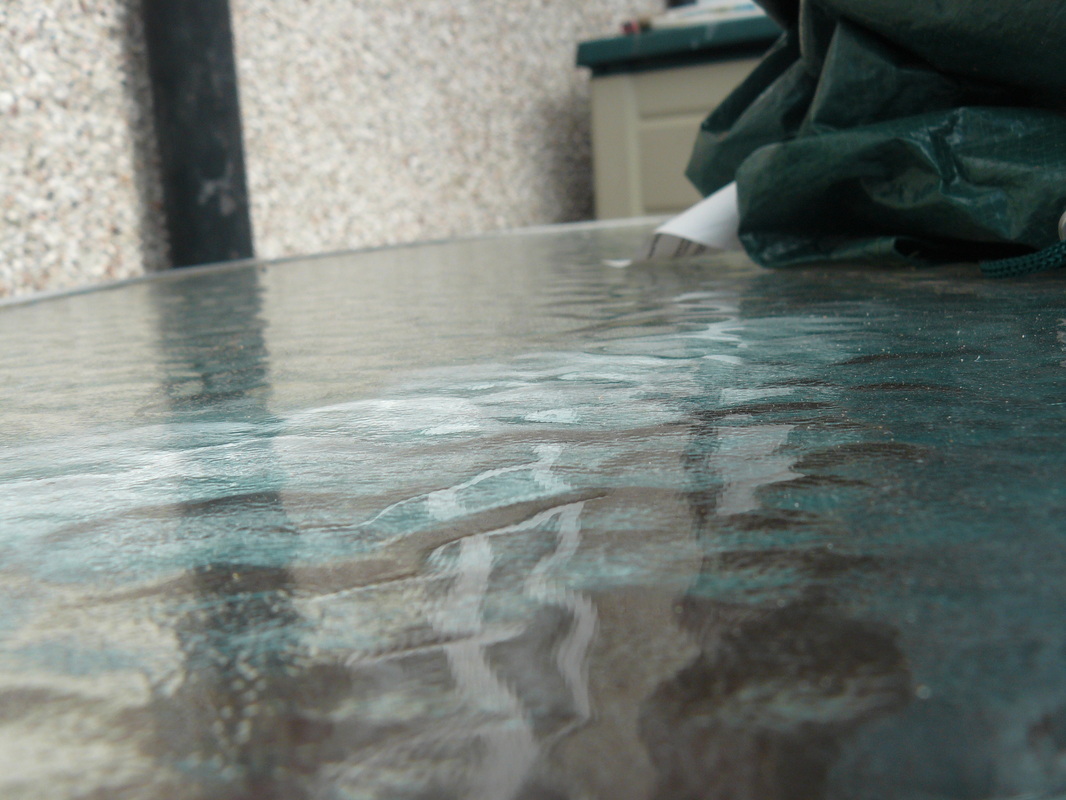
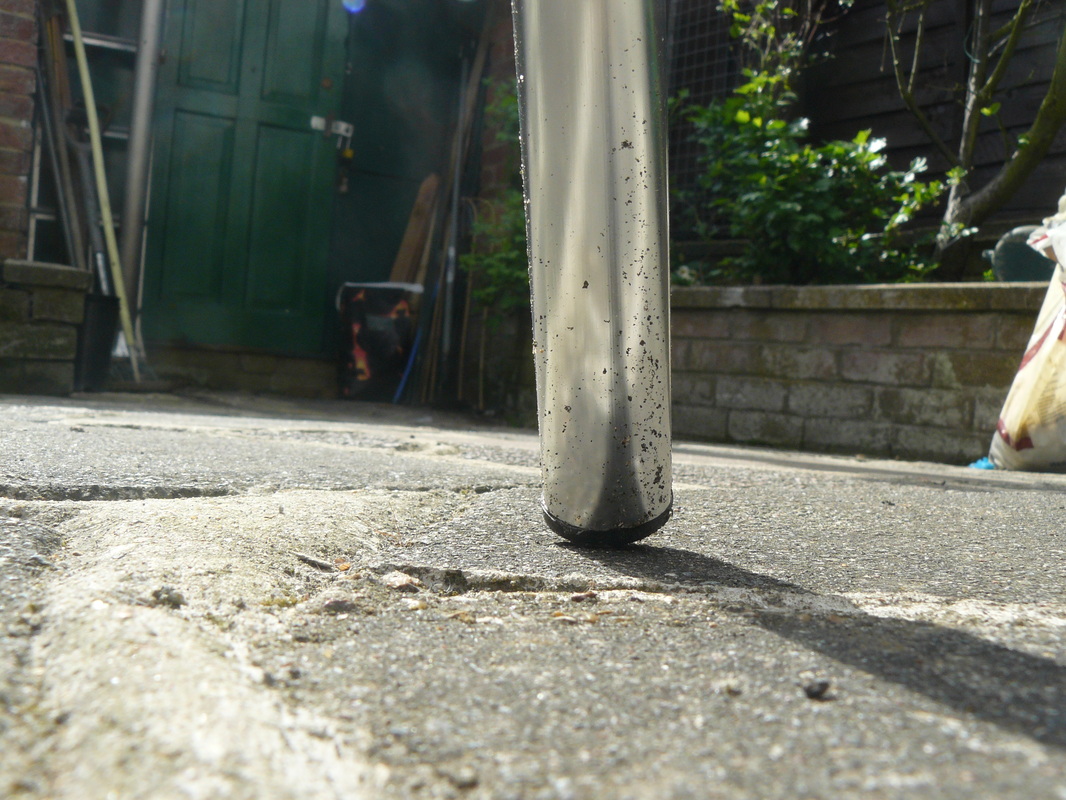
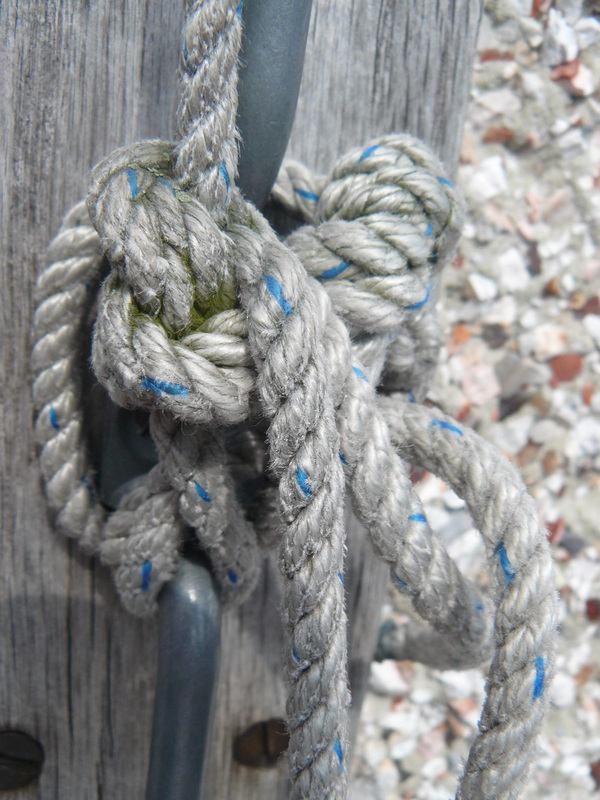
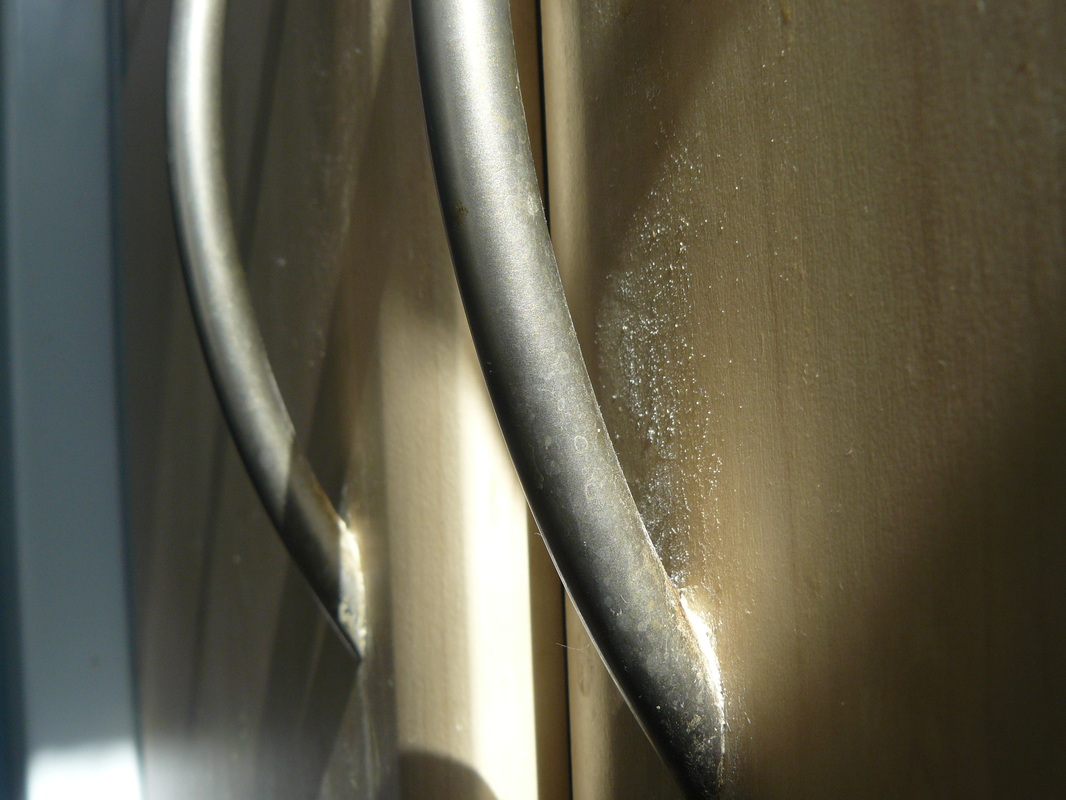
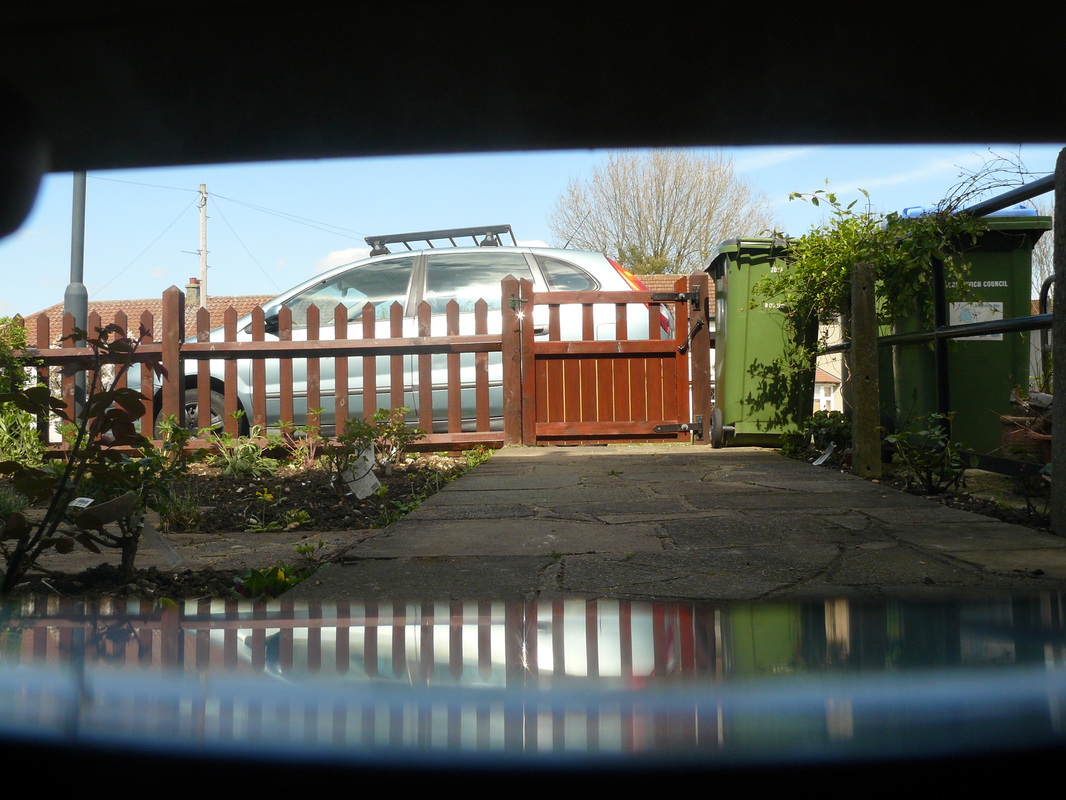
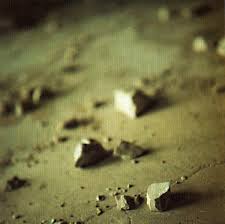
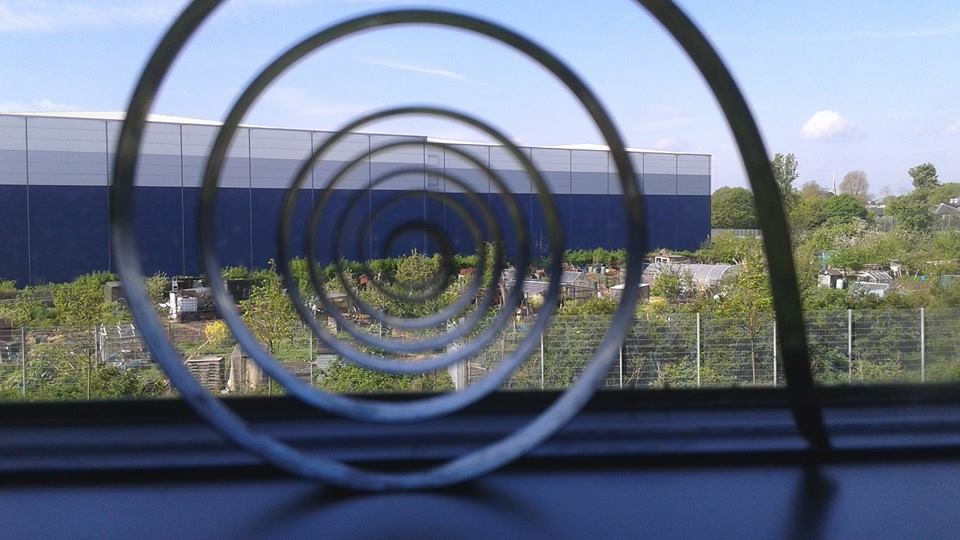
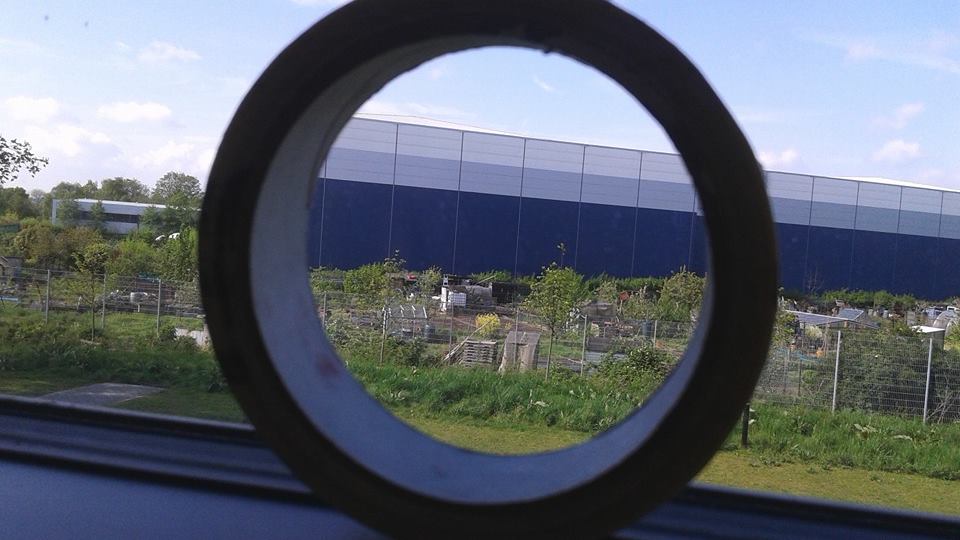
These are my favourite photos in set 3 because they all explore texture in different ways, the first one was taken on the link in our school but it gives the effect of the floor. The good thing about the first photo is that because on the day it was taken it was a fairly wet day so the water on the hand rail reflected on it and that happened all the way down the rail so it showed the shiny texture of another metal object.
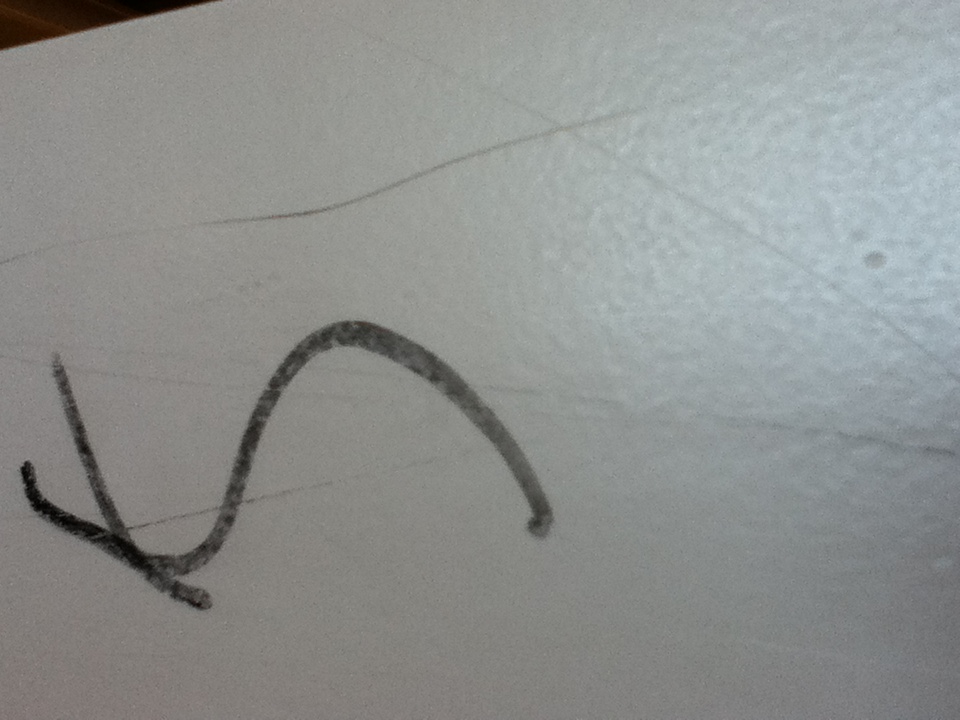
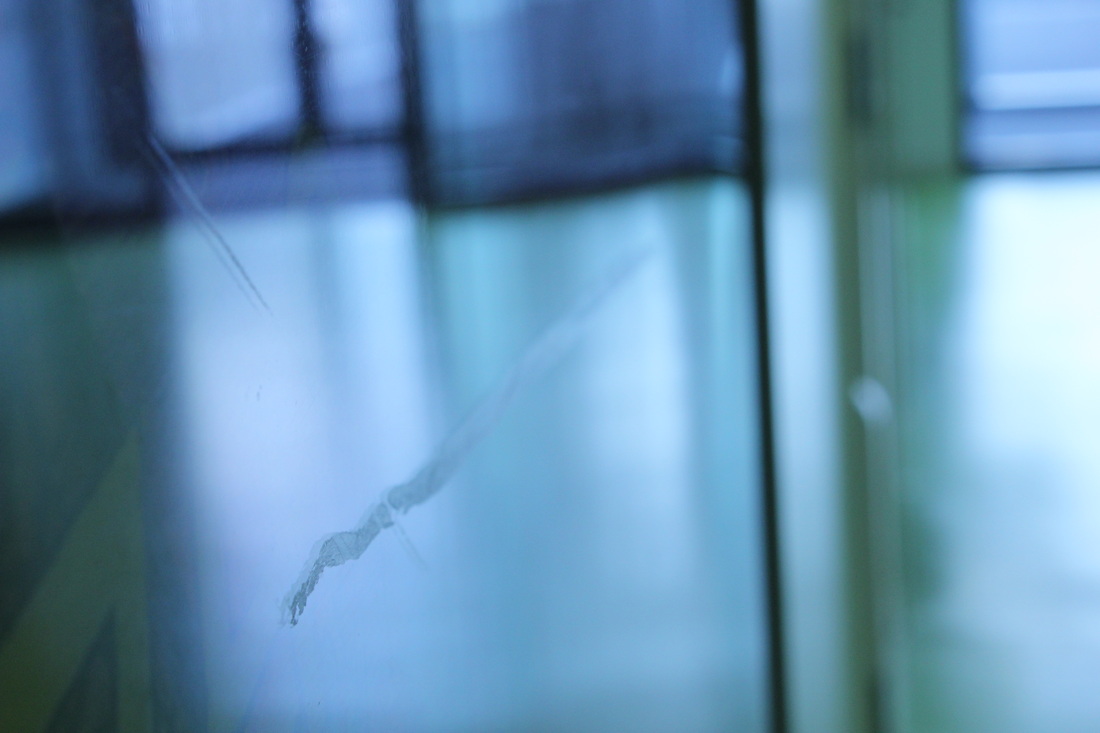
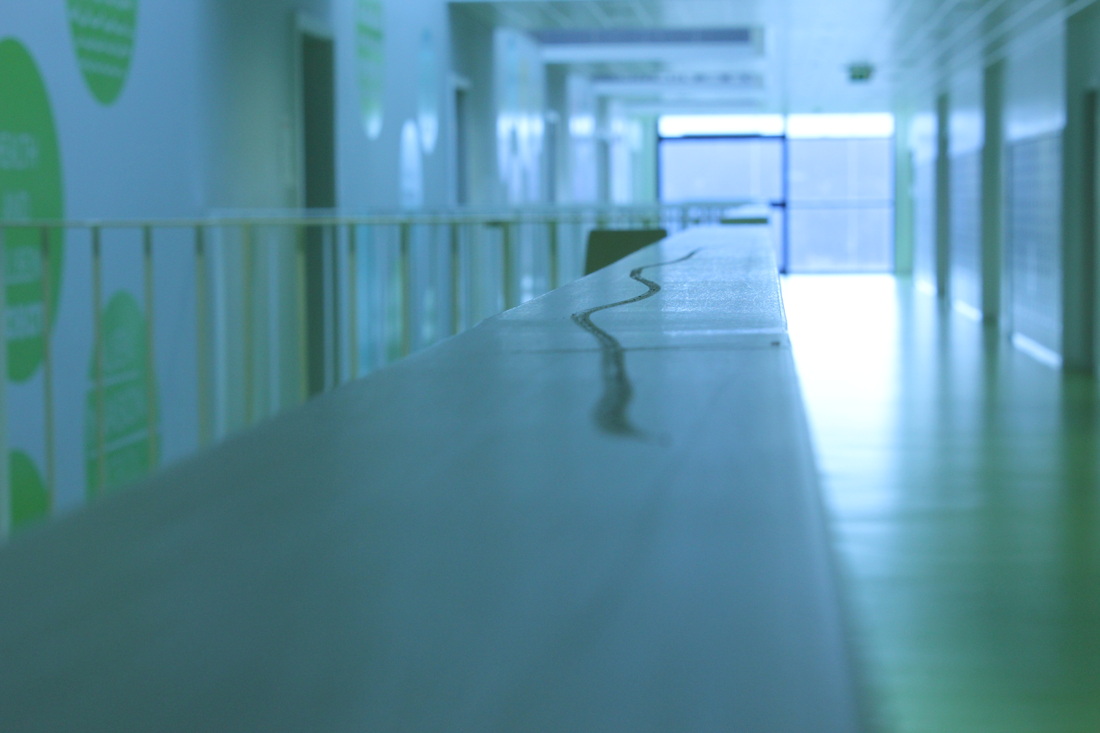
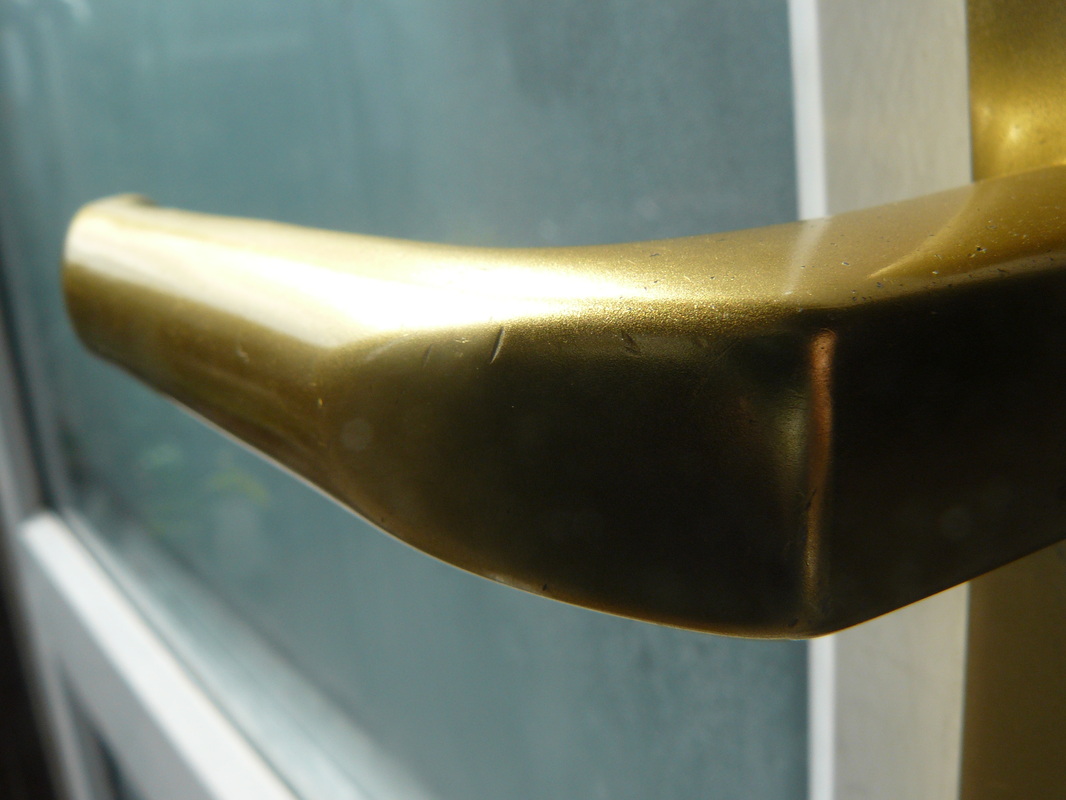
The second image shows another hand rail that i've taken a photo of but this time I was inside so i was relying completely on the light coming in from the window at the end, when i took it i found a long scratch on the banister in a weird wavy line so with the help of the light which made the scratch stand out as the light bounced off of the banister.
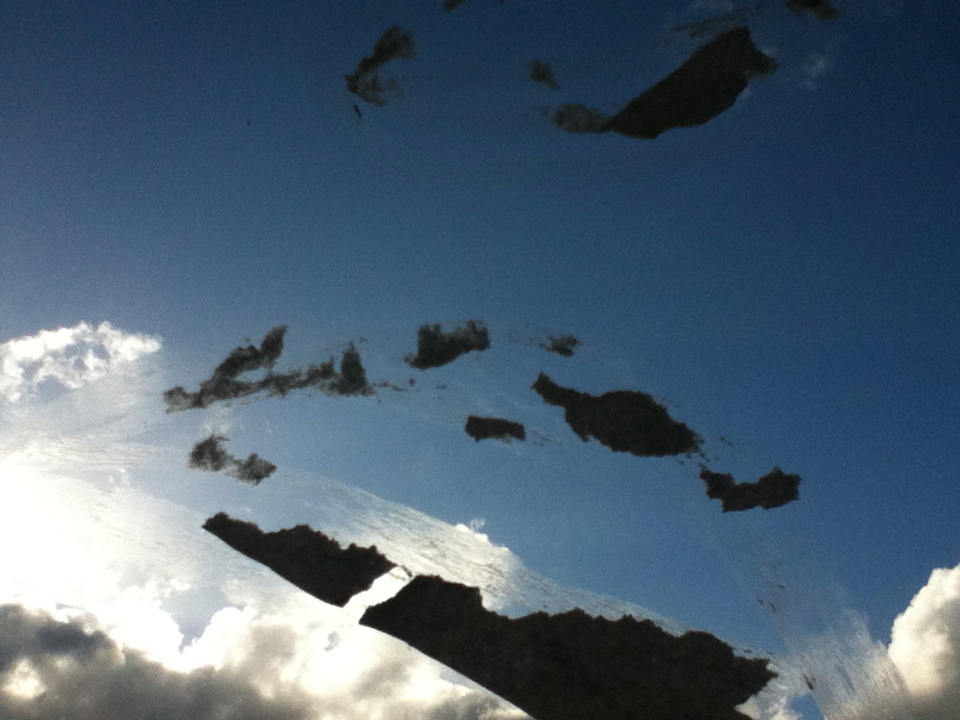
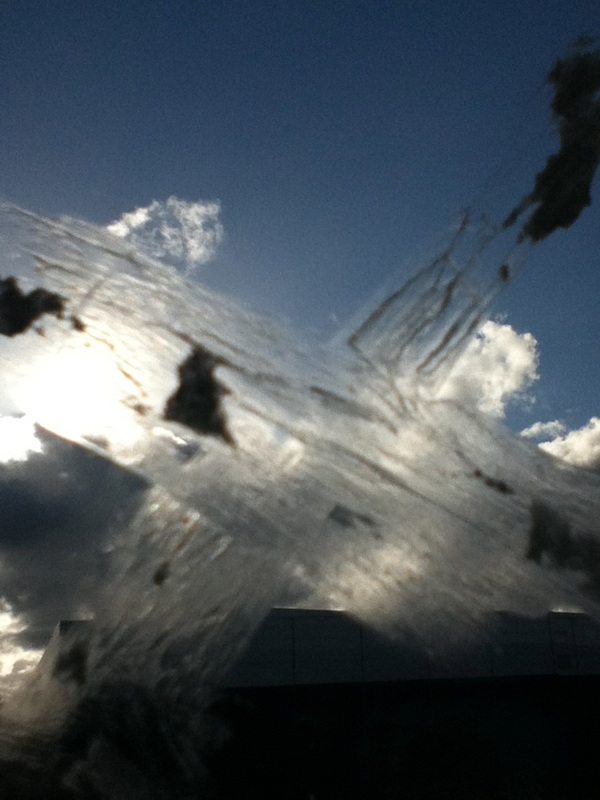
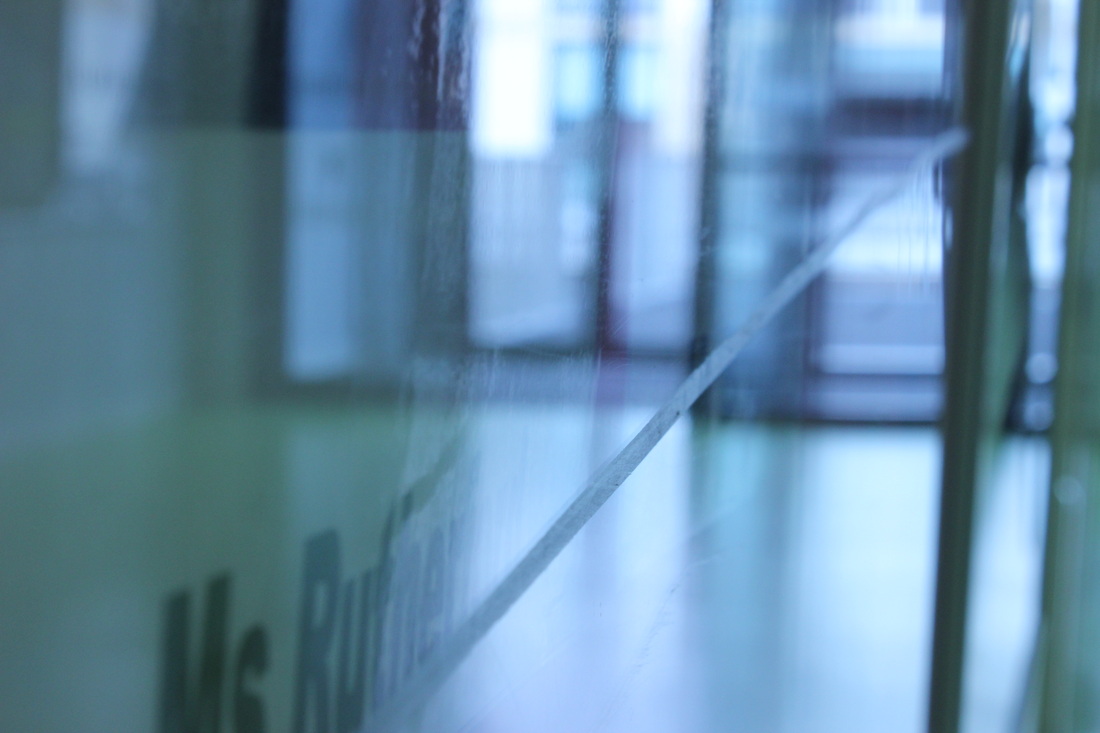
The third photo was quite similar to the second one as there was a scratch on a display board in the corridor so again i relied on light, The light from the door not far away bounced off of the display board and reflected that door as well as helping the scratch to stand out a lot more.
The second image shows another hand rail that i've taken a photo of but this time I was inside so i was relying completely on the light coming in from the window at the end, when i took it i found a long scratch on the banister in a weird wavy line so with the help of the light which made the scratch stand out as the light bounced off of the banister.
The third photo was quite similar to the second one as there was a scratch on a display board in the corridor so again i relied on light, The light from the door not far away bounced off of the display board and reflected that door as well as helping the scratch to stand out a lot more.
|
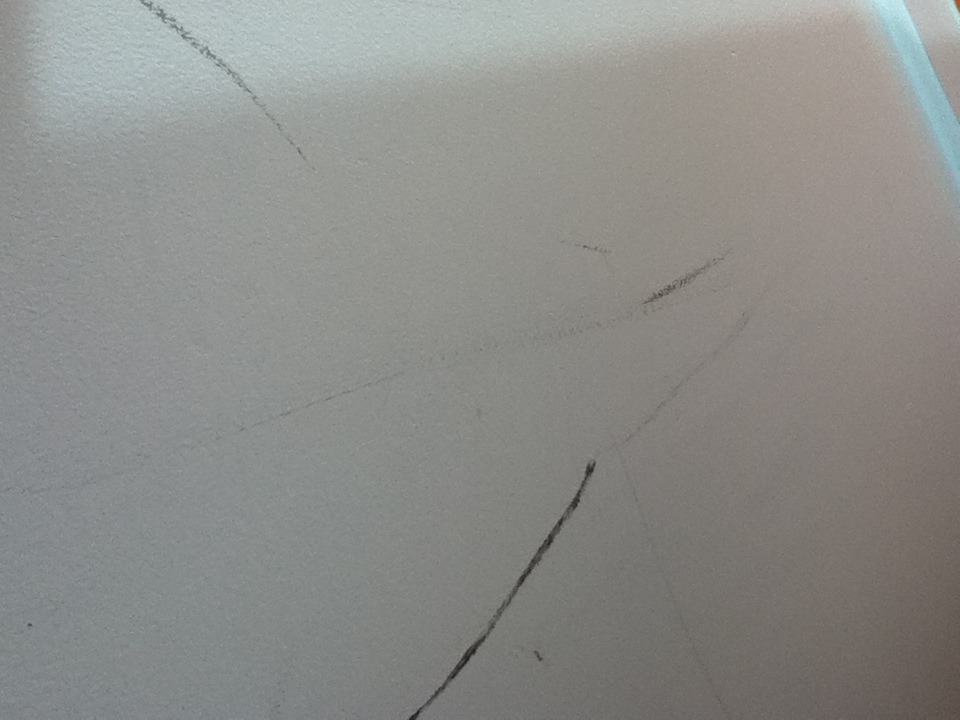
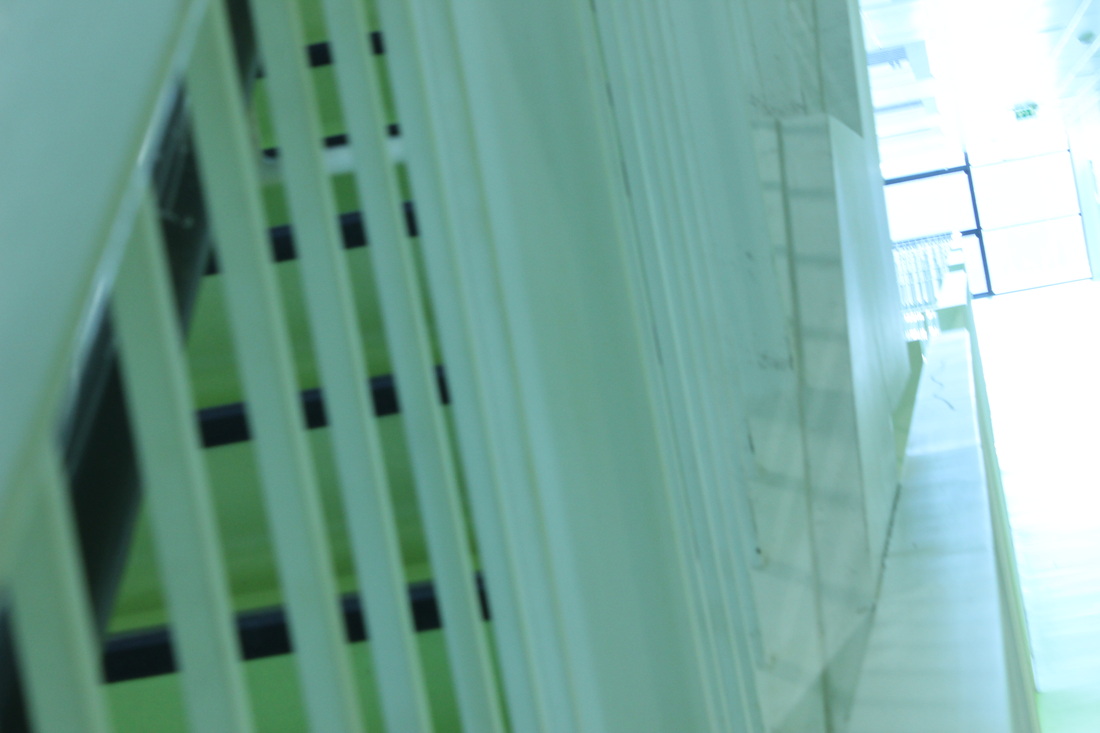
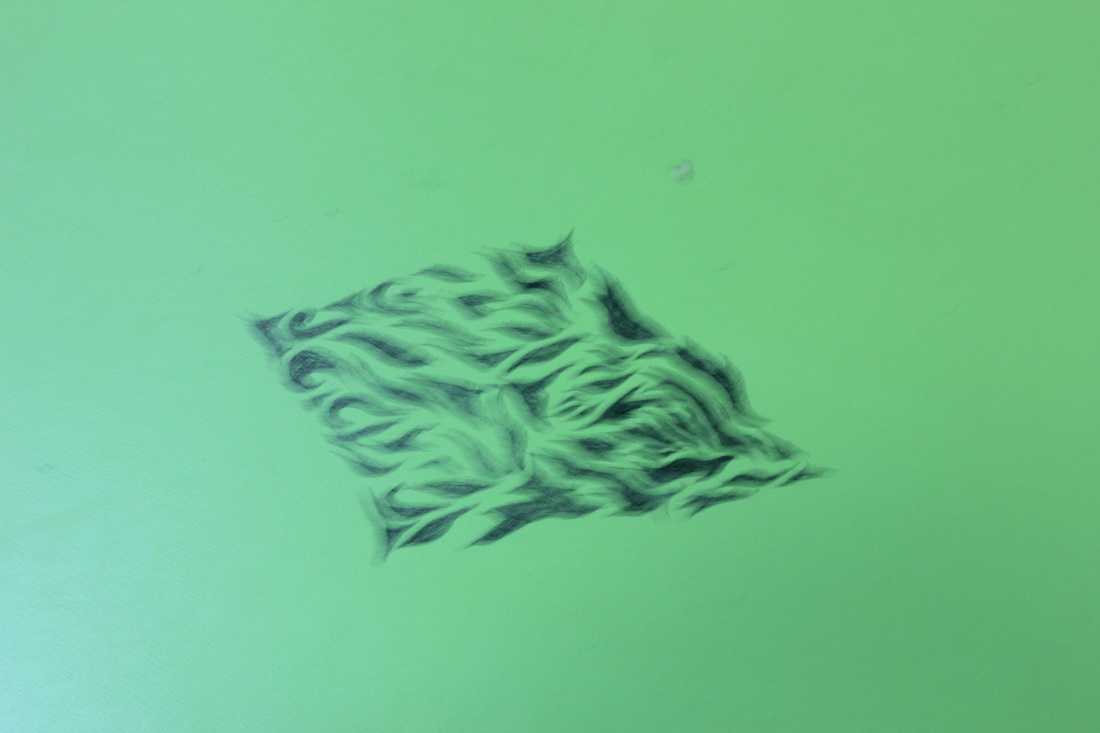
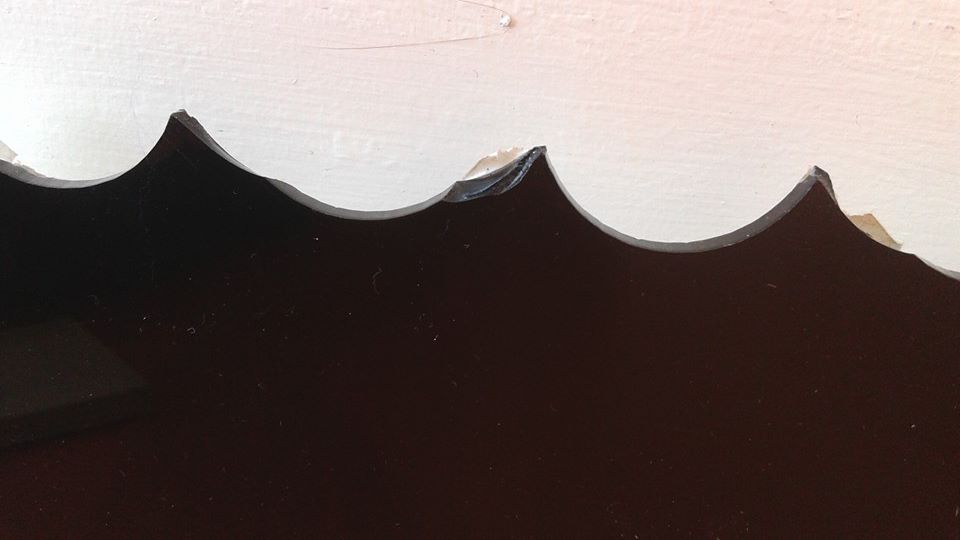
EBII dont think this photo from set 3 worked that well because there was way too much space around the pattern with takes away the effect of the texture. So to develop this image I would have to get closer to the pattern to get the detail properly; I would make the focus a bit better, as the photo is fairly out of focus and blurry.
|
Response #4


WWW

|
|

|
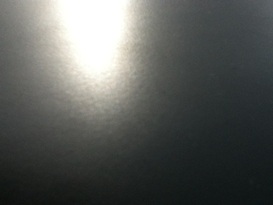
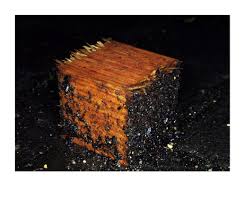
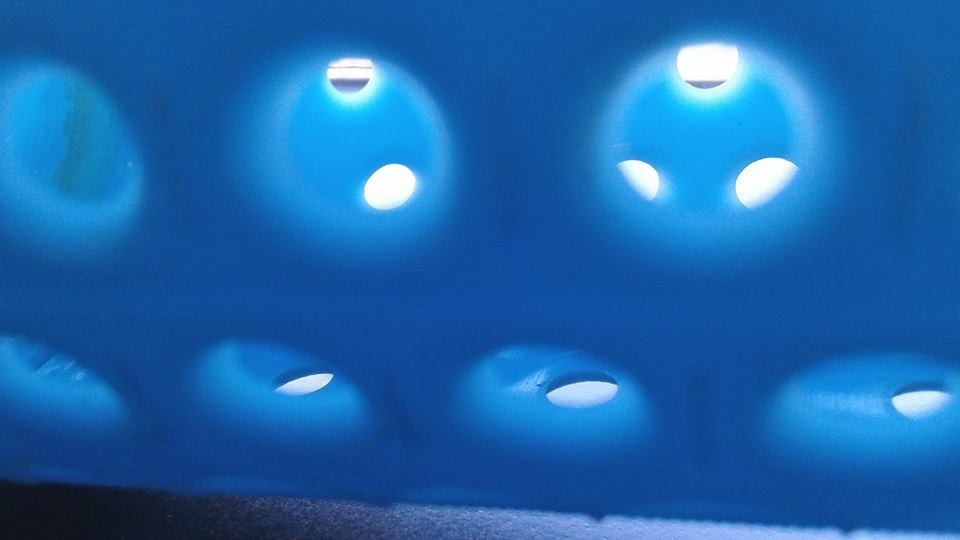
The first photo that I took in my fourth photo shoot I really really like because it shows the light from a big window reflecting on the silver piece of card which I put right next to it so it shows the shininess and smoothness of the card.
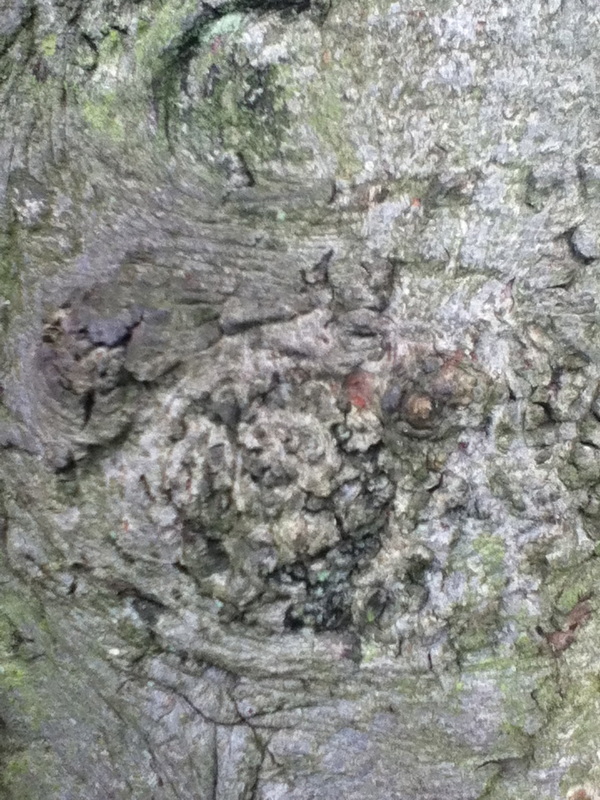
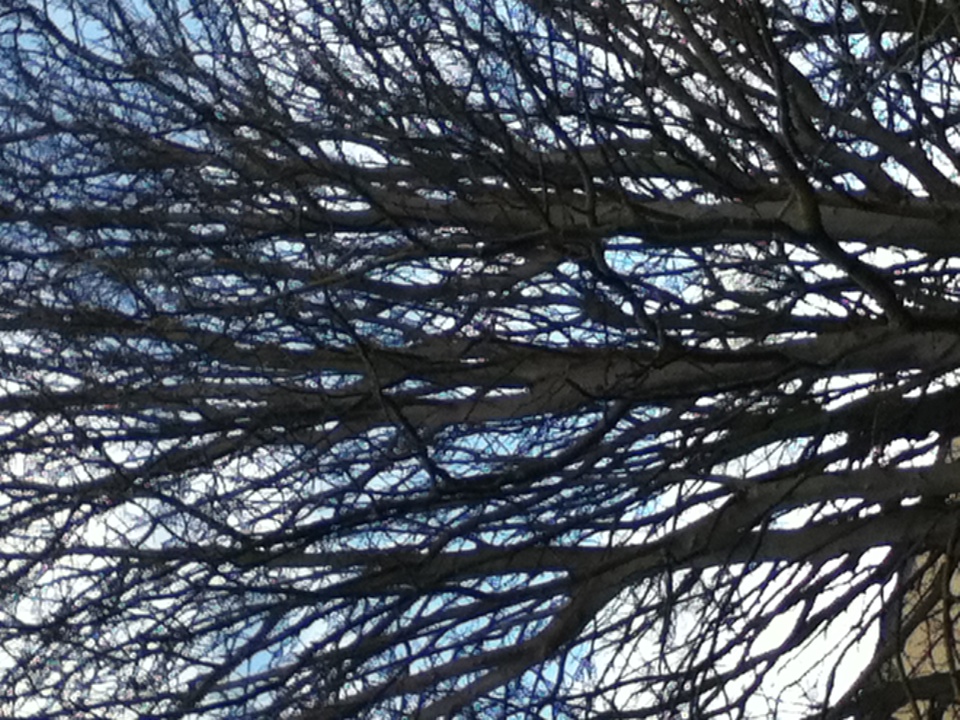
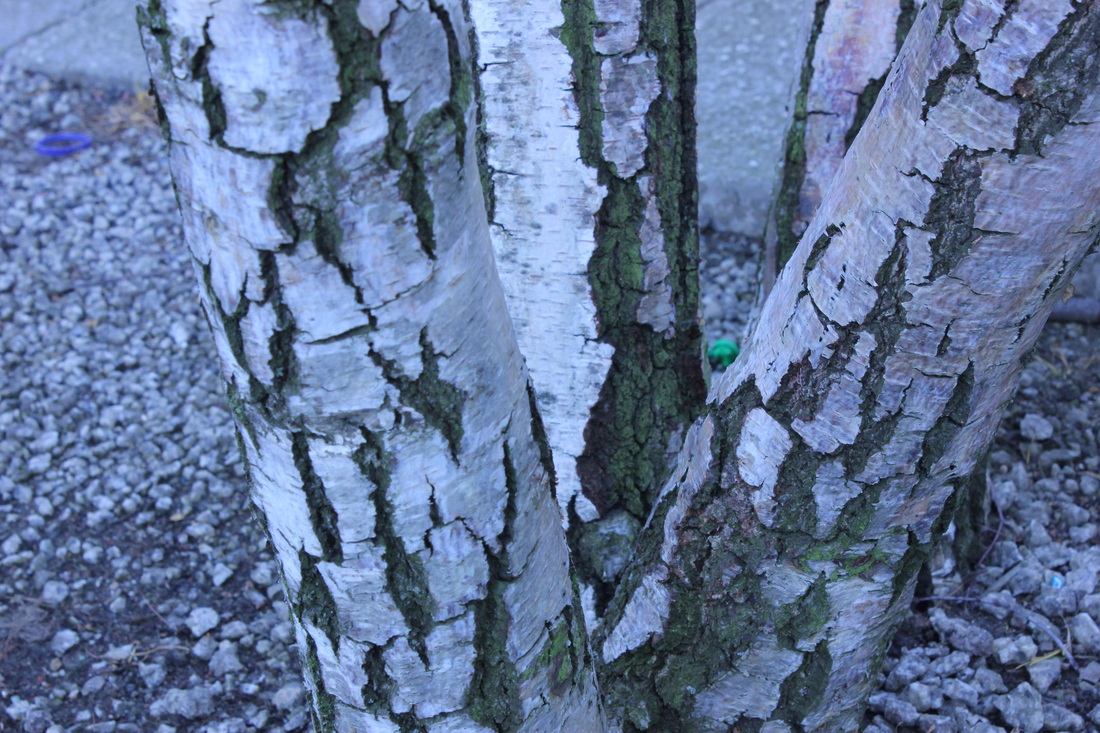
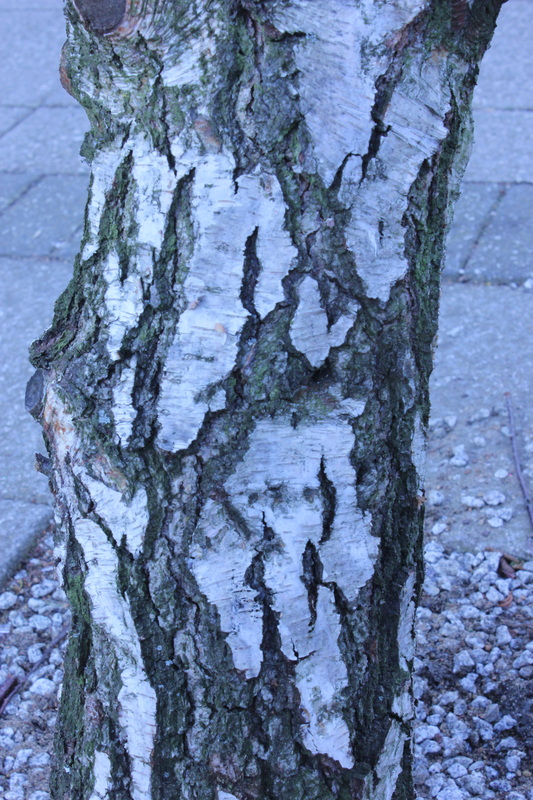
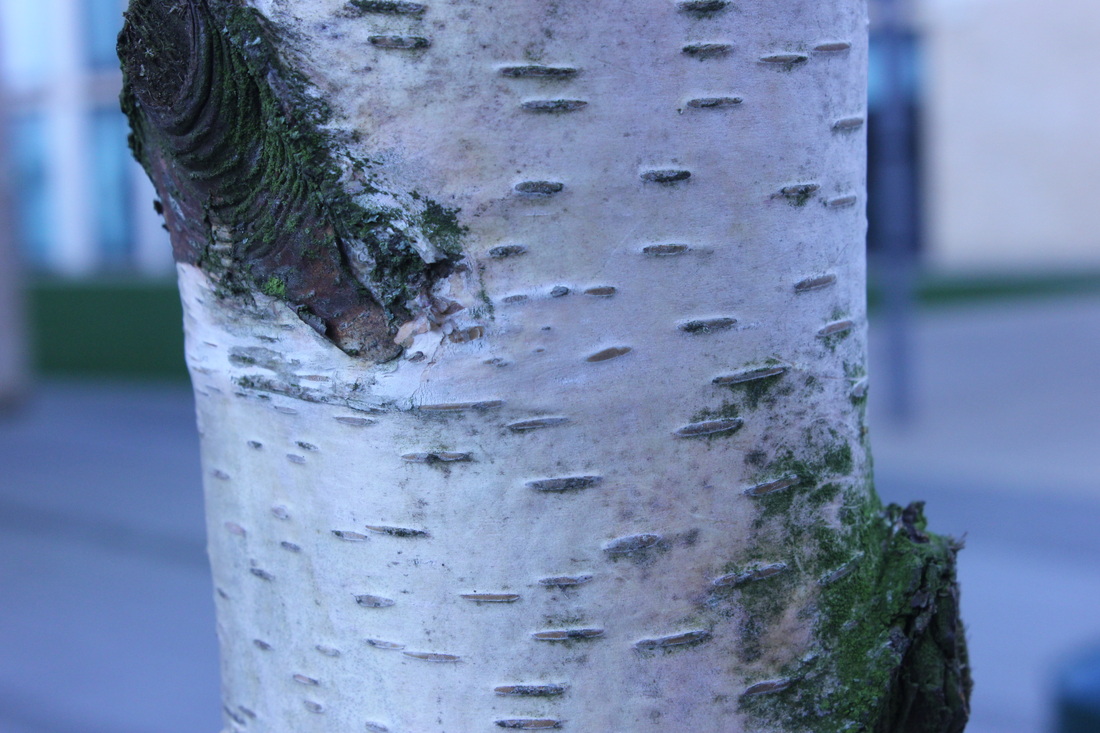
The second one is really effective as the background is unfocused whereas the foreground where the tree is is focused, the bark of this tree really stands out in this photo with the focused/unfocused thing going on.
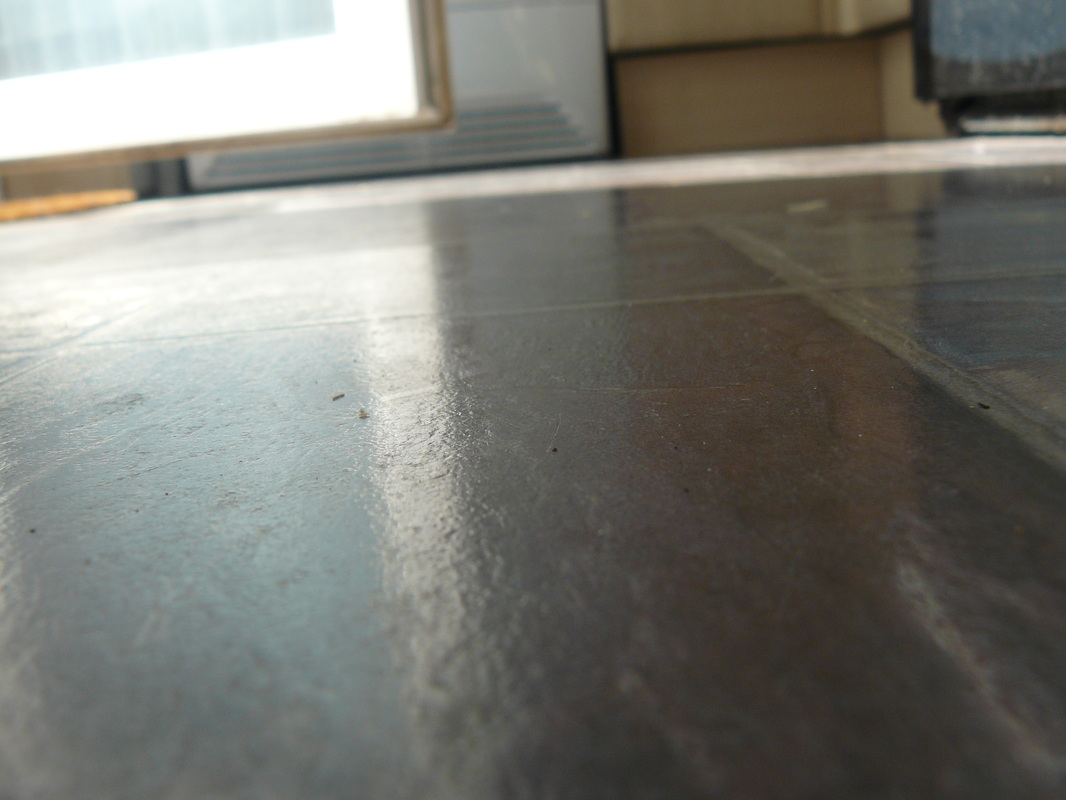
The third one is simple but I really like it as the light reflects on the floor creating different shades of orange, also, at the edge of the photo you can see the reflection of the railings which creates a great pattern along the side of the photo.
The second one is really effective as the background is unfocused whereas the foreground where the tree is is focused, the bark of this tree really stands out in this photo with the focused/unfocused thing going on.
The third one is simple but I really like it as the light reflects on the floor creating different shades of orange, also, at the edge of the photo you can see the reflection of the railings which creates a great pattern along the side of the photo.
|
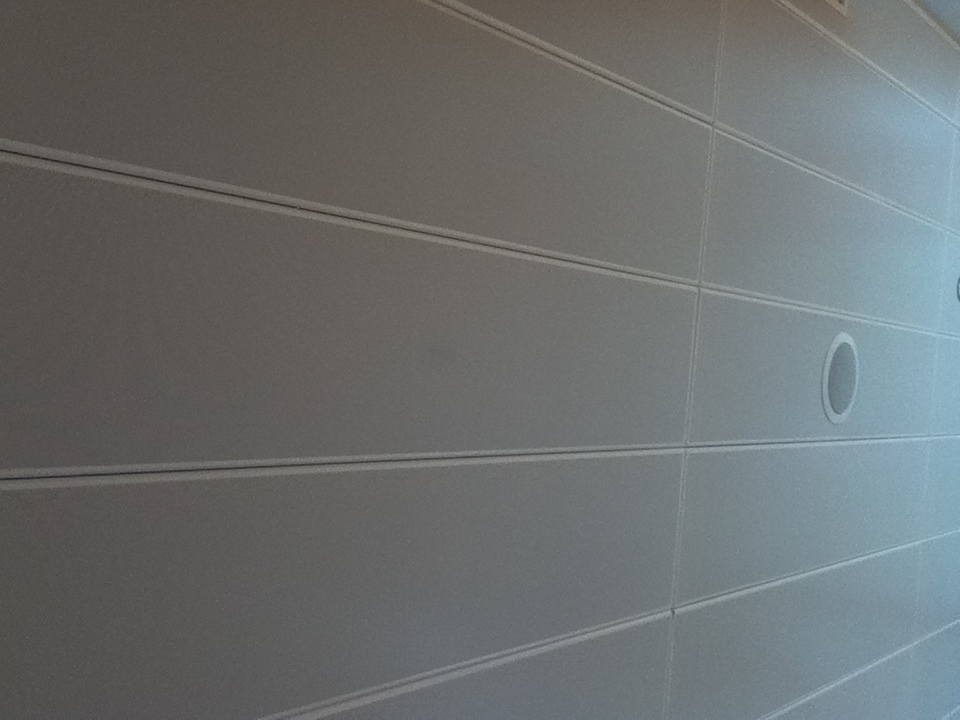
EBII dont like this photo as it didn't work very well, this is because there is way too much space in the photo and apart from the few scratches on the walls there isn't any texture in the whole image; so overall, it was dull and plain and is not a very good example of texture.
|
My ideas.
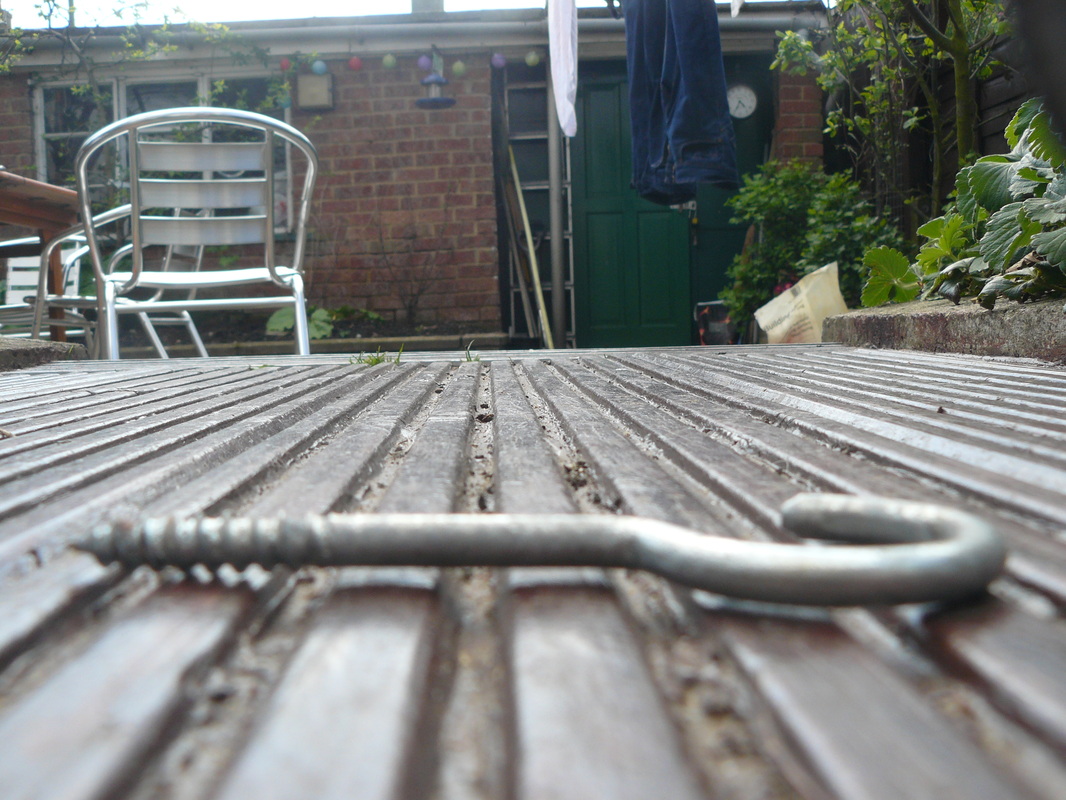
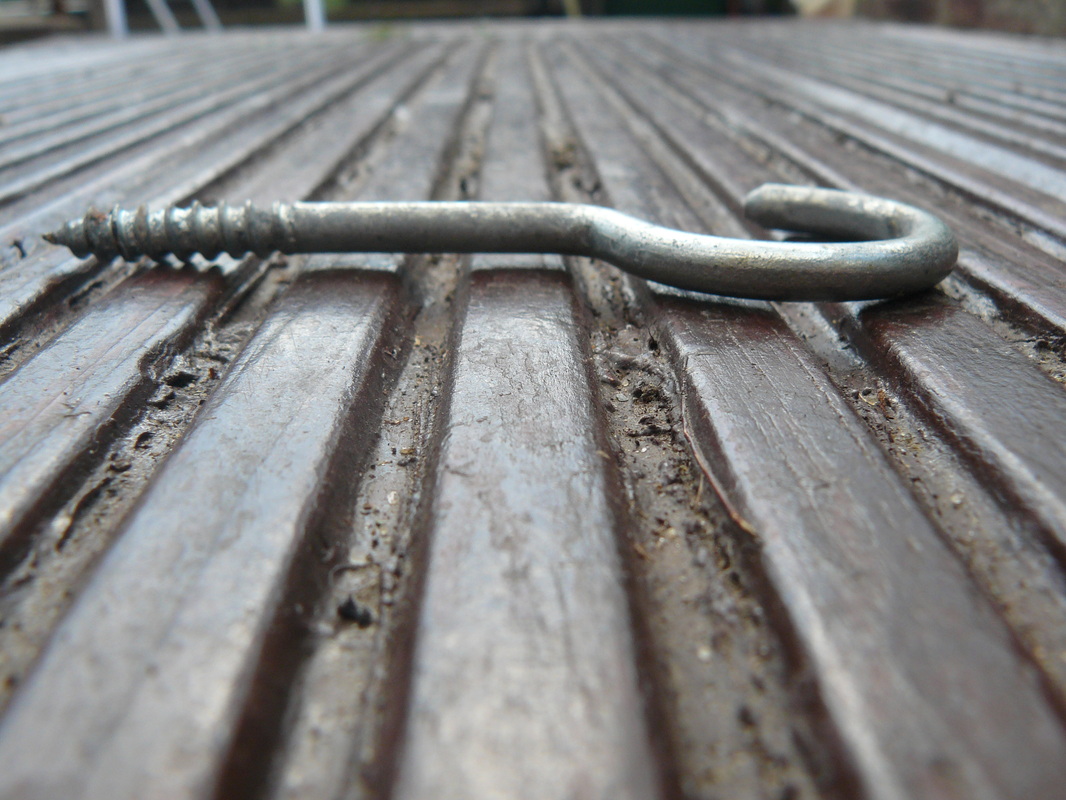
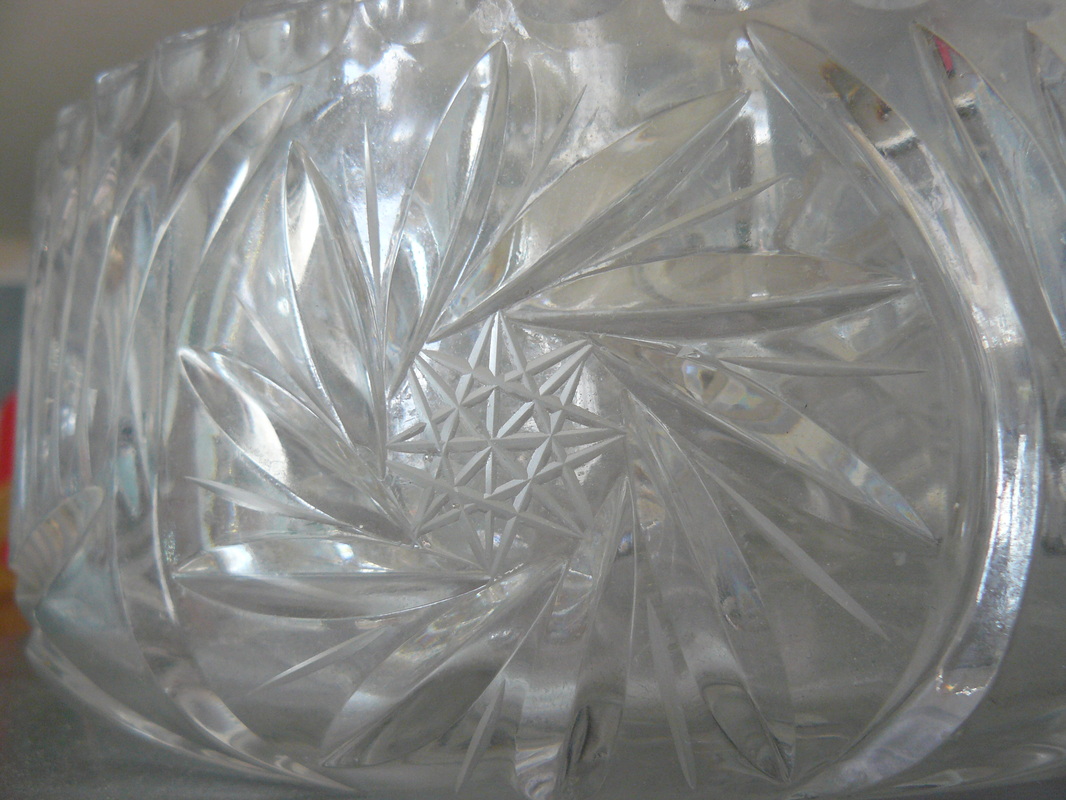
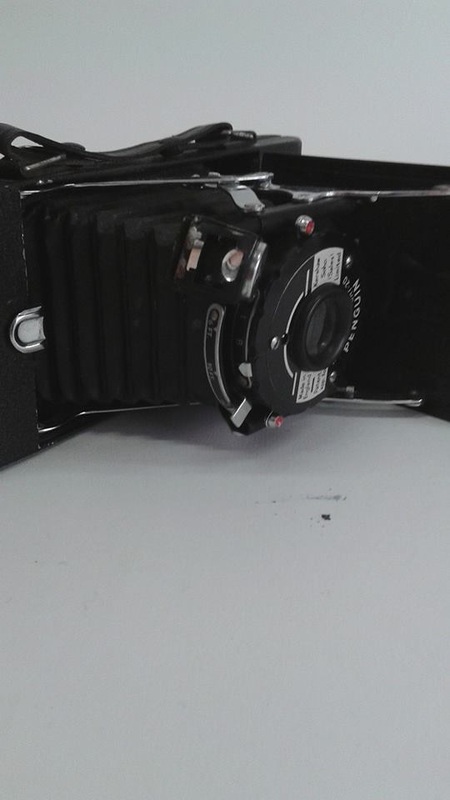
Im going to collect several sets of photos based on different surfaces and subjects such as: metal surfaces, reflection, and texture on walls. I really like the the idea on reflection on metal objects.
Metal surfaces


Reflections


Texture on walls


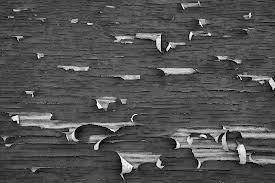
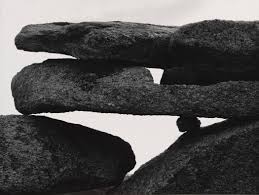
Aaron Siskind
|
Siskind's work focuses on the details of nature and architecture. He presents them as flat surfaces to create a new image out of them. All of siskinds photos are black and white and you cant straight away see what they are so it creates a mysterious feel to his images. Across are some examples of his work.
|
|
Aaron Siskind - Sectioning the photo.
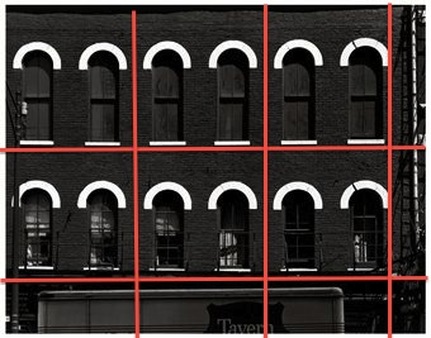
This is just a rough outline of my favourite photo by Aaron Siskind, I have divided the photo into sections so i can take a look at eat section individually. The bottom 3 sections show an old van which has the word 'Tavern' written on it, this gives the image an Inn, it gives of an old kind of feel to it. The middle 3 photos repeat each other, The arch above the window and the window ledge are really white; the photo was originally black and white but the arch and the ledge really stand out in the photo and catches your eye straight away. The top 3 sections are repeated once again but they are not the same as the middle sections as they are much longer and they look like they have wood on the windows, this again creates an old and mysterious feel to it, but the middle section has metal railings across the window this gives me the impression that it may be closed down apartments or flats.
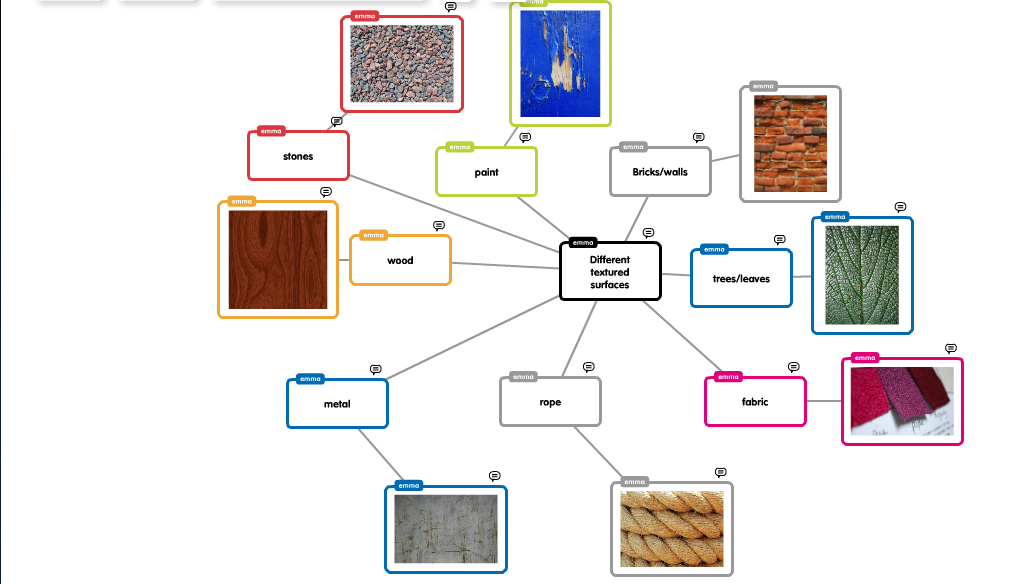
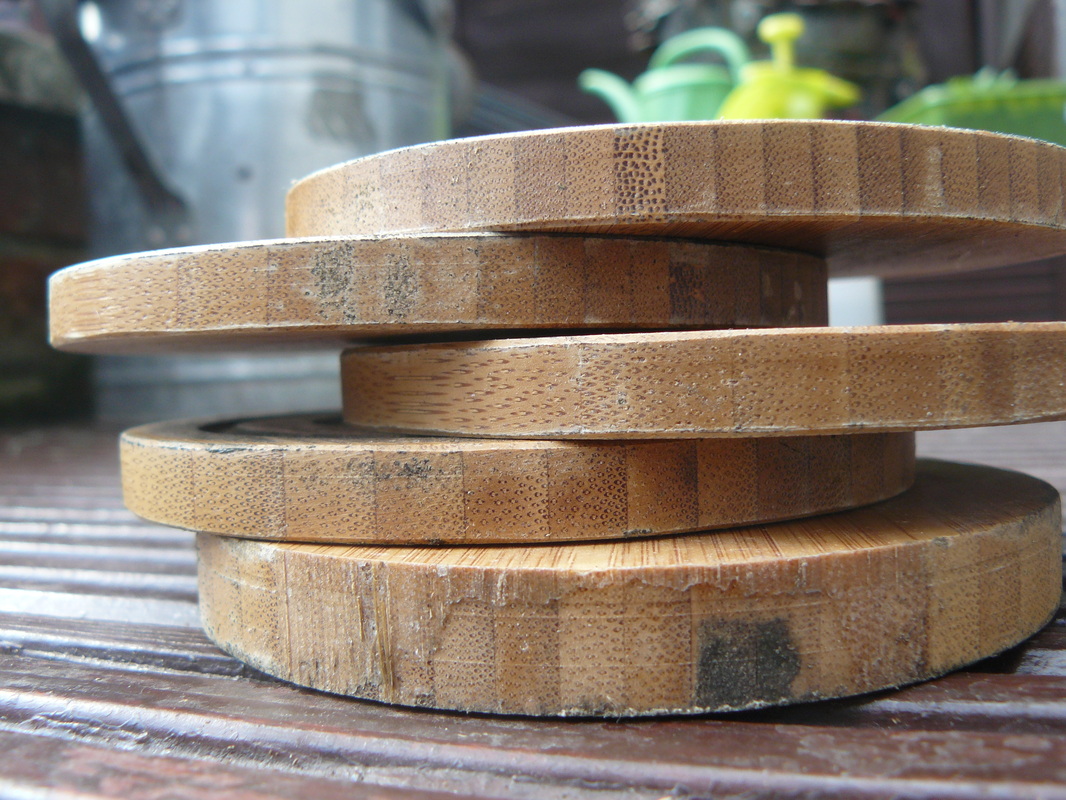
I decided that I would do one last mind map on popplet as I decided that I would focus my would on the surfaces and materials and above is my ideas towards the different materials I could take photos of, so far i really like the idea of metal surfaces as if they are rounded it distorts the reflection, I also like the idea of the material wood, with wood you can experiment with the different shades, tones and patterns in it.
The photos I took at home:


Peter Fraser
I decided to take a look in a Peter Fraser book, to have a look at different materials. I like the idea of getting really close to objects and being able to fill the screen with object and a plain coloured background. Some of Peter Fraser's work based on materials have really bright coloured objects in them with plain backgrounds, they usually have a flat surface that fills the whole screen. Below are some of the examples of his work on materials:


My take on Peter Siskind's work


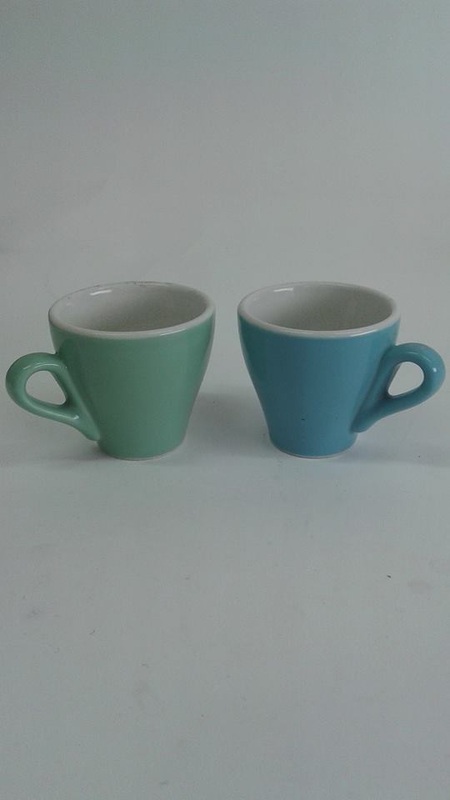


A similaritiy
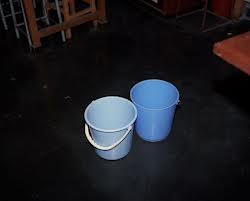
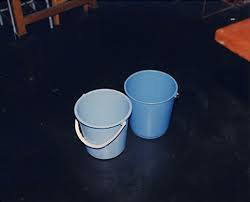
Peter Fraser's photo of two different buckets of a similar colour
|
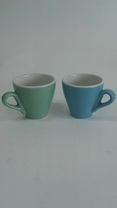
My Take on Peter Fraser's photo
|
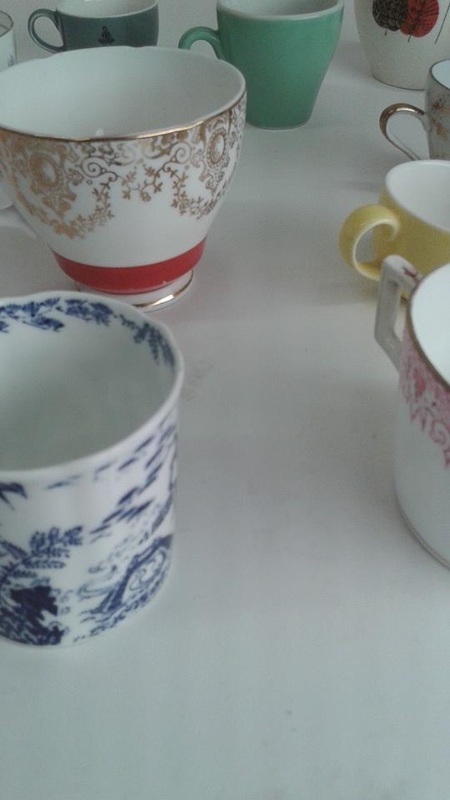
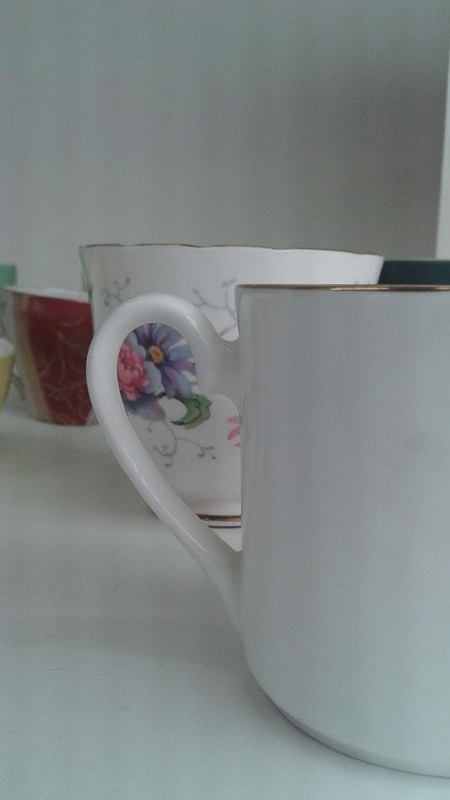
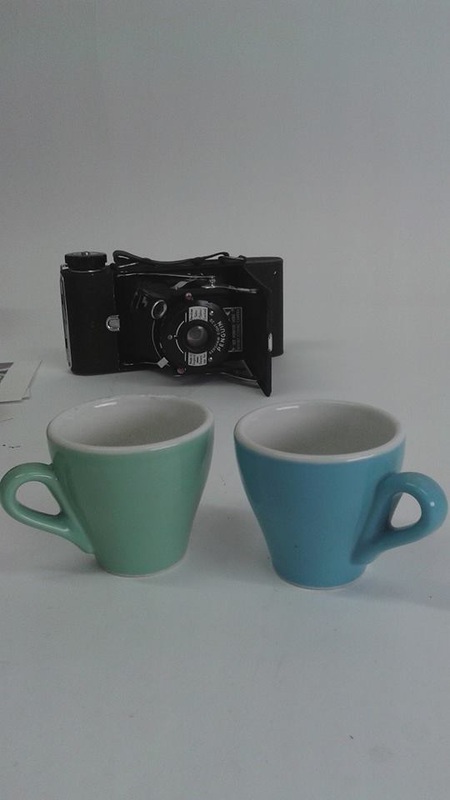
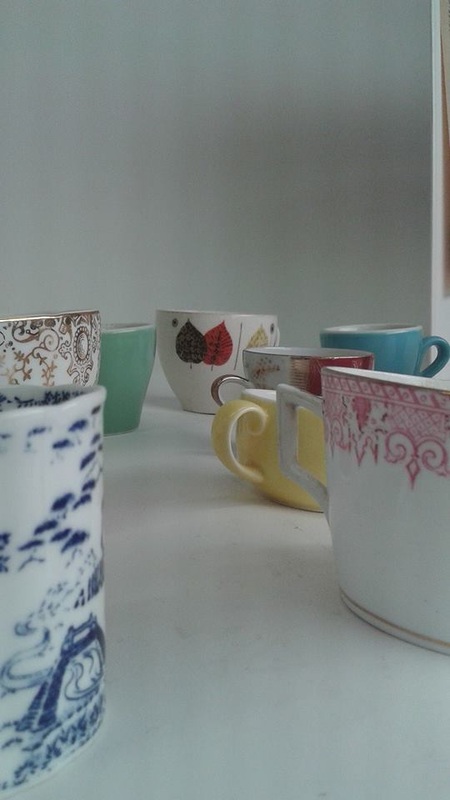
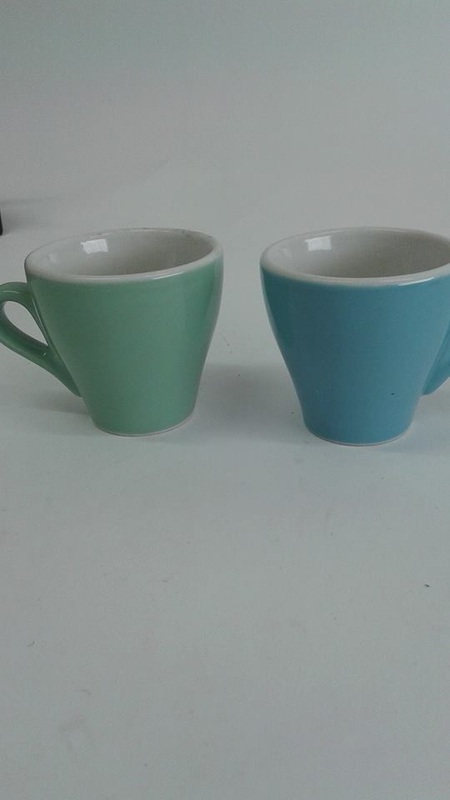
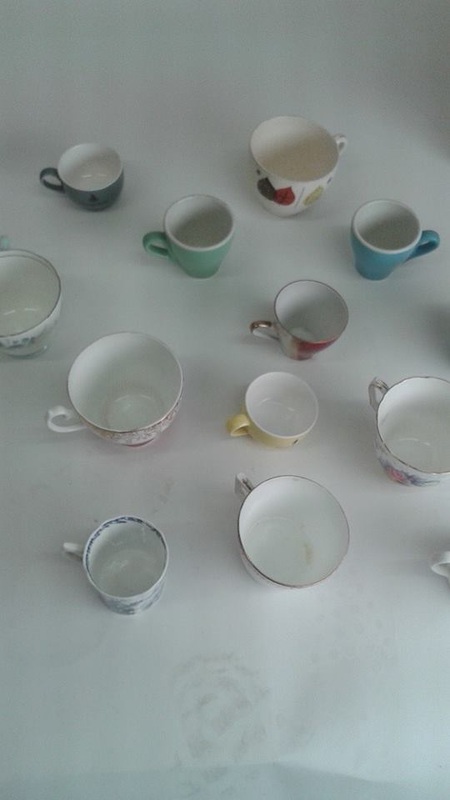
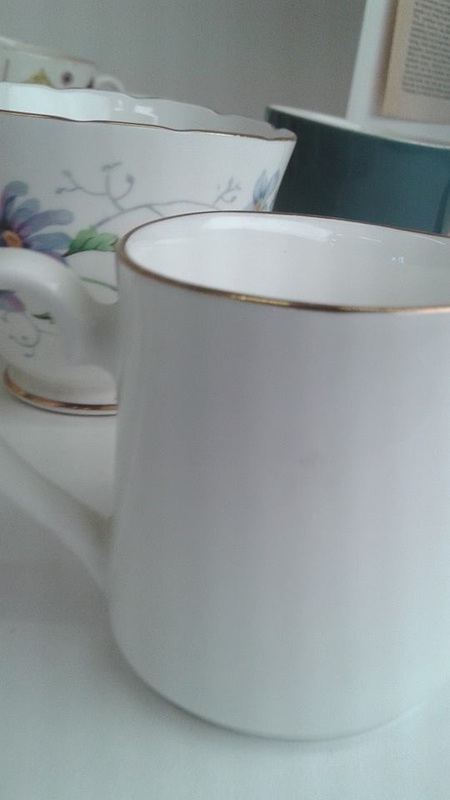
“The simple things you see are all complicated.” Is a quote by a man called Michael Bracewell based on Peter Frasers work. This means that two similar objects may look the same and may look simple but behind it holds something extremely complex.
Above are two photos one taken by Peter Fraser (left) and one taken by me (right), shows how plain and simple things like the buckets, or in my case 'cups' can be until you look beyond just the shape an colour there is a piece of artwork there and you must look beyond the obvious to see the difference.
'Working around the object…Looking to go beyond the object…'
'In photography of serious ambition, the photographer’s subject is almost never simply the subject matter.'
My final piece
Evaluation
I took 16 photos from the photoshoot above and edited them in iPhoto, as they were originally a rectangle i cropped them into a square and placed the square into the most interesting part in the photo and edited half of them into black and white and kept the rest in the original colours. i then got the photos in a specific order where they link with the others.I measured around each photo to make sure the white border around the edge was the same size I then mounted the photos onto the board myself and Mr. Nicholls then cut them into individual squares.
My second final piece
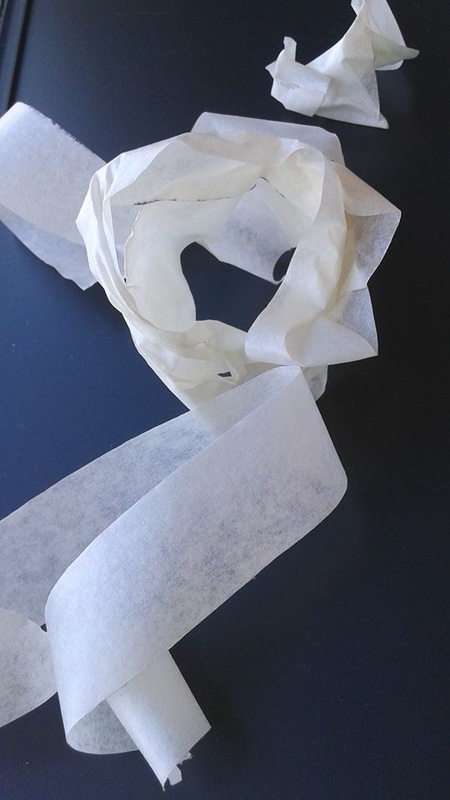
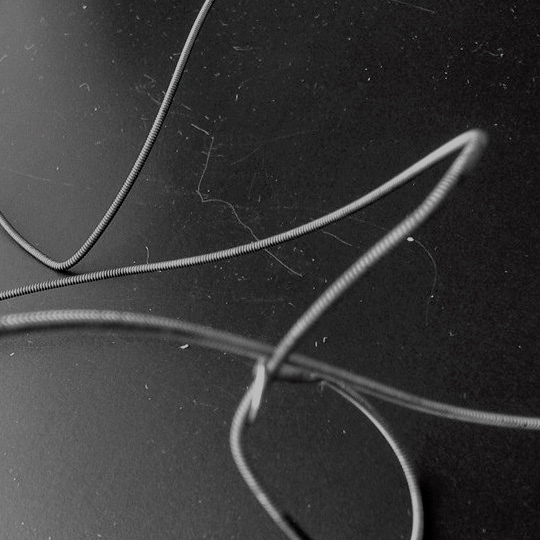
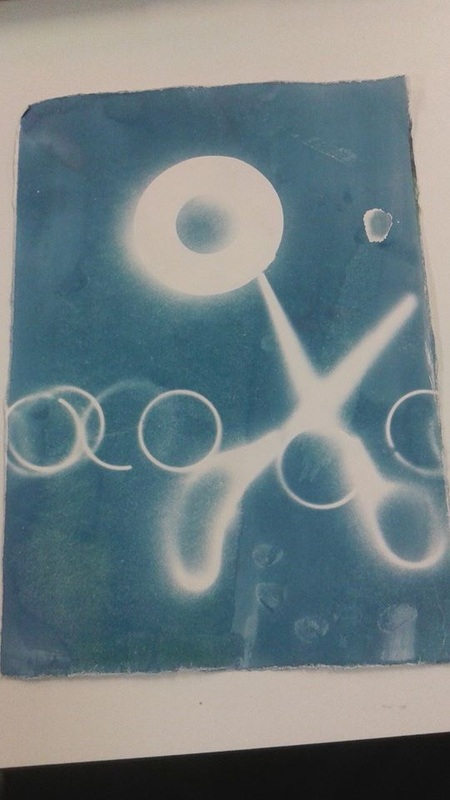
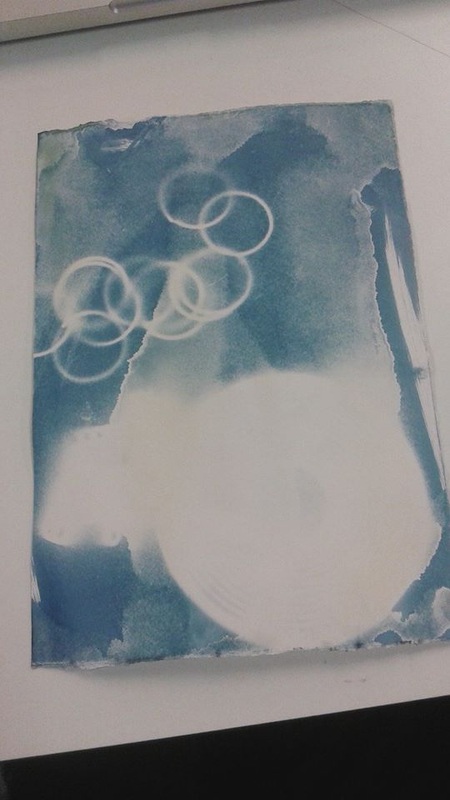
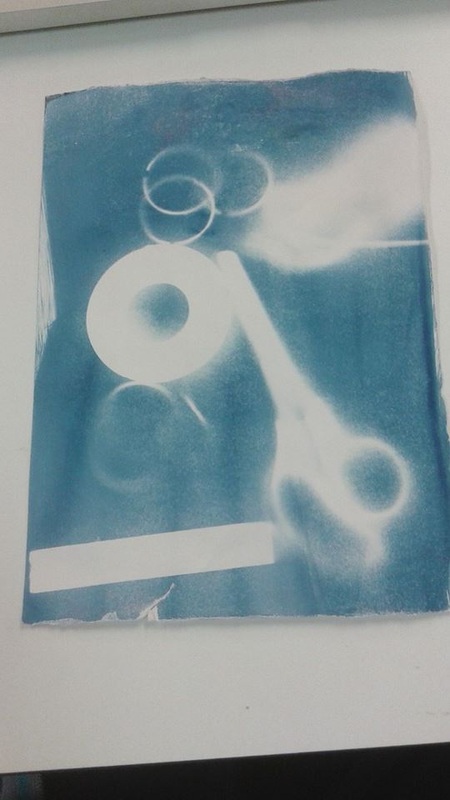
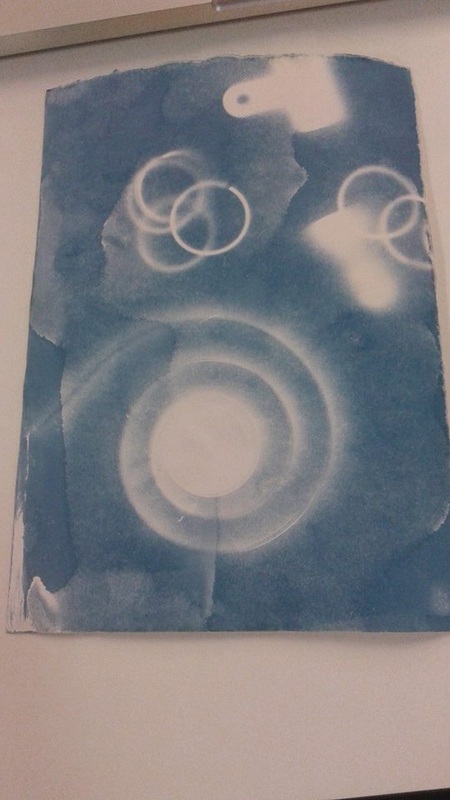
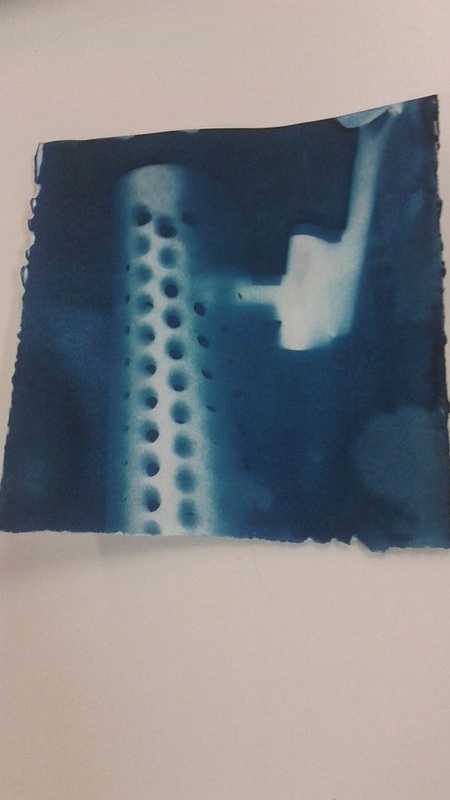
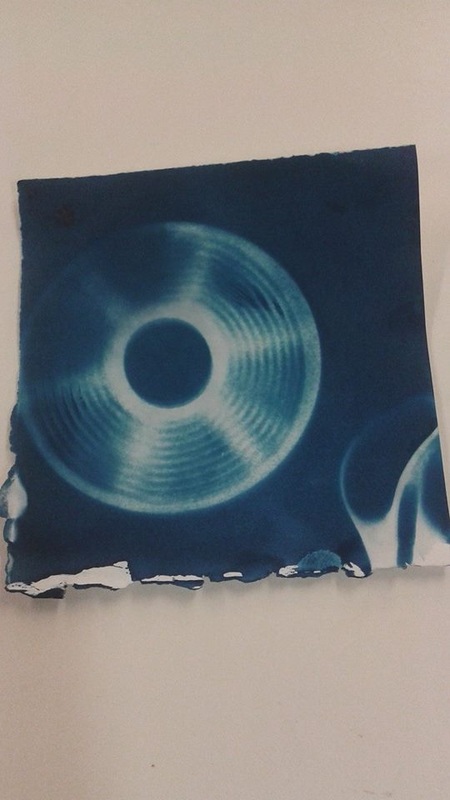
For my second final piece I decided to go all the way back to the beginning when I first started this course and to make cyanotypes with a numerous amount of interesting objects. I Mixed the chemicals myself and coated the cartridge paper with a thin layer of the mixed chemicals and ran them under the hand dryer until they were completely dry. After that I collected all of the pieces of paper and put them in the black box with all of the different objects so the sun couldn't get to them until I wanted them to. I took the pieces of paper out as I needed them and done a couple of trial cyanotypes at different times so I know whats the best time to let the sunlight to the paper. After that I then created several cyanotypes and rinsed them in clean water to rinse off the chemicals from the cartridge paper. I then ran them under the hand dyer once again until they were completely dry, after a while they turnt a dark blue colour. Below are the results of my cyanotypes.
Final Evaluation
1. Introduction.
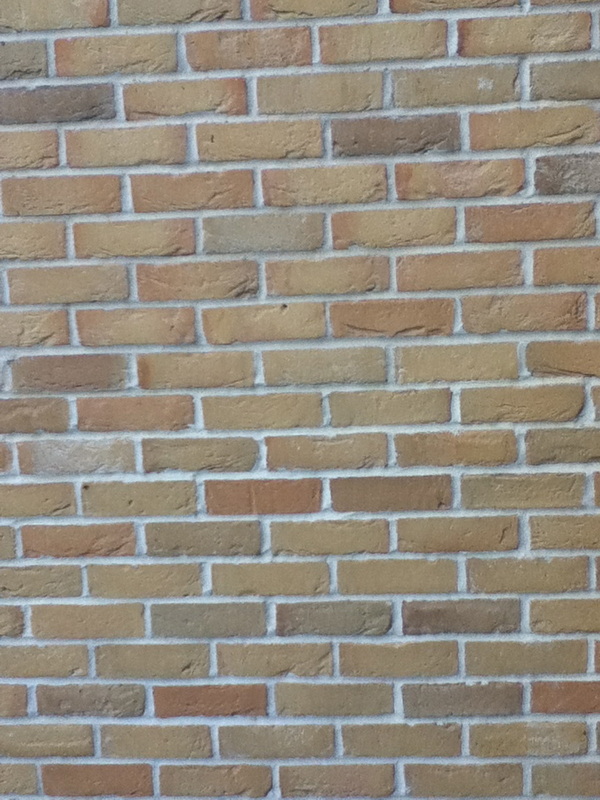
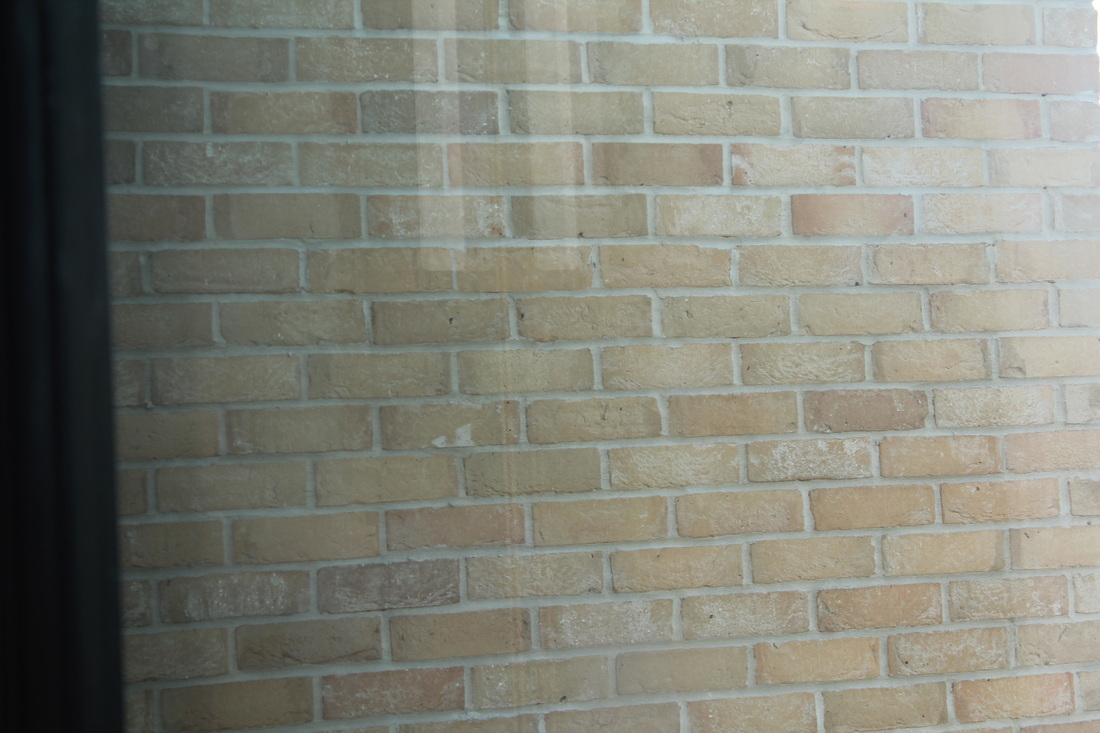
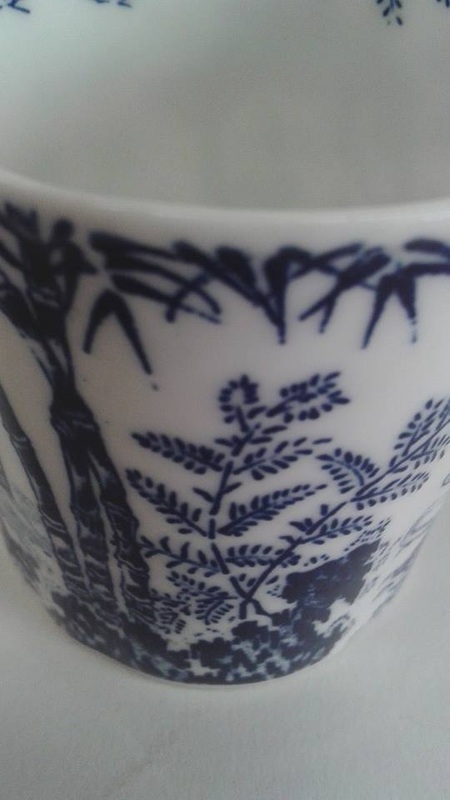
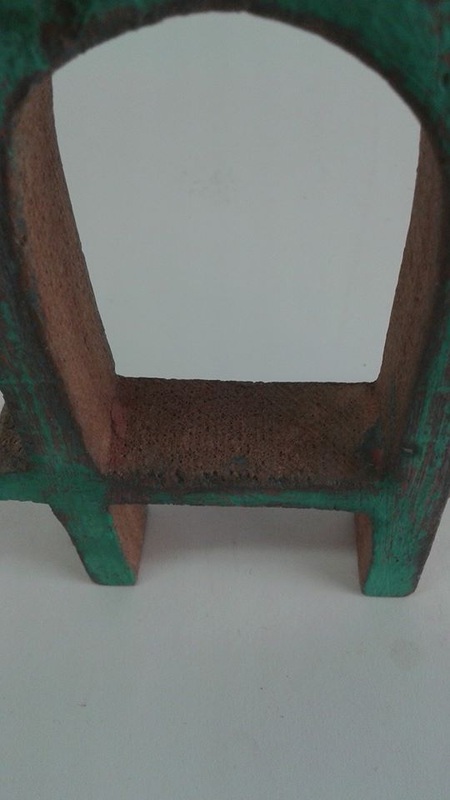
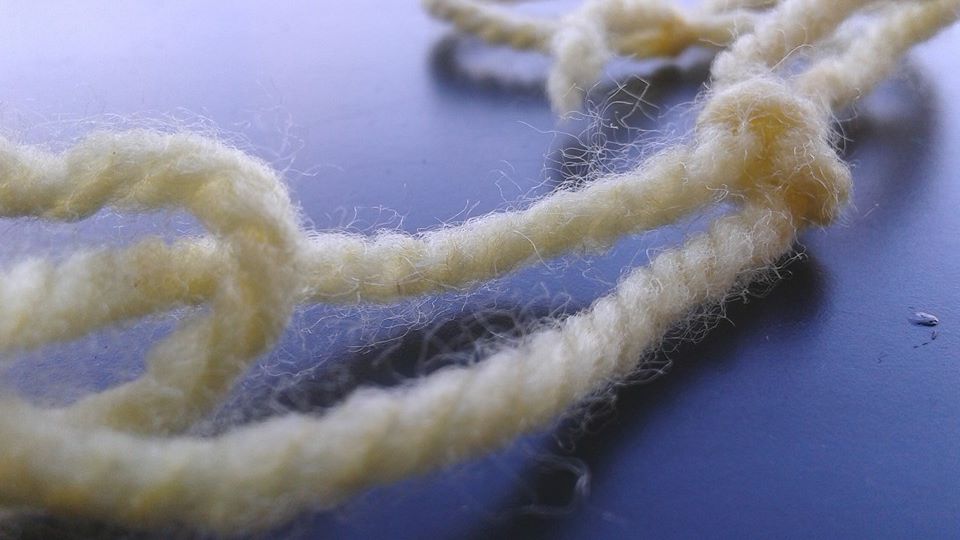
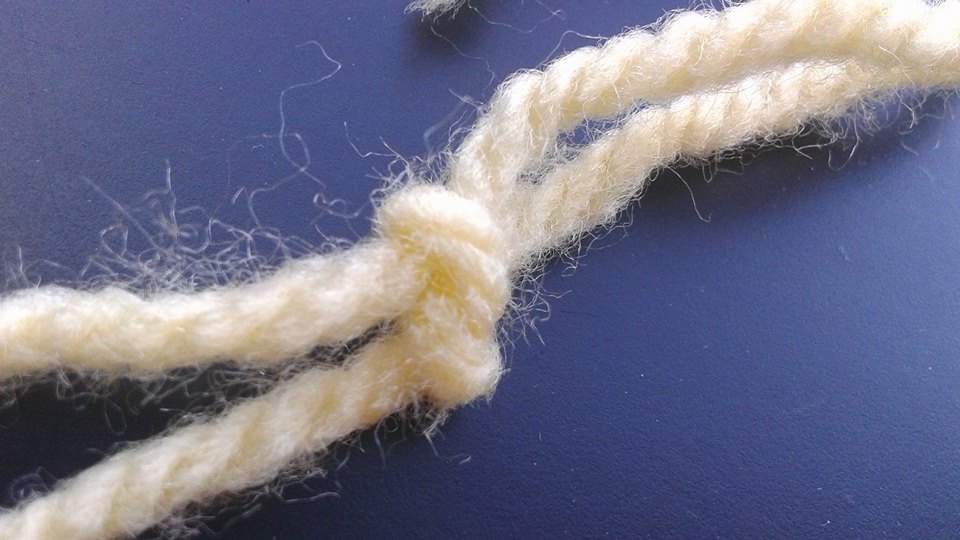
The theme I chose for unit 2 was texture, I liked this idea because where ever you go there are interesting objects all around us with all kinds of different textures to them for example rope, brick walls, door handles, cups, flowers, signs etc. Even plain, simple things like grass and walls etc usually have the most interesting shapes and patterns so that is why I chose texture because there is a range of different things you can do to texture to make it interesting.
2. AO1
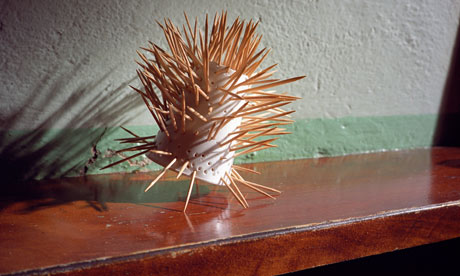
I decided to base my first final piece on Peter Fraser's work which is shown above as he experiments with different objects that he has found in random places where he hasn't created any of the objects in his images, they are all natural, So I developed my first ever photos where they were in different angles and focuses to making the image fit the whole frame of the camera. Peter Fraser also experiments with different camera angles to create different view points. Once I did this I cropped the best 16 images into squares and picked the most interesting point of the photo and edited half to black and white and just experimented with the different coloured contrasts with the other half of the photos. One of my favourite photos by Peter Fraser shows a wooden shelf fixed onto a green and white wall but on top of that wooden shelf is a polystyrene cup with around 50 tooth picks that have gone straight through the cup, this casts an interesting shadow behind it due to the viewpoint of the cup, but the most interesting part of this image is that all of the rest of Peter Fraser's photos are just things that he's found, they are made naturally, where with this photo it is near enough impossible for this to be natural and just found like that as someone had to make it like it. This photo is shown above.
For my second final piece I decided to go all the way back to the beginning to when I first started the photography course and the first project was cyanotypes. For this reason I decided to experiment with different tones, lines, shapes and patterns, So I collected a bunch of different objects to create these different textures so I went outside and experimented with the different light exposures. some worked and some din't but from the ones that didn't work I improved the next ones so i know whether i need to expose the paper for a longer or shorter amount of time.
3. AO2
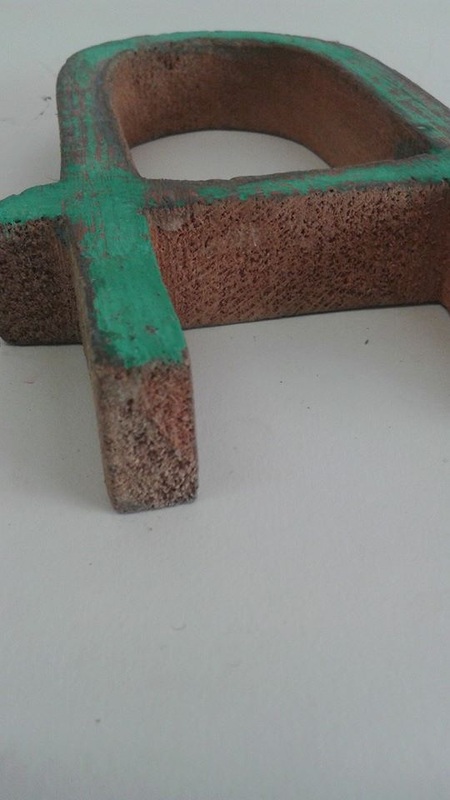
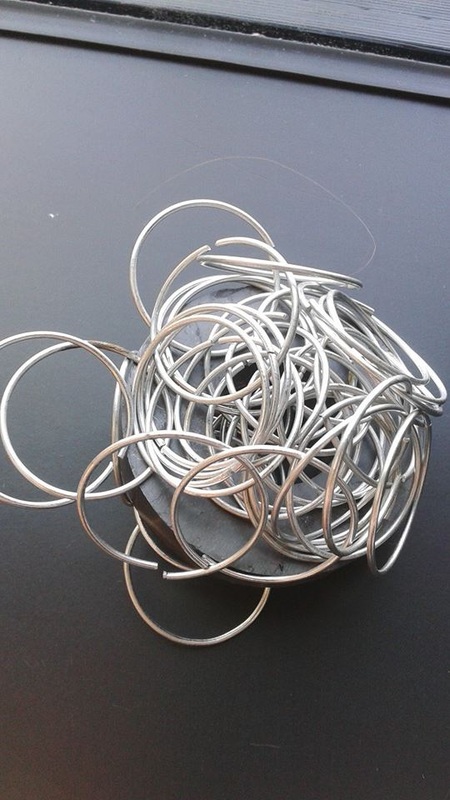
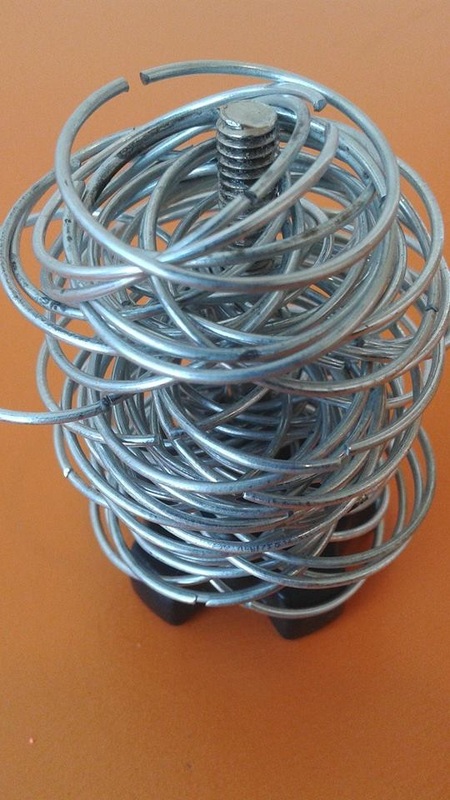
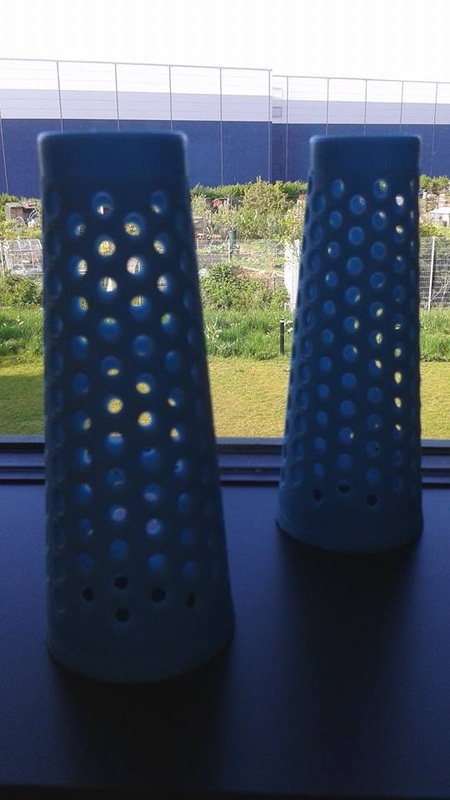
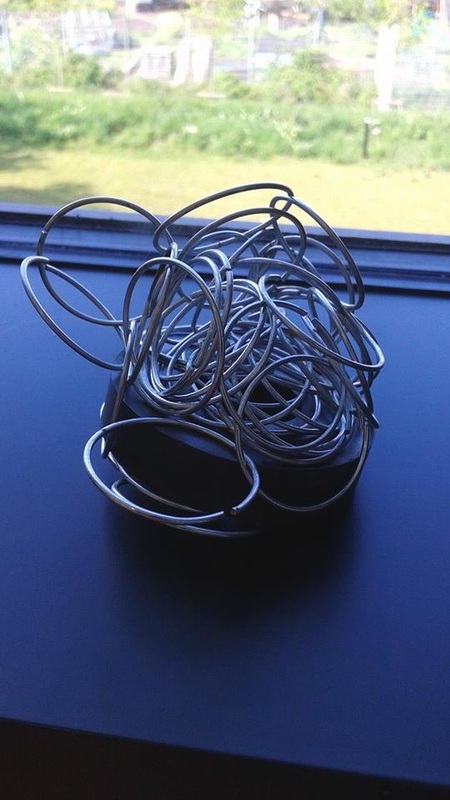
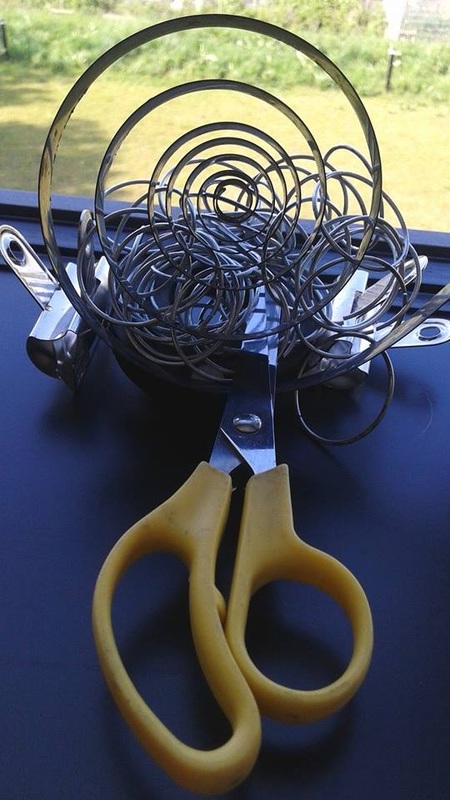
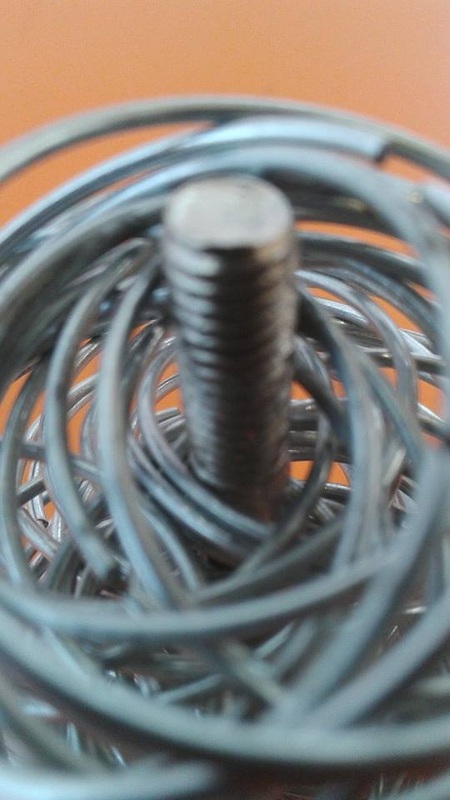
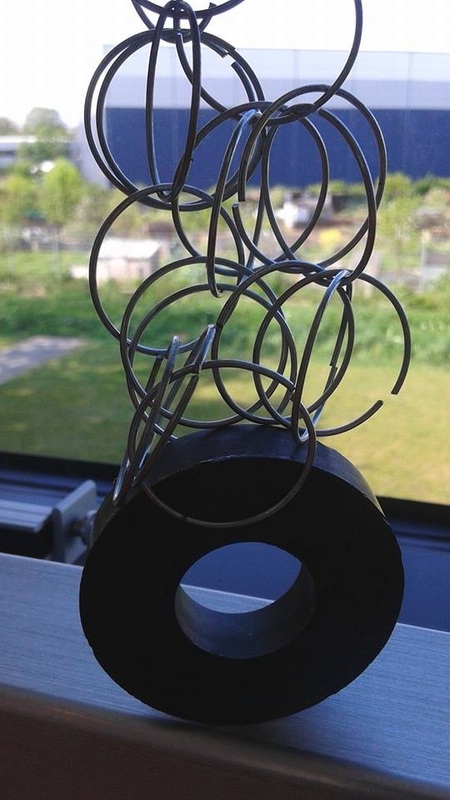
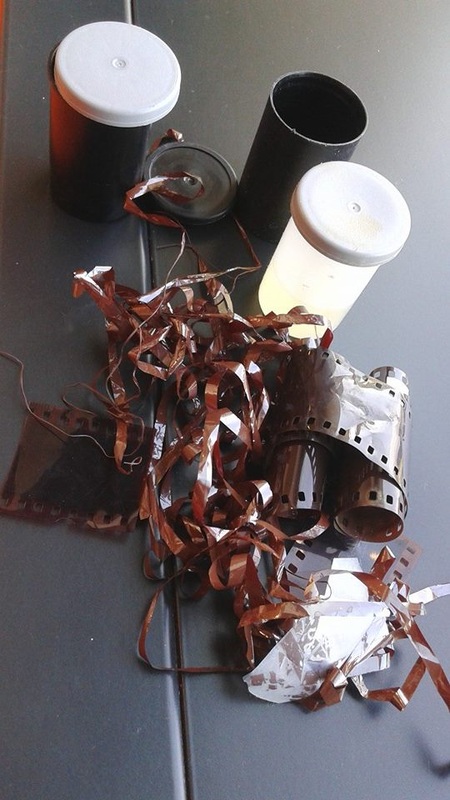
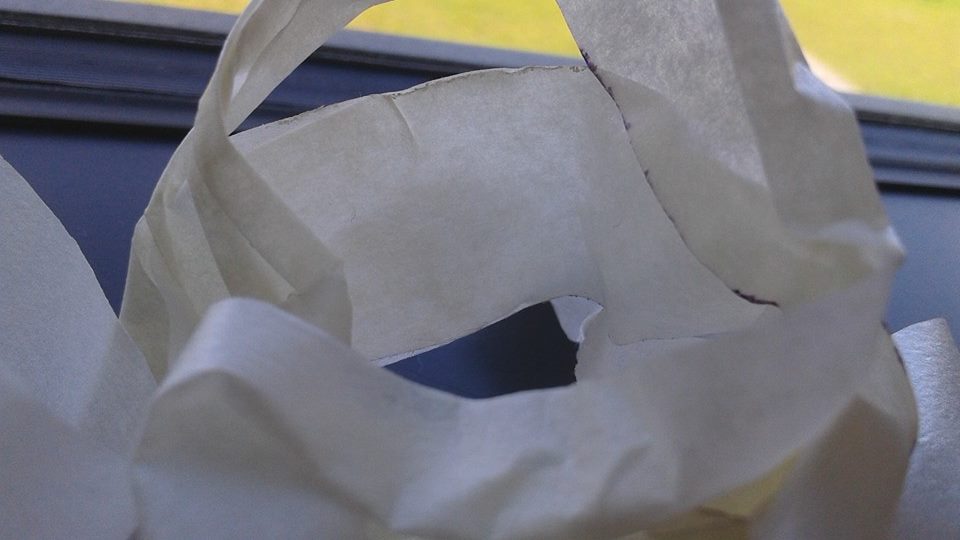
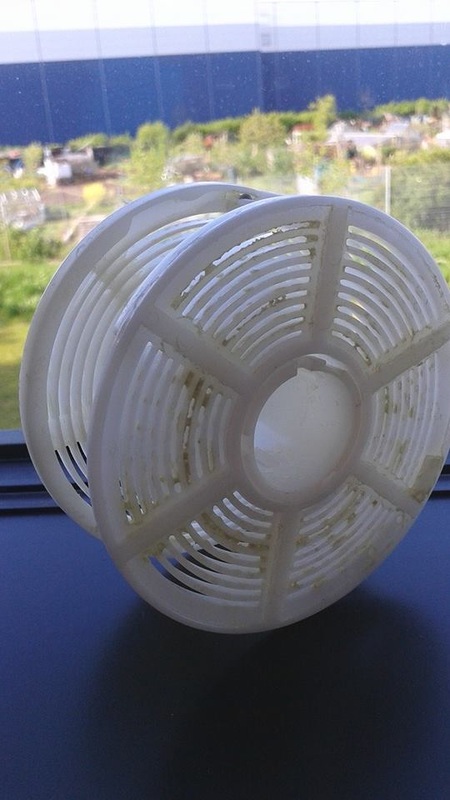
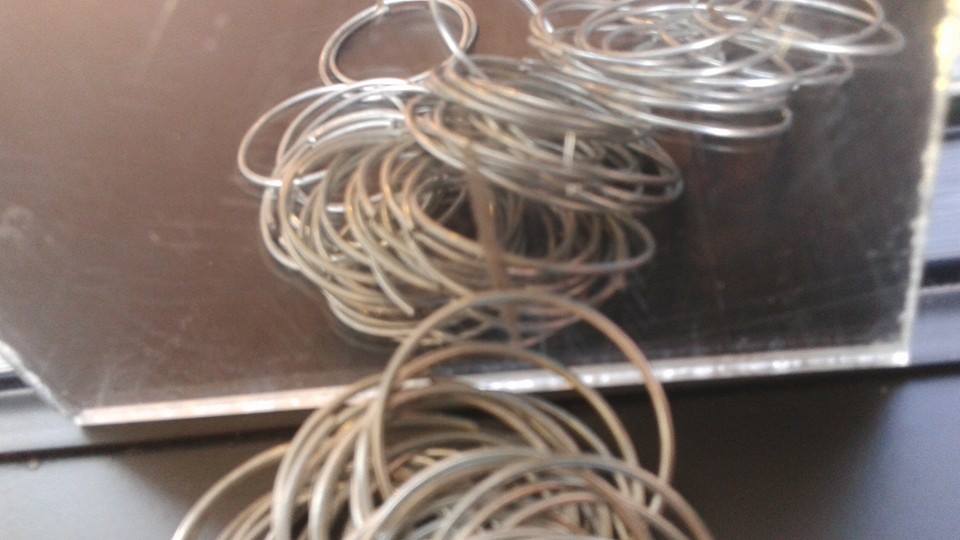
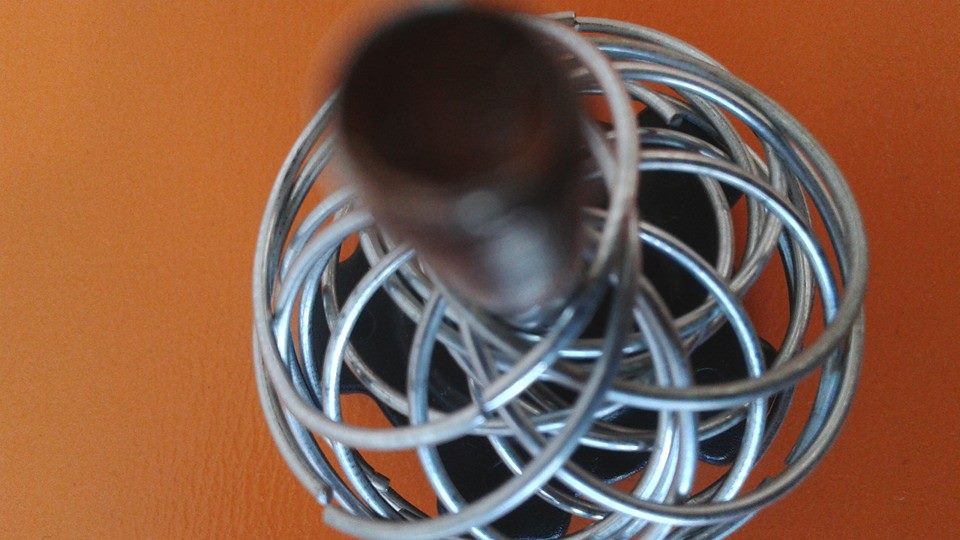
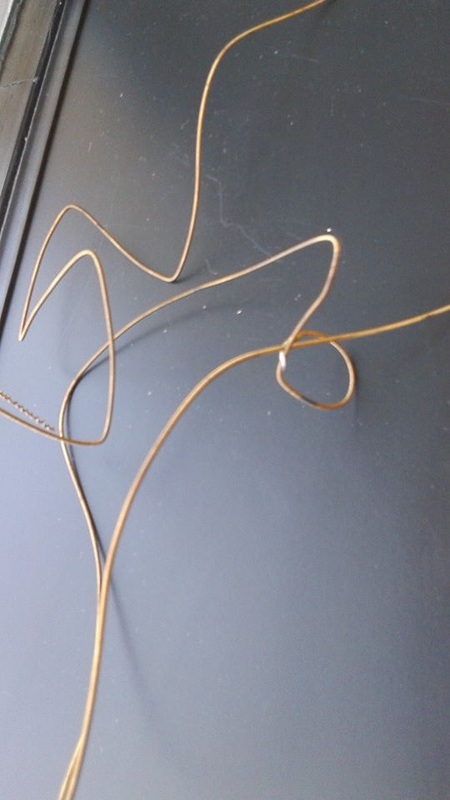
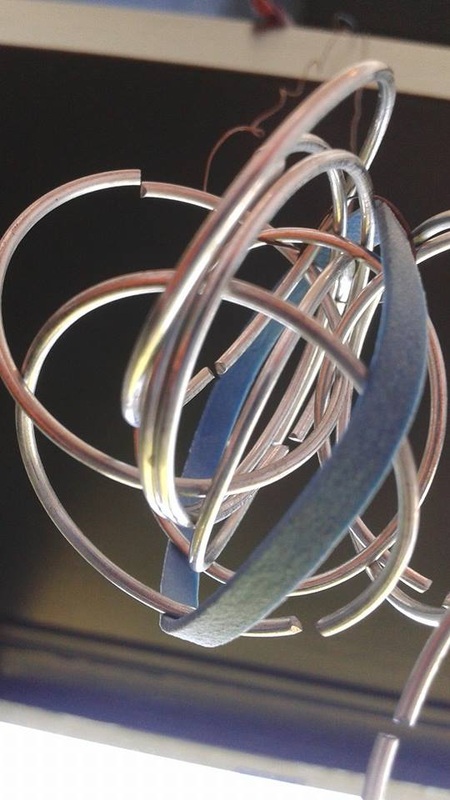
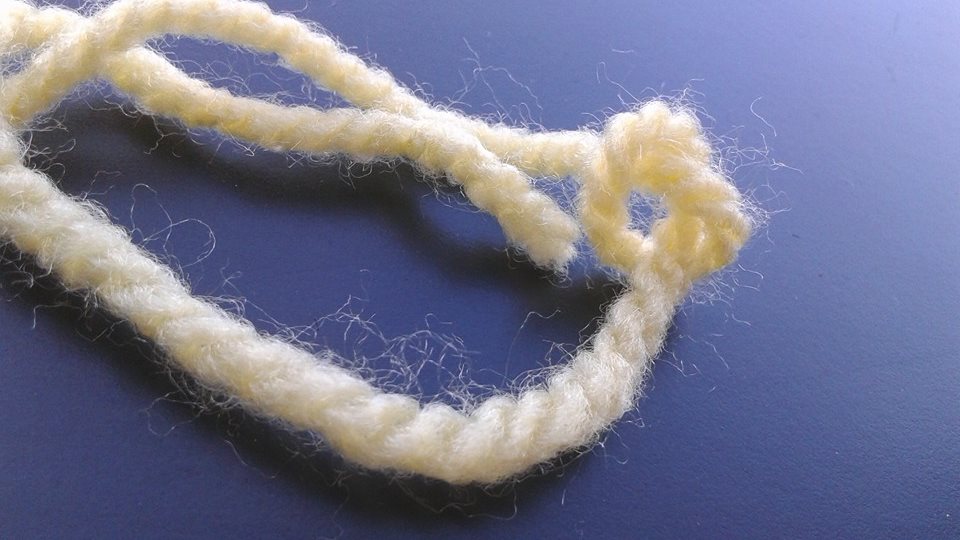
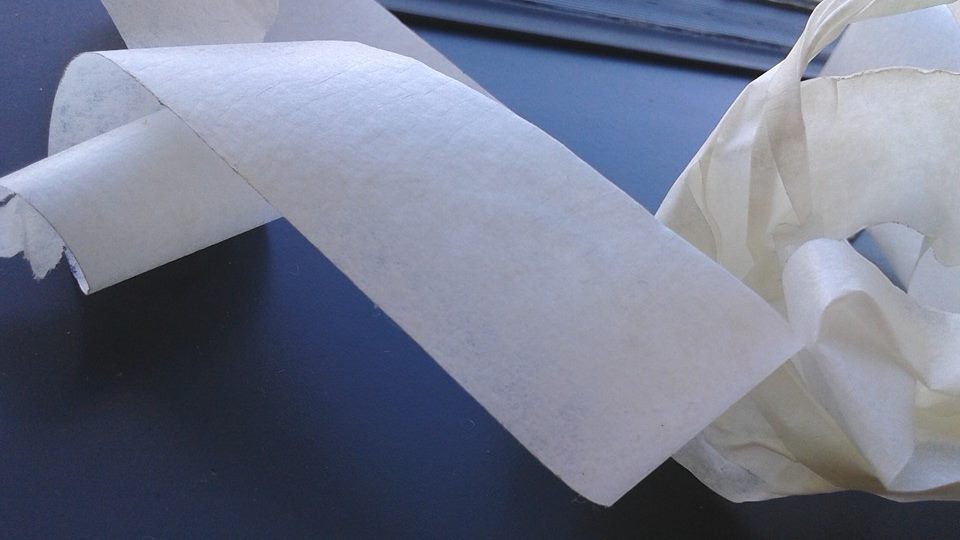
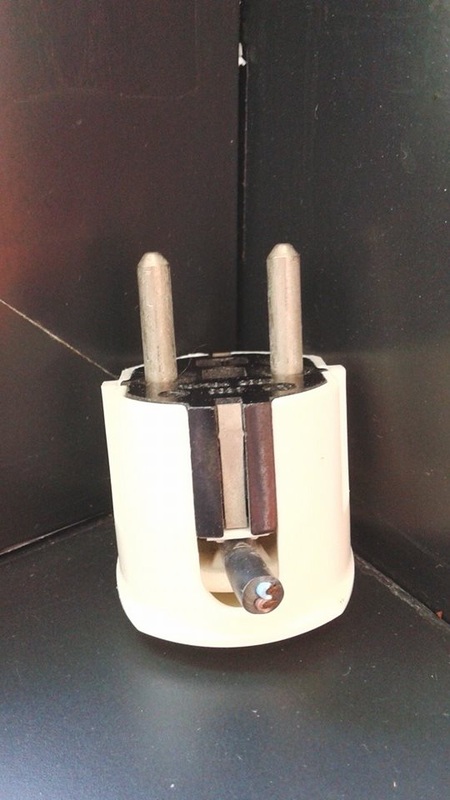
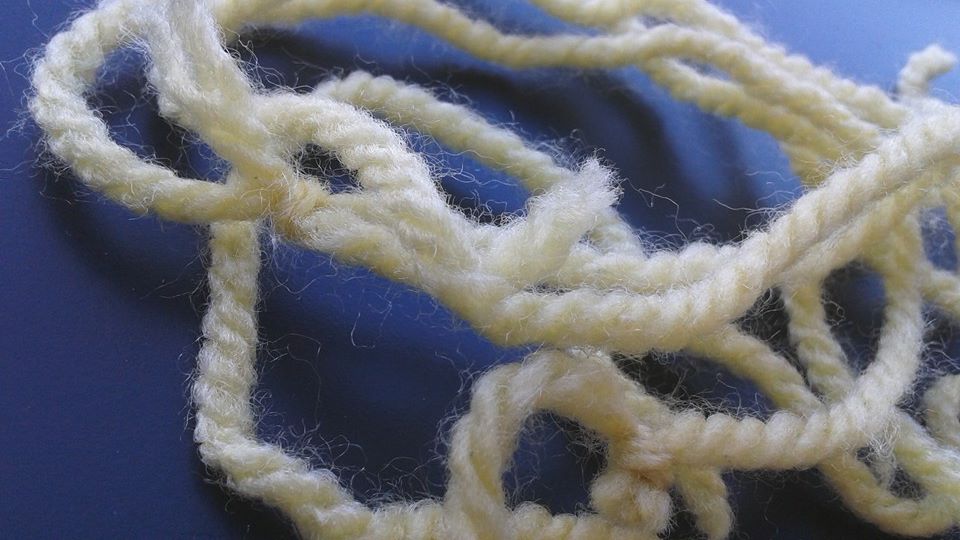
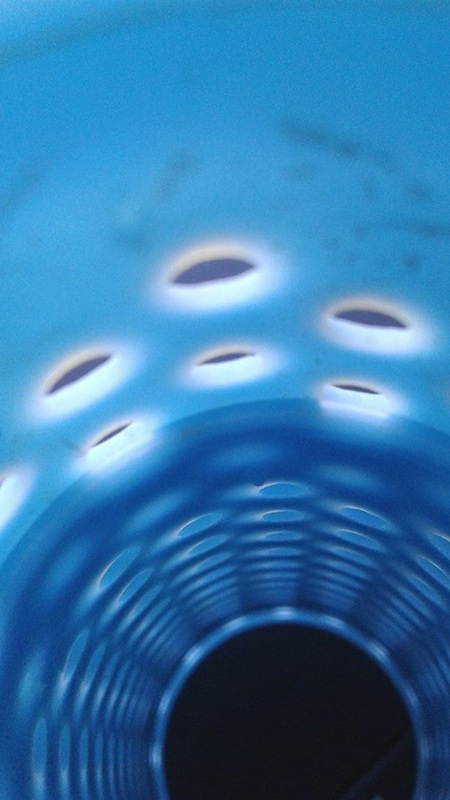
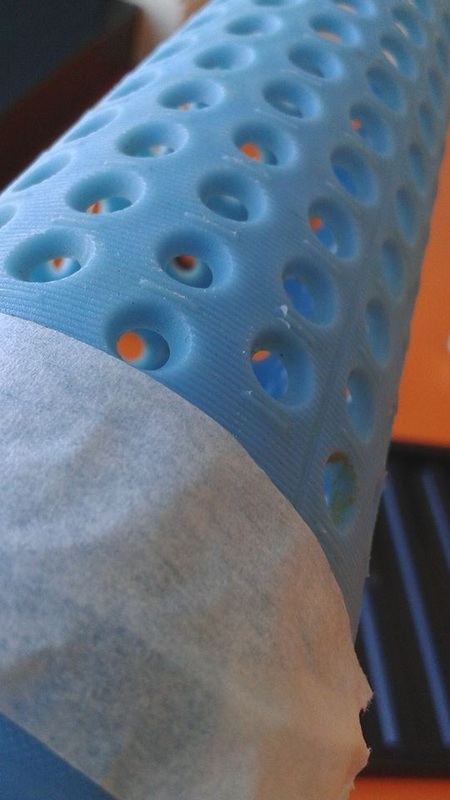
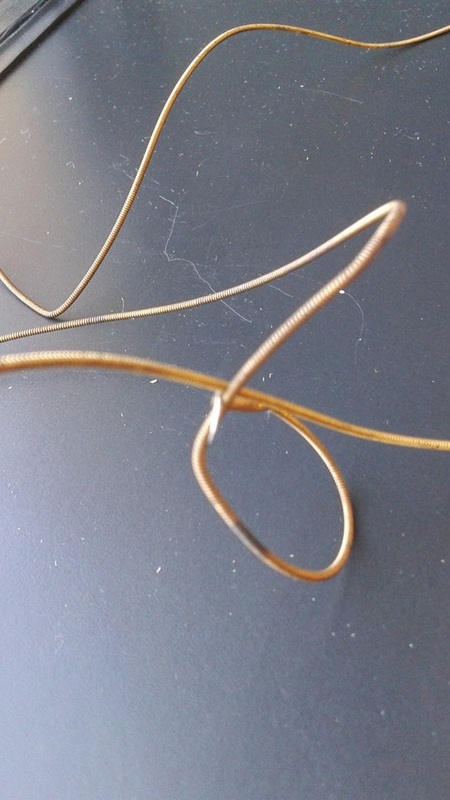
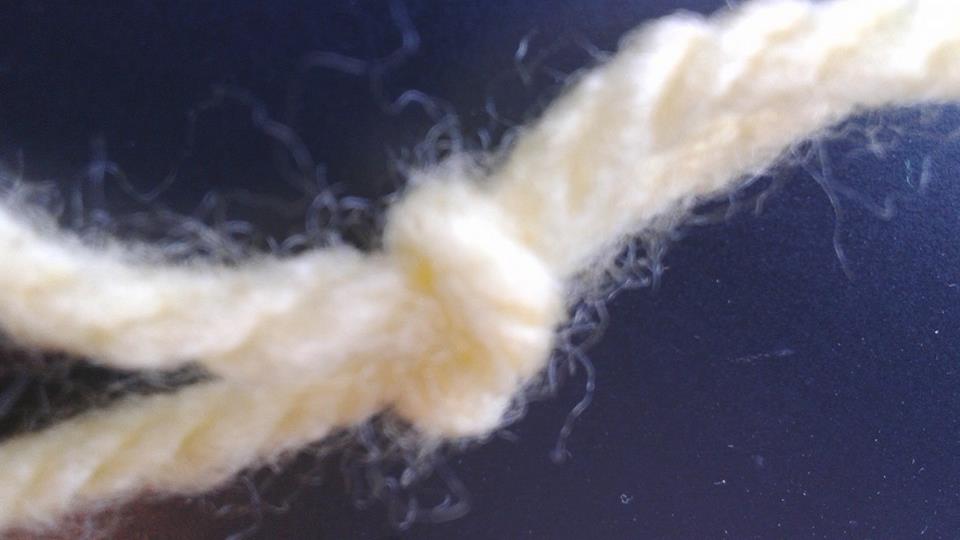
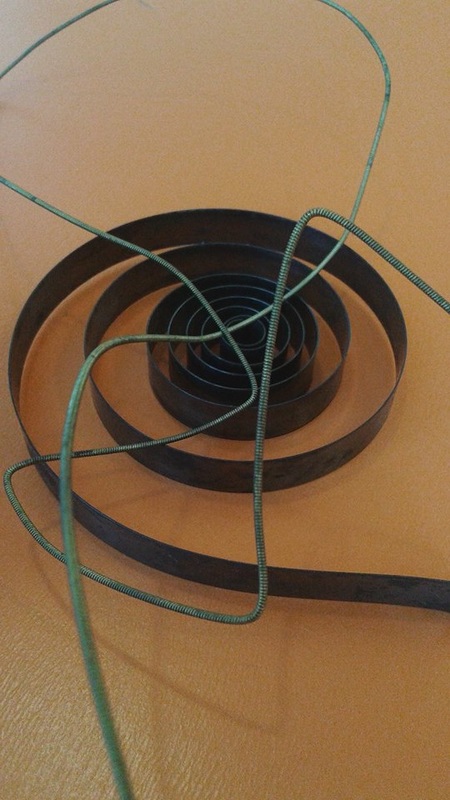
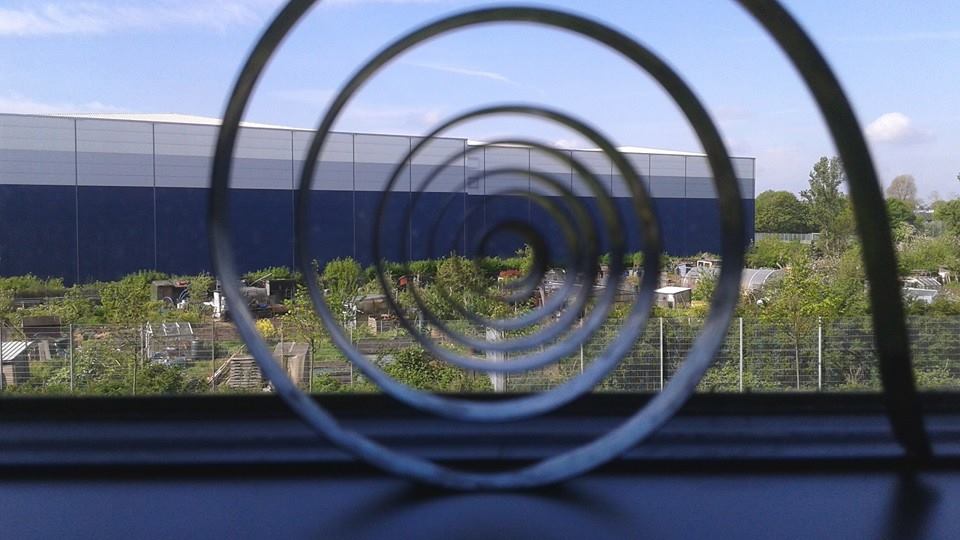
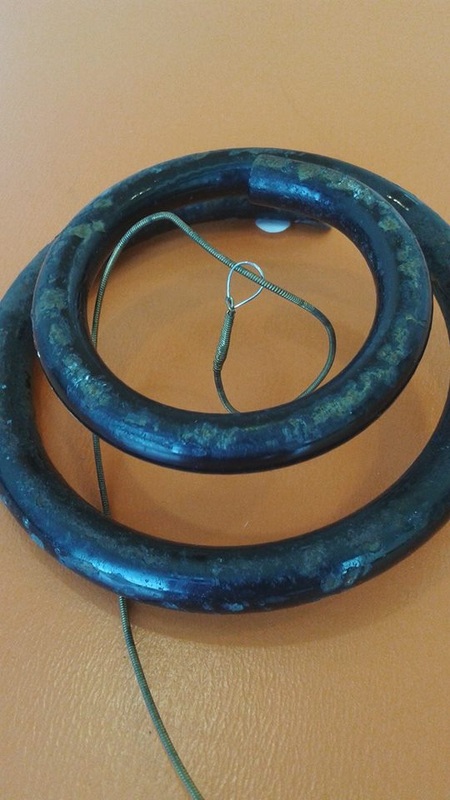
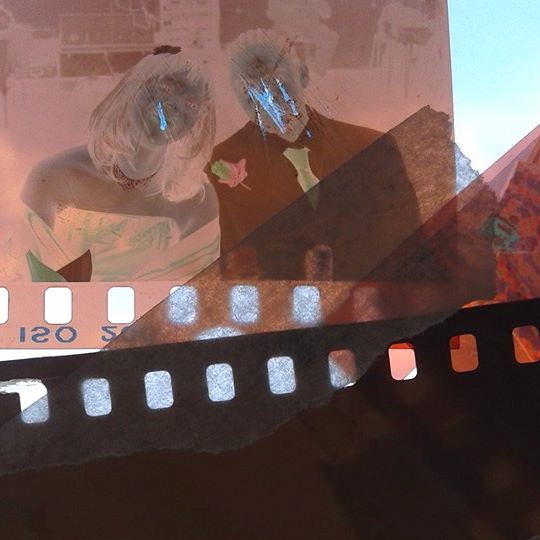
For my first final piece I used my mobile photo to take the photos instead of a digital camera this is so the objects can fill the whole screen so once I took the photos I uploaded them to the computer and then cropped them into a square and edited the colours in them by using iPhoto; The objects/materials I used for this final piece are things like string, magnet, cones, scissors, tape, key ring hoops, lids to different containers, coils of wire, negative photo's etc. Overall in this whole unit I took done about 7 photoshoots and in each photoshoot my photos were improving a lot as each photo I was experimenting with the focus, view point, the camera angle, light, and shape etc and my 7th photoshoot was the best as I the photos a lot more thought as I had an image in my head of what I wanted them to look like. At first I went out into the corridor so i could get some photos in the natural light then I uploaded those photos onto iphoto and then when to the studio at the back of the classroom and got the lights and got them in the right angle and used the objects that were already there and tried different view points like birds eye view, looking upwards, towards the light etc.
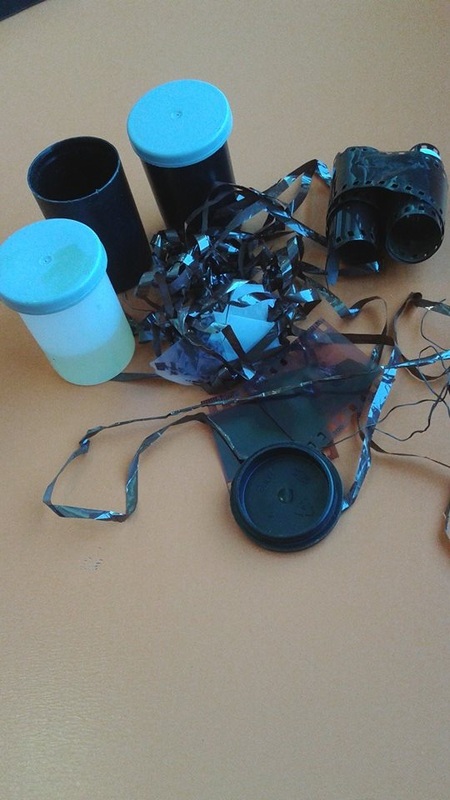
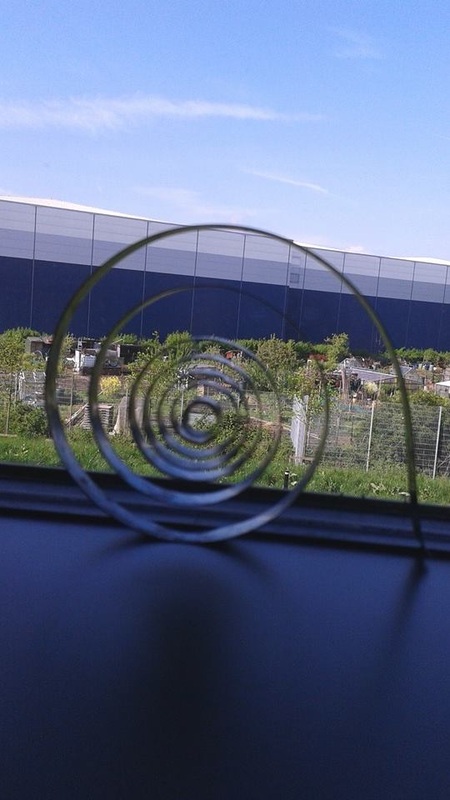
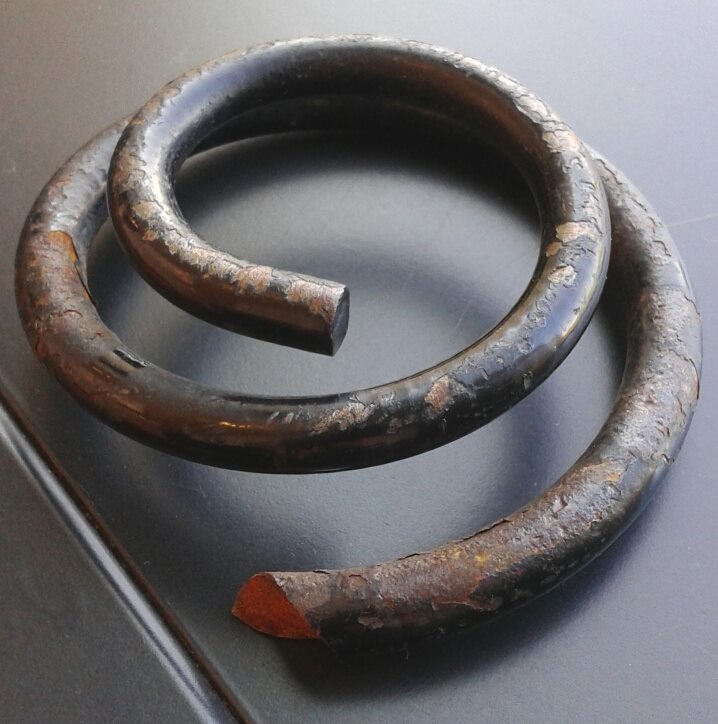
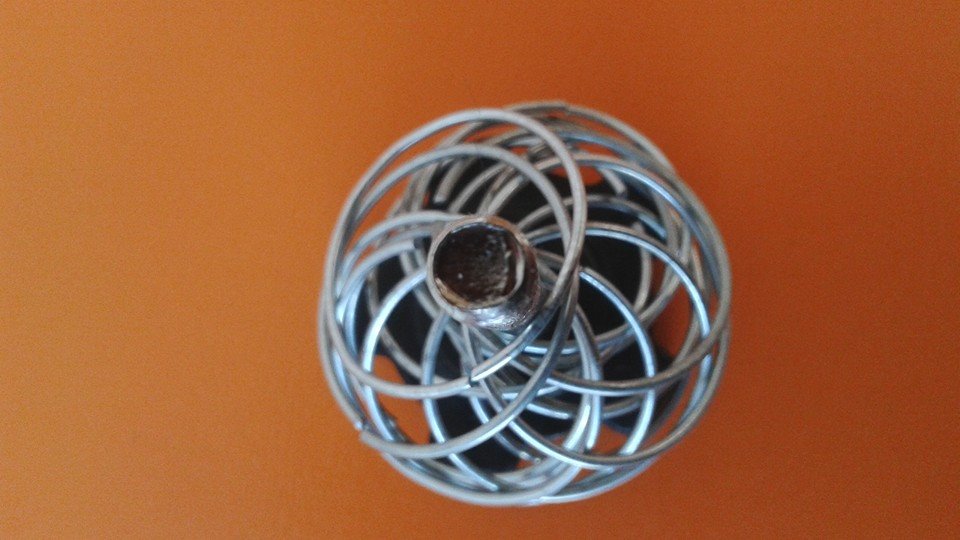
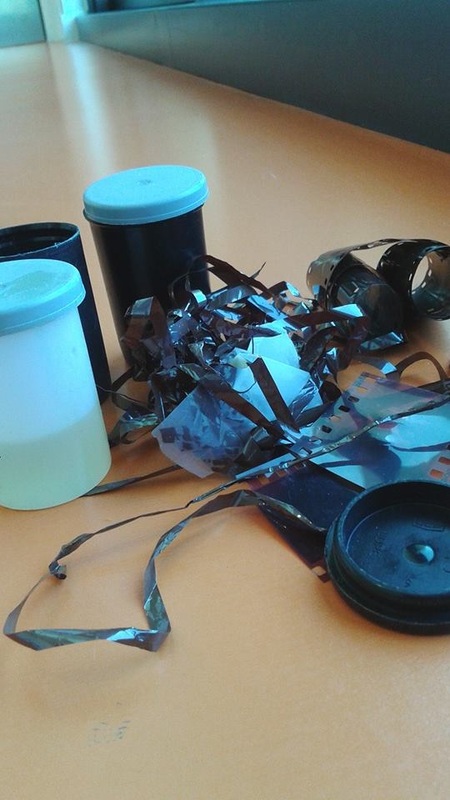
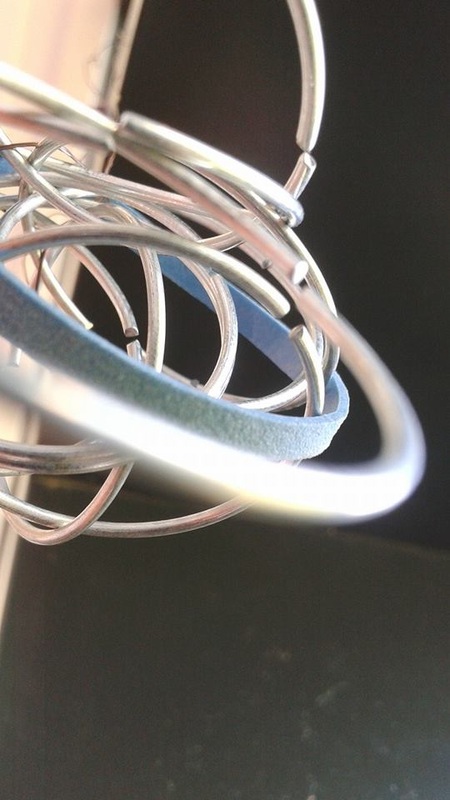
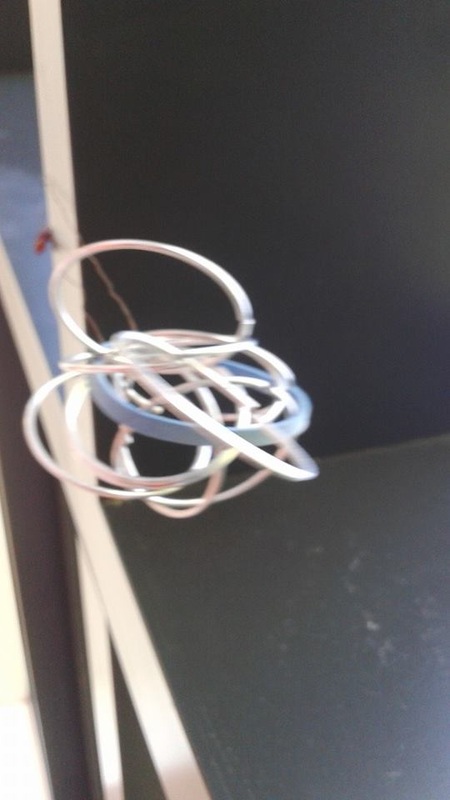
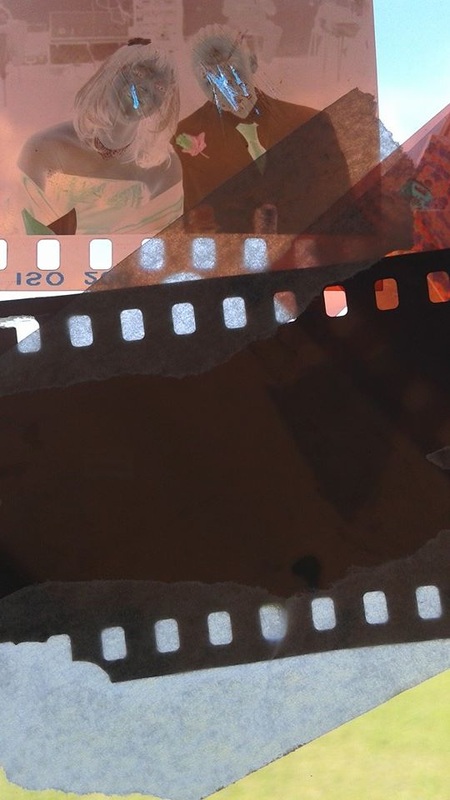
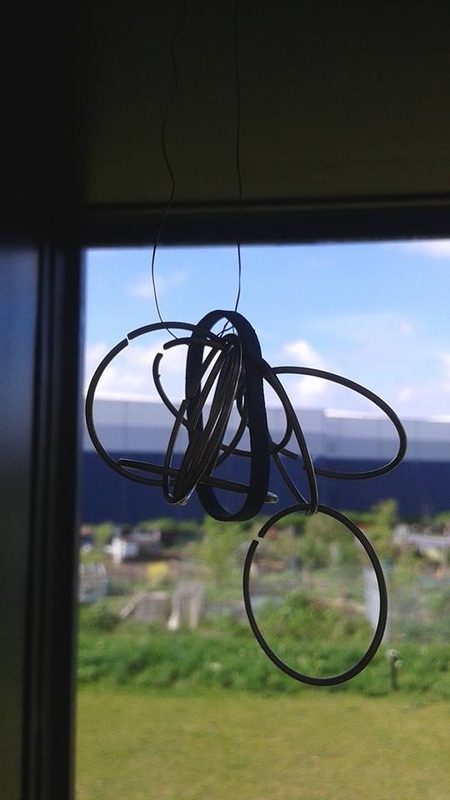
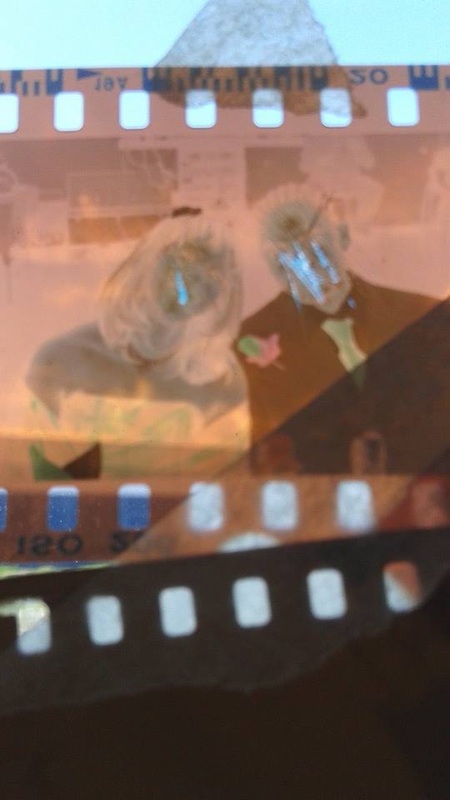
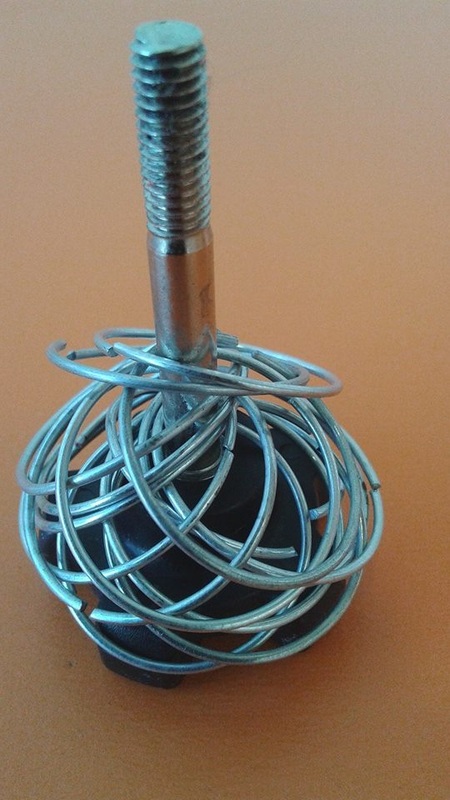
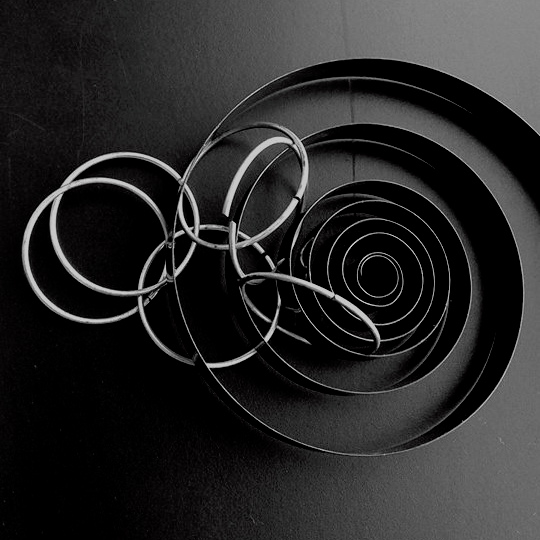
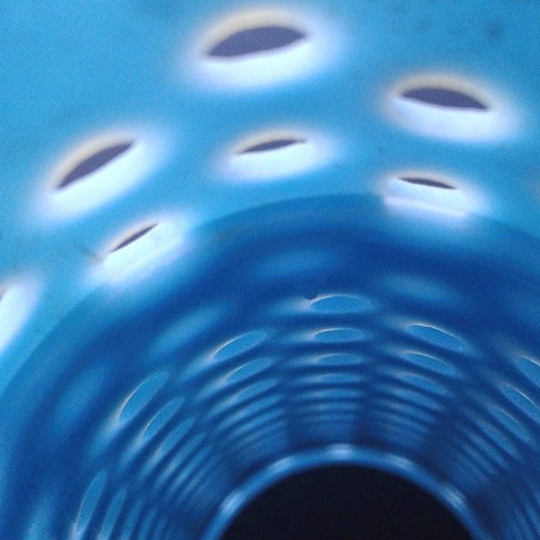
My second final piece was one of the main techniques/processes we've done which was cyanotypes, this is where I experimented with different objects and light exposures. In this project I mixed the chemicals myself and done the whole process in making cyanotypes by myself. In this final piece I used different objects which had a wide range of patterns etc such as coils or wire, a spiral paper weight, negative photos, ribbon out of a cassette tape, and cones etc. After I did two cyanotypes at different times I took them to the dark room to rinse the chemicals off of them then I let them dry and once they dried I was able to see which one worked the best therefore I could refine the next ones according to the best light exposure time given from the last two cyanotypes.
4. AO3
Overall in Unit 2 I have recorded my ideas in various ways. Firstly I created a pinterest board which is a website where its like one big pin board for your ideas and imagination, I searched for all different types of texture and decided to pin all of the photos that appealed to me and ones that were creative. The second way in which I recorded all of my ideas was a popplet which is again a website which allows you to create a mind map/brainstorm on anything, you can add photos, text, youtube videos etc and both of these ideas are really easy things to use to track all of your observations and gives you an insight of what my piece(s) could turn out like.
5. AO4
For my personal, informed and meaningful response I decided to do my own take on Peter Frasers work, for example, the two different shades of blue buckets, I decided to create my own version with cups, (shown above), but not only that I decided that my first 6 photoshoots could have done with a bit of refining as I didn't think them out very well and once I thought about the previous photos I took I realised how many things were wrong with them for example, The camera angle, the space around the object that I was taking a photo of etc. So I created an informed response there by showing that I wasn't going to stick with a gallery of photos that could be majorly improved. I then decided I would take a step further by creating one last final piece which was my cyanotypes, this is where my personal and meaningful response came through, I decided to take 'texture' and create a new project without using any form of camera with just the natural light and objects that you wouldn't see on a day to day basis and to create something that not many people would have seen. However to create a perfect cyanotype there was always so many that went wrong before that, there are many reasons for them to go wrong such as, not enough chemicals on the paper, poor light exposure or the objects weren't held down firmly onto the paper. I think being able to decide what you want to achieve is easy but then being able to actually do it is the hardest part; you can easily write down or say what you want to achieve and being able to visualise your pieces but its difficult to make it look like what is does in your head that's why you have to do a lot of planning like popplet and pinterest etc to record the steps you need to take to achieve the outcome.
6. conclusion
I am extremely satisfied with the progress in this unit as I was able to choose what I wanted to base my project on and I was in charge of what I wanted to do and how I did it. However the only thing I think could have gone a bit better was my organisation as I could have worked a bit faster than I did as I would have got everything done a lot sooner than I did but apart from that I think everything went really well and I am extremely proud of myself for not falling behind and getting all of my work done on time.
The theme I chose for unit 2 was texture, I liked this idea because where ever you go there are interesting objects all around us with all kinds of different textures to them for example rope, brick walls, door handles, cups, flowers, signs etc. Even plain, simple things like grass and walls etc usually have the most interesting shapes and patterns so that is why I chose texture because there is a range of different things you can do to texture to make it interesting.
2. AO1
I decided to base my first final piece on Peter Fraser's work which is shown above as he experiments with different objects that he has found in random places where he hasn't created any of the objects in his images, they are all natural, So I developed my first ever photos where they were in different angles and focuses to making the image fit the whole frame of the camera. Peter Fraser also experiments with different camera angles to create different view points. Once I did this I cropped the best 16 images into squares and picked the most interesting point of the photo and edited half to black and white and just experimented with the different coloured contrasts with the other half of the photos. One of my favourite photos by Peter Fraser shows a wooden shelf fixed onto a green and white wall but on top of that wooden shelf is a polystyrene cup with around 50 tooth picks that have gone straight through the cup, this casts an interesting shadow behind it due to the viewpoint of the cup, but the most interesting part of this image is that all of the rest of Peter Fraser's photos are just things that he's found, they are made naturally, where with this photo it is near enough impossible for this to be natural and just found like that as someone had to make it like it. This photo is shown above.
For my second final piece I decided to go all the way back to the beginning to when I first started the photography course and the first project was cyanotypes. For this reason I decided to experiment with different tones, lines, shapes and patterns, So I collected a bunch of different objects to create these different textures so I went outside and experimented with the different light exposures. some worked and some din't but from the ones that didn't work I improved the next ones so i know whether i need to expose the paper for a longer or shorter amount of time.
3. AO2
For my first final piece I used my mobile photo to take the photos instead of a digital camera this is so the objects can fill the whole screen so once I took the photos I uploaded them to the computer and then cropped them into a square and edited the colours in them by using iPhoto; The objects/materials I used for this final piece are things like string, magnet, cones, scissors, tape, key ring hoops, lids to different containers, coils of wire, negative photo's etc. Overall in this whole unit I took done about 7 photoshoots and in each photoshoot my photos were improving a lot as each photo I was experimenting with the focus, view point, the camera angle, light, and shape etc and my 7th photoshoot was the best as I the photos a lot more thought as I had an image in my head of what I wanted them to look like. At first I went out into the corridor so i could get some photos in the natural light then I uploaded those photos onto iphoto and then when to the studio at the back of the classroom and got the lights and got them in the right angle and used the objects that were already there and tried different view points like birds eye view, looking upwards, towards the light etc.
My second final piece was one of the main techniques/processes we've done which was cyanotypes, this is where I experimented with different objects and light exposures. In this project I mixed the chemicals myself and done the whole process in making cyanotypes by myself. In this final piece I used different objects which had a wide range of patterns etc such as coils or wire, a spiral paper weight, negative photos, ribbon out of a cassette tape, and cones etc. After I did two cyanotypes at different times I took them to the dark room to rinse the chemicals off of them then I let them dry and once they dried I was able to see which one worked the best therefore I could refine the next ones according to the best light exposure time given from the last two cyanotypes.
4. AO3
Overall in Unit 2 I have recorded my ideas in various ways. Firstly I created a pinterest board which is a website where its like one big pin board for your ideas and imagination, I searched for all different types of texture and decided to pin all of the photos that appealed to me and ones that were creative. The second way in which I recorded all of my ideas was a popplet which is again a website which allows you to create a mind map/brainstorm on anything, you can add photos, text, youtube videos etc and both of these ideas are really easy things to use to track all of your observations and gives you an insight of what my piece(s) could turn out like.
5. AO4
For my personal, informed and meaningful response I decided to do my own take on Peter Frasers work, for example, the two different shades of blue buckets, I decided to create my own version with cups, (shown above), but not only that I decided that my first 6 photoshoots could have done with a bit of refining as I didn't think them out very well and once I thought about the previous photos I took I realised how many things were wrong with them for example, The camera angle, the space around the object that I was taking a photo of etc. So I created an informed response there by showing that I wasn't going to stick with a gallery of photos that could be majorly improved. I then decided I would take a step further by creating one last final piece which was my cyanotypes, this is where my personal and meaningful response came through, I decided to take 'texture' and create a new project without using any form of camera with just the natural light and objects that you wouldn't see on a day to day basis and to create something that not many people would have seen. However to create a perfect cyanotype there was always so many that went wrong before that, there are many reasons for them to go wrong such as, not enough chemicals on the paper, poor light exposure or the objects weren't held down firmly onto the paper. I think being able to decide what you want to achieve is easy but then being able to actually do it is the hardest part; you can easily write down or say what you want to achieve and being able to visualise your pieces but its difficult to make it look like what is does in your head that's why you have to do a lot of planning like popplet and pinterest etc to record the steps you need to take to achieve the outcome.
6. conclusion
I am extremely satisfied with the progress in this unit as I was able to choose what I wanted to base my project on and I was in charge of what I wanted to do and how I did it. However the only thing I think could have gone a bit better was my organisation as I could have worked a bit faster than I did as I would have got everything done a lot sooner than I did but apart from that I think everything went really well and I am extremely proud of myself for not falling behind and getting all of my work done on time.
