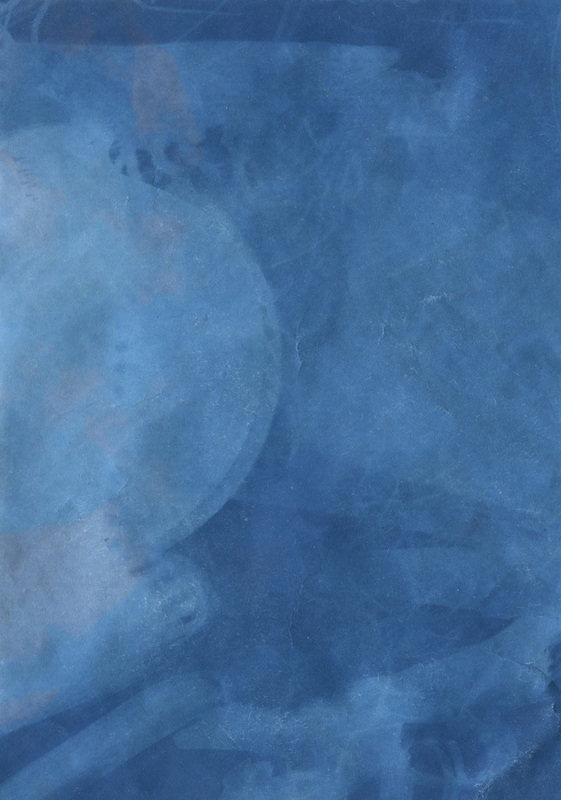
My first cyanotype was quite unusual with the different kind of shapes.
|
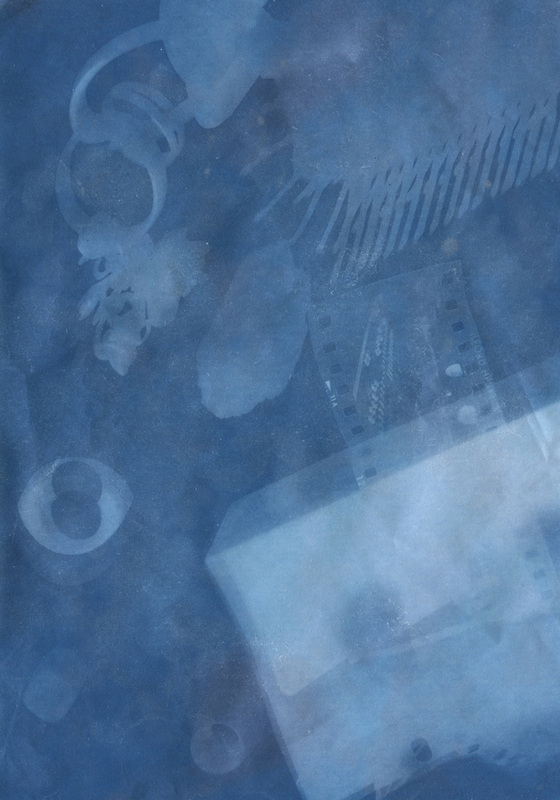
This is my second cyanotype and in my opinion that went better than the last one!
|
cyanotypes!
cyanotypes is a certain type of printing process that gives you a cyan-blue print. This was mostly used by Anna Atkins. She discovered the cyanotype process after meeting the british inventor Fox Talbot. Cyanotypes were the first ever kind of photographs that didn't require a camera.Sir John Herschel a friend of Anna Atkins, invented the cyanotype process in 1842. In a year or so, Anna Atkins applied the process to (specifically, seaweed) by making cyanotype photograms that were "contact printed" by placing some dried-algae directly on the cyanotype paper.
My class and I did an experiment on the cyanotype printing process and the top two photo's show how they went, follow these steps for a perfect cyanotype!
step 1. We went outside onto the grass/pathways and we got all of our objects together ready
step 2. Mr nicholls got the paper out of the packet and we had arrange our objects really quickly before the sun rays got to it too much
step 3.After we placed the objects on the paper we just left it until it turn to a yellow-blue kind of colour and we also had to make sure our shadow didn't get in the way of mine and other peoples cyanotype otherwise we would be stopping it from getting sunlight and it wouldn't work!
step 4. When we thought it was ready we took everything off of the cyanotype paper and washed it in water to get rid of the chemicals; leave it in there for a few minutes.
step 5. take it out of the water and it let it dry!
step 6. Gradually the outline of the objects will fade but don't worry it will come back!
step 7. after a few days to a week the blue will become darker and the outline or the objects that have been placed there will be lighter and it will look like a kind of x-ray
step 8. Now you should have a great cyanotype!
|
|
Researched cyanotype photos...I researched Anna Atkins and these are the photos that i thought were the best that she made... i like these photos more the the others she has made is because they are all unique because they seem to have a story behind then and plus they are all mostly of Flora and Fauna which in my opinion are more interesting! Some photos on the slideshow (left) are strange and need you to use your imagination and you brain to figure out what they are; even though some photos like the feather one are pretty simple but it is repetitive so it creates some sort of pattern therefore it is really artistic.
My favourite photo that Anna Atkins produced was the pure black one with the leaf in the air with the rain droplets falling down, i think it is really creative and if any picture which has water/rain droplets in i think are awesome because it creates a great effect. |
